Axis 700 User Manual
Network scan server
Hide thumbs
Also See for 700:
- Integration manual (10 pages) ,
- User manual (104 pages) ,
- User manual (73 pages)
Table of Contents
Advertisement
Quick Links
Download this manual
See also:
User Manual
Advertisement
Table of Contents

Related Manuals for Axis 700


Summary of Contents for Axis 700
- Page 1 AXIS 700 Network Scan Server The Plug-and-Play Solution for Distributing Scanned Information Across Networks U s e r ’ s M a n u a l U s e r ’ s G u i d e...
-
Page 2: Copyright Information
1.10 and subsequent releases until otherwise notified. The document provides introductory information as well as instructions on how to set up and manage the AXIS 700. It is intended for anyone involved in installing and using the AXIS 700. -
Page 3: Table Of Contents
Basic Installation ..........7 Connecting the AXIS 700 to the Scanner ......7 Connecting the AXIS 700 to the Network . -
Page 4: Product Overview
The AXIS 700 can also be integrated with workflow and document management systems. The AXIS 700 is a standalone unit, located beside the scanner. One AXIS 700 is required for each scanner. We suggest that you place the scanner and the AXIS 700 in the workgroup area, e.g. next to your printers and facsimile machines. -
Page 5: Axis Online Cd
CD contents over intranet networks by simply broadcasting a URL reference. Control Panel The AXIS 700 message display indicates status and menu options. Note that the AXIS 700 will always use the destination and scanning options most recently displayed, whether explicitly selected or not. -
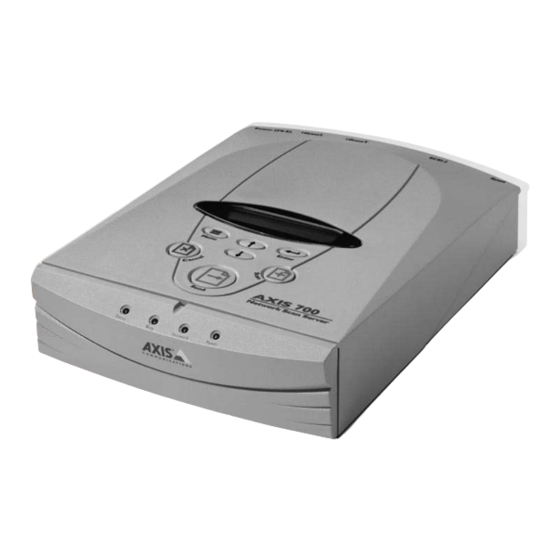
Page 6: Front Panel Indicators
Product Overview Front Panel Indicators Status Indicator - 700 is ready for use. If the Status indicator remains on, this may indicate an error. The Busy indicator turns on when the AXIS 700 is allocated for use and Busy Indicator - remains on during the scanning process. -
Page 7: Basic Installation
• Ensure the power supply included in the delivery is marked with the correct mains voltage. • Make sure the scanner and the AXIS 700 are switched off. The SCSI bus may become dam- aged if you connect or disconnect units when power is on. -
Page 8: Assigning An Internet Address To The Axis 700
• You must acquire a valid and unused Internet address for your AXIS 700 from the Network Administrator. • You can set the Internet address from the AXIS 700 control panel or use one of the methods DHCP, ARP, RARP or BOOTP. Refer to the AXIS 700 User’s Manual on how to use the lat- ter methods. - Page 9 Internet settings. The AXIS 700 then completes the startup sequence. 16. Note the name or Internet address of the AXIS 700 on the instruction label and attach it to the top cover. When the Status indicator stops flashing and remains off, the AXIS 700 is ready for use.
-
Page 10: Verifying The Installation
“ ” is the first destination in the destination list. xxxxxx To verify the installation, you can access the AXIS 700 using a standard Web browser such as Netscape Navigator or Internet Explorer: 1. Place a document in the scanner. -
Page 11: Configuring The Axis 700
AXIS 700 User’s Guide Configuring the AXIS 700 Before the AXIS 700 can be used for distributing scanned documents on your network, you must specify these settings: • Network settings Parameters for the TCP/IP and SMTP protocols, using a wizard or setting manually •... -
Page 12: Specifying System Settings
Specifying Network Settings 1. Click Network Settings. 2. Click Wizard each of the network protocols. This is a convenient way to set up your AXIS 700 in your network environment. 3. Click Detailed View to verify the settings. Specifying Destinations 1. -
Page 13: Using The Axis 700
AXIS 700 User’s Guide 5. The AXIS 700 can also retrieve a list of external e-mail addresses from an LDAP server, or a list of e-mail and file destinations from an FTP server. To sepecify the appropriate settings for external e-mail addresses, click Wizard setup procedures for External Address Book. - Page 14 700 is released for other users. Note: The AXIS 700 keeps all temporary settings in memory for one minute after the last scanning job, and then returns to its default settings. to change the default scanning parameters. You can select to reset all temporary settings to the default values.
-
Page 15: Adding Temporary E-Mail Destinations
AXIS 700 display, you can add a temporary e-mail destination using the Web browser interface. 1. Start the Web browser. 2. Enter the name or Internet address of your AXIS 700 on the location/address line. This brings you to the AXIS 700 Home Page. Example: http://172.16.253.80... -
Page 16: Adding Temporary Scanning Profiles
Viewing the Scanned Images The AXIS 700 creates images in standard TIFF, JPEG and PDF formats. Note that these files are merely images that do not include searchable text. For further processing, you will need appropriate image applications that support the generated file formats.
Need help?
Do you have a question about the 700 and is the answer not in the manual?
Questions and answers