
Related Manuals for Verlinde STAGEMAKER COMPACT SM1


Summary of Contents for Verlinde STAGEMAKER COMPACT SM1
- Page 1 STAGEMAKER INSTALLATION MAINTENANCE SPARE PARTS VERLINDE reserve the right to alter or amend the above information without notice 03.2001 – VESEGBSM10A1...
-
Page 2: Table Of Contents
Table of contents page Up date ref 1 EC Declaration of conformity 9803 2 What not to do 9803 3 What to do 9803 4 Guarantee 9803 5 General 5-1 Acceptance of the material 9803 A 5-2 Installation 9803 A 6 Description - technical characteristics 6-1 Types of hoists 9807... -
Page 3: Ec Declaration Of Conformity
1 - EC Declaration of conformity As defined by the EC directive relating to machinery 98/37/EEC. Annex II A Herewith, we declare that the product: Vernouillet - France Complies with the following provisions applying to it: - Machinery directive 98/37/EEC. - Directive 73/23/CEE. -
Page 4: What Not To Do
2 - What not to do Never move or lift the hoist by the electric cables. Do not set down the hoist without having an adapted support, to avoid damaging the components on the underside (electric cable, lifting chain, fixed point, PG cable gland, chain bucket...). Never modify the hoist unless the manufacturer has studied and authorized the modification. -
Page 5: What To Do
3 - What to do Handle the hoist by its structure, or by the devices provided for this purpose, or in its original packing. Store the hoist in its normal operating position (without load) away from aggressive atmospheres (dust, humidity...). Make sure that the hoist is always clean and protected from corrosion (lubrication...). -
Page 6: Guarantee
4 - Guarantee Our electric chain hoists are guaranteed for two years from For the duration of the guarantee, the vendor undertakes to replace or repair, free of charge, the parts that are the date of delivery. acknowledged to be damaged following examination by a If for a reason outside the control of the vendor, the delivery qualified and authorized technical service. -
Page 7: General
5 - General 5-1 Acceptance of the material Visually inspect the packaging to ensure that it is intact. If not, notify it as required. Check that the hoist corresponds to your order. For transport reasons the chain bucket is delivered disassembled. 5-2 Installation The service life of the hoist depends on the way it is installed. -
Page 8: Description - Technical Characteristics
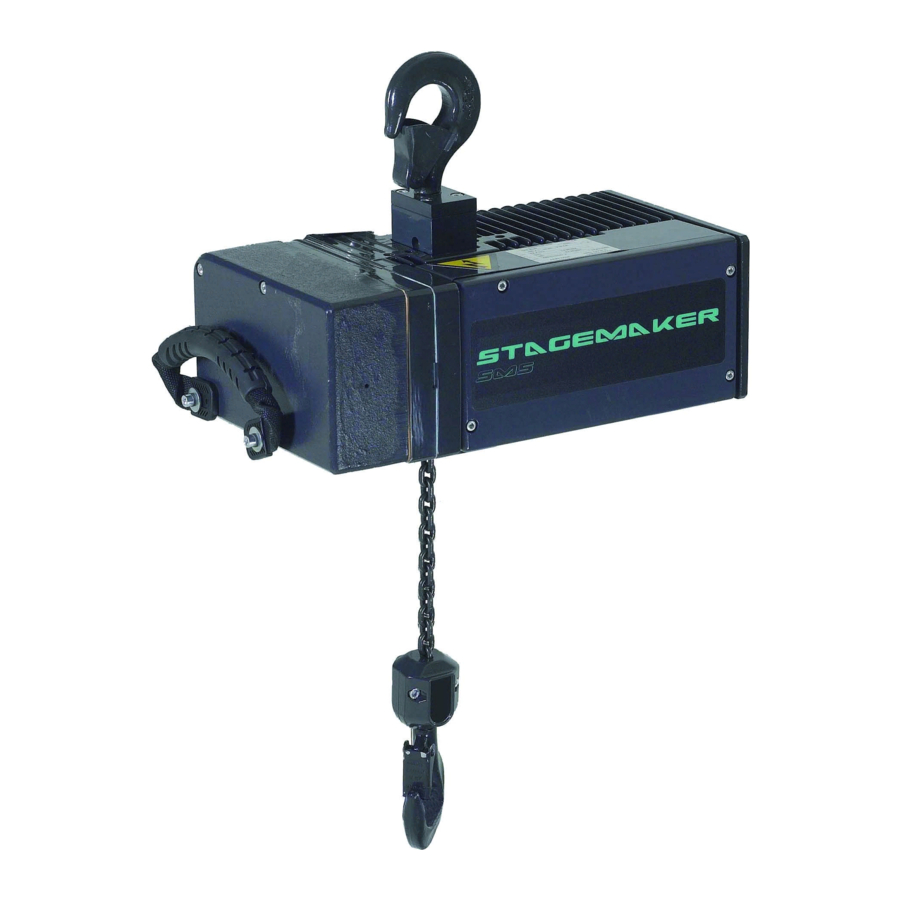
6 - Description - technical characteristics 6-1 Types of hoist Type Load Load Speed Speed Power Brins Chain m / min. ft / mn mot. / kW falls SM10 1004 m1 1000 6,8 / 17,8 SM10 1008 m1 1000 1,75 SM10 2002 m1 2000 SM10 2004 m1... -
Page 9: Hoist Dimensions And Weight
6-3 Hoist dimensions and weight 6-4 Environmental data Ambient temperature: -20°C to +40°C Protection class: IP55 as standard Side pulling angle: 3 degrees maximum Impact on the environment: Sound level: 70 decibels 6-5 Operation of the hoist Kinematic chain Motor Gear Chain sprocket Brake/limiter... -
Page 10: Operation
7- Brake/limiter assembly 7-1 Operation The parts of the limiter are mounted on the gear input shaft (1). Other brake parts are mounted on the brake cap. The spring (2) keeps a pressure between the limiter lining (3) and the brake disc (4). The nut (5) maintains the assembly on the gear input shaft. -
Page 11: Lifting Assembly
8 - Lifting assembly CAUTION ! Only a genuine, manufacturer's chain may be used. Never use the lifting chain as a sling. Never twist the lifting chain. Do not bundle the chain into the chain bucket. Always keep the chain clean and oiled and check that it is in good condition every day. 8-1 Slack fall stop (in the chain bucket) CAUTION ! The slack fall stop is a safety component, not a functional one. -
Page 12: Removal Of The Chain
8-3 Removal of the chain 2-fall chain: 1-fall chain: 1. Raise the hook block to about 30 cm from the hoist 1. Remove the load from the hook. body. 2. Disassemble the hook block. 2. Remove the chain bucket. 3. Lower the chain into the chain bucket. 3. -
Page 13: Hook "Certificate
8-5 Hook « certificate » Load Test Number Minimum Marking Dimensions capacity group load of falls ruin load Class (mm) (kg) (kg) (kg) Ø M Ø a1 1260 3970 025 T 1000 1 Bm 2000 5000 025 T 1250 2500 7875 05 T 24 105 37... -
Page 14: Electricity
9 - Electricity CAUTION! Before any operation on the electric box, check that the hoist supply is disconnected. An isolator switch should be installed at a maximum of 6 meters from the hoist. 9-1 GENERALS • The customer must supply the power supply cable, the fuses and the main isolator switch (refer to the wiring diagram). •... - Page 15 9-2.2 Printed circuit board (2 lifting speeds with emergency stop) HOIST SUPPLY hoist supply PRINTED CIRCUIT BOARD hoist supply Terminal X1 hoist supply Common _ brake Lifting K21-2 Lowering K21-4 + brake Right, electric trolley K10-1 1U-2U motor supply Left, electric trolley K25-R3 motor supply Travelling speed selector...
- Page 16 9-2.3 Power diagram Supplied by customer Electric trolley Brake F1-F2-F3 Fuse (customer) Motor Power switch (customer) Emergency stop contactor Lifting contactor Lowering contactor Speed selector T100 Control transformer Terminal board Supply connection plug (OPTION) Trolley connection plug Rectifier CAUTION ! The supply cable must be equiped with a power switch or an isolator in conformity with the regulation.
- Page 17 9-2.4 Control diagram ( 2 lifting speeds with emergency stop) Electric trolley Control box plug Do not use the controls needlessly Emergency stop Trolley connection plug (avoid inching - stop-start operation). T100 Control transformer F291 Bimetal thermal cutoff F100 T 1,25 A fuse S221 Top limit switch Emergency stop control S222 Bottom limit switch...
-
Page 18: Direct Control
9-3 DIRECT CONTROL ACF board (Option) The ACF board control electronicaly the brake. It enables a rapid brake acceleration. (As the hoist is not equipped with contractor control electrics). ACF 1, 1 lifting speed POWER SUPPLY : B- BRAKE : MOTOR CONNECTION : L1 L2 L3 PE –... -
Page 19: Maintenance - Replacement
10 - Maintenance - Replacement 10-1 Maintenance table Qualification of the Check Interval customer’s personnel Brake operation Daily Operator Visual inspection of the chain Daily Operator Suspension of the control box by the steel wire Daily Operator Cleanness and lubrication of the chain Monthly Operator Limiter operation... -
Page 20: Spare Parts Replacement Table
10-3 Spare parts replacement table CAUTION! Disconnect the power supply before replacing any parts. Spare part To be replaced by Qualification of the personnel Upper chain guide Authorized manufacturer personnel Qualified mechanic Idler sprocket Authorized manufacturer personnel Qualified mechanic PG cable gland Authorized manufacturer personnel Qualified electrician Motor input shaft + adjusting nuts... -
Page 21: Troubleshooting
11 - Troubleshooting Problem Cause Solution The chain hoist does not work The emergency stop button is activated Deactivate it Triggered fuse Replace the fuse Temperature control (optional) activated Allow to cool down Contactor terminal screws loose Tighten them Main switch is off Turn it on Impossible to lift the load Overload... -
Page 22: Illustrated Catalogue
12 - Illustrated catalogue 12-1 Casings Item Reference Description Observations 2240024 Main casing assembled ....Rotating hook ....Rotating hook fixing 2242011 Suspension member 2247007 2247008 Locking plate 830909 Screw M6x20 DIN 912 8560610 Safety washer 2240005 Motor end cap 8110051 Screw M6x20 DIN 7500 2218001... -
Page 23: Mechanism/Brake
12-2 Mechanism / Brake CODE Description 2249940 Limiter spring with motor shaft 2245025 Rotor assembly - 1 and 2-speed type 2249941 Chain sprocket assembly 2249938 Planetary gear train - 2nd step - 8M/MN 2249951 Planetary gear train - 2nd step - 16M/mn 16 2249937 Planetary gear train - 1st step - 2241074... -
Page 24: Lifting Assembly 12.3 9807
12-3 Lifting assembly Item Reference Description Observations 2244012 Upper guide chain 2244014 Lower guide chain, assembled 2244008 Rubber buffer 2243522 Chain anchor 2243521 2241046 Standard chain bucket 8011550 Screw 8561016 Safety washer 8110051 Screw M 6x20 DIN 7500 8010866 Screw M 8x65 8030800 Nut M8 ..... -
Page 25: Electric Box
12-4 Electric box Item Reference Description Observations 2243010 Electric box complete Terminal board 2243004 Equiped circuit board 8090410 Self tapping screw 3,5 x 9,5 831588 Nut M 6 Nylstop type 8110051 Screw M 6x20 7285030 Male connector 8090411 Plastic screw M 4x10 7285038 Plug 8010540... - Page 26 2, Boulevard de l’industrie B.P. 59 - 28501 Vernouillet Cedex FRANCE Tel. (33) 02 37 38 95 95 Fax. (33) 02 37 38 95 99 Internet : www.verlinde.com E-mail : contact@verlinde.com...
Need help?
Do you have a question about the STAGEMAKER COMPACT SM1 and is the answer not in the manual?
Questions and answers