Table of Contents
Advertisement
Quick Links
Advertisement
Table of Contents

Related Manuals for Monark 874E


Summary of Contents for Monark 874E
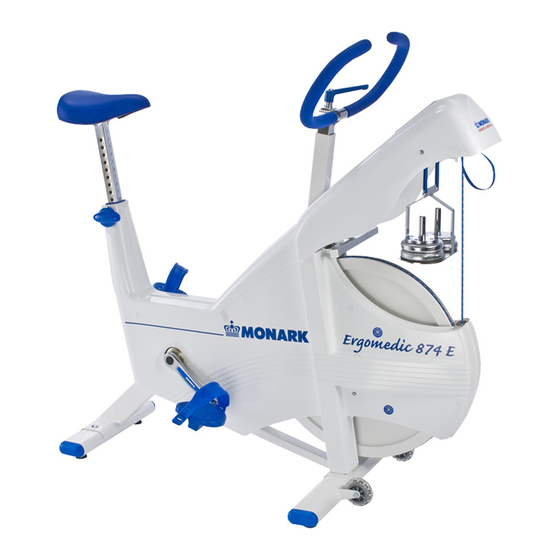
- Page 1 MANUAL Monark Ergometer 874E...
-
Page 3: Table Of Contents
CONTENTS Page Assembly instructions Brake belt/cord replacement Brake belt/cord adjusting Brake surface - flywheel Chain Crank bearing Elektronic meter Flywheel bearing General General about exercise 15-16 Operation instruction Replacement - adjustment brake belt Replacement of batteries Replacement of freewheel sprocket Service checklist Warrenty... -
Page 4: General
In the event of a defect in material or workmanship during the warranty period, Monark Exercise will repair or replace (at its option) the product. Monark Exercise will do so at its expense for the cost of materials but not for labour or shipping... -
Page 5: Assembly Instructions
PARTS BELOW ARE NOT ASSEMBLED. ASSEMBLY INSTRUCTION: See pages 5-7. HANDLEBAR/HANDLEBAR STEM PEDAL, LEFT PEDAL, RIGHT SUPPORTING TUBE, FRONT SUPPORTING TUBE, REAR WEIGHT HOLDER... - Page 6 Tip the cycle forward. Assemble the rear sup- porting tube with two bolts and two nuts. NOTE: Use the accompanying spanner. See fig 1. Serial number Fig. 1 Tip the cycle backwards. Assemble the front supporting tube with two nuts onto the two fixed bolts.
- Page 7 Check that the inclination of the saddle is comfortable and that the sadle post bracket is firmly tightened. In order to change the inclination of the saddle, loosen the saddle bracket and tighten firmly again. Post bracket Adjust to desired height position of saddle/saddle post by loosening the saddle post locking bolt.
-
Page 8: Operation Instruction
Monark Ergometer model 874E is a test cycle, which have a braking system, of which workload can be set by weights in a weight basket. Weights are in sizes 1 kg, 0,5 kg and 0,1 kg. This makes it possible to vary the workload from 1 kg up to maximum 12 kg in steps of 0,1 kg. -
Page 9: Elektronic Meter
FITNESS COMPUTER SPECIFICATIONS: RPM: 0 - 199 pedalrev./min 50 - 240 TIME: 0:00 - 99.59 min:sek SPEED: 0 - 99 km/h or mph DISTANCE: 0.0 - 99.9 km or mile FORCE 0.0 - 7.0 CALORIES 0 - 999 kcal WATT 0 - 7 x rpm watt Power supply:... -
Page 10: Replacement Of Batteries
REPLACEMENT OF BATTERIES NOTE: The batteries are at delivery in a separat package. If the batteries have been stored for a long time, the battery power can be too low to show all functions on the meter. If so, batteries must be replaced. The battery package can be reached from the down side of the panel. -
Page 11: Brake Belt/Cord Replacement
BRAKE CORD/BELT REPLACEMENT Remove the instrument cover by loosen the screws on each side of the cover. Take the return strap, see fig. 11, and lift up the weight basket until it locks in its upper position. Loosen the cord/belt bracket, see fig. 11, and take away the brake belt from the tension center. -
Page 12: Brake Surface - Flywheel
Stop lever Stop Cord bracket Tension center Return strap Hole fore cord knot Fig.11 FLYWHEEL BRAKE SURFACE - BRAKE BELT The brake cord should be regularly checked to ensure that it has not suffered execessive wear. If it looks worn it should be replaced. Deposits of dirt on the brake cord and irregularities on the brake surface may cause the unit to operate Brake surface... -
Page 13: Chain
CHAIN ½ x 1/8“ It is strongly recommended that a cahin solvent be used to keep the chain clean. Excess dirt built up on the chain will cause excess wear. A chain lubricant and solvent for normal road bikes may be uaed. -
Page 14: Replacement Of Freewheel Sprocket
REPLACEMENT OF THE FREEWHEELING SPROCKET Remove left and right frame cover. Dismantle the chain as described on page 20 - 21. Loosen the axle nuts and lift off the flywheel. Remove the axle nut, washer, chain adjuster and spacer on the freewheel side. Place the special remover (part No. 9100-14) in the adapter and place the spacer and axle nut outside. -
Page 15: Crank Bearing
VEVLAGER Vevlagringen är typ kasettvevlager och fordrar normalt inga åtgärder. Om fel i lagringen konstateras eller misstänks vänd Er till fackman för byte. BROMSHJULSLAGRING Lagren i bromshjulet är livstidssmorda och fordrar normalt inga åtgärder. Om fel i lagren misstänks eller konstateras, vänd Er till fackman för byte. SERVICE Kontrollera: ! att kedjan går jämnt och att det inte finns något glapp i vevlagringen... - Page 16 What kind of exercise to choose? 1. You should have fun when exercising. Choose something you find pleasure in doing regularly. 2. To get o good effect out of the training you should choose a form of exercise that engages large muscle groups.
- Page 17 78050 Vansbro, 432 82 Varberg Tel: +46 0281 594940 Fax:+46 0340 80485...
Need help?
Do you have a question about the 874E and is the answer not in the manual?
Questions and answers