Advertisement
Elara™ FR-345-EST
Quick Install Guide
1 Check Contents
Make sure all of the items above are included in the camera kit.
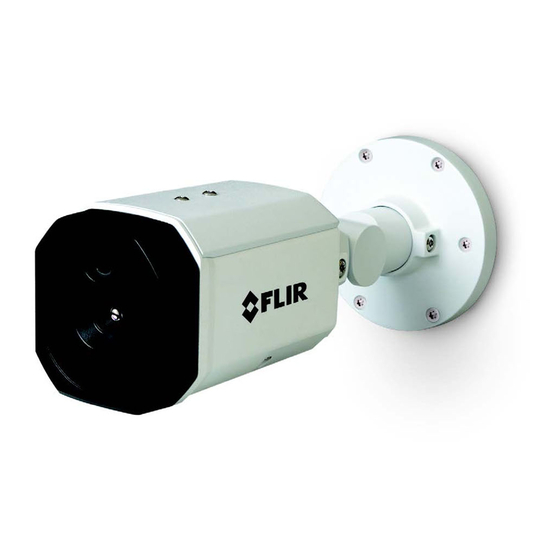
2 Select a Location
Select a suitable location to mount the camera.
The focus for both of the camera's sensors is fixed at one meter (39.4"). If it will be
used in EST screening mode, make sure to install the camera so that the faces of
persons being screened for EST are 1m ± 0.2m (39.4" ± 7.9") away from the front
of the camera.
Verify that the operating temperature is 15°C to 45°C (60°F to 110°F), 0-95%
relative humidity. The camera provides optimal performance in a stable
environment near 22°C (72°F).
For further advice on positioning and orienting the camera, see the camera's
installation and user guide.
3 Configure the Camera
FLIR recommends configuring the camera on a bench or in a lab before mounting
and aiming it. However, it is also possible to configure the camera after mounting
it, which could be more appropriate for certain installations.
3.1 Install the FLIR DNA tool
To discover the camera on the network, FLIR recommends using the FLIR
Discovery Network Assistant (DNA) tool. Version 2.3.0.19 or higher supports Elara
FR-345-EST, does not require a license to use, and is a free download from
Elara FR-345-EST QIG Rev 110
December 2020
This document does not contain any export-controlled information.
Advertisement
Table of Contents

Subscribe to Our Youtube Channel
Related Manuals for FLIR Elara FR-345-EST


Summary of Contents for FLIR Elara FR-345-EST
- Page 1 3 Configure the Camera FLIR recommends configuring the camera on a bench or in a lab before mounting and aiming it. However, it is also possible to configure the camera after mounting it, which could be more appropriate for certain installations.
- Page 2 By default, DHCP is enabled on the camera and a DHCP server on the network assigns the camera an IP address. For example, if the camera is managed by FLIR's Horizon or Meridian VMS and the VMS is configured as a DHCP server, the VMS automatically assigns the camera an IP address.
- Page 3 If the camera is managed by FLIR’s Latitude VMS or is on a network with static IP addressing, you can manually specify the camera’s IP address using the DNA tool or the camera's web page. The camera's default IP address is 192.168.0.250.
-
Page 4: Install The Camera
CB-WLBX-G4 Wall & Surface Mount Kit, which includes a junction box. For the full list of mounting and other accessories available for the camera, see the FLIR Security Cameras - Accessory Guide. 4.1 Fit Mounting Hardware If using the CB-WLBX-G4 Wall & Surface Mount Kit with junction box, install it according to the installation guide for that accessory. - Page 5 While aiming the camera, make sure to support the Important camera's weight with your hand. FLIR recommends aiming the camera while monitoring the camera's live video on the camera web page or in a video stream. Elara FR-345-EST QIG Rev 110 December 2020 This document does not contain any export-controlled information.
- Page 6 Click System Settings > Boresight. The Boresight page opens. d. Using the digital pan, tilt, zoom, and crosshair controls, align the visible video image with the thermal video image. e. Click Save. Elara FR-345-EST QIG Rev 110 December 2020 This document does not contain any export-controlled information.
-
Page 7: Camera Dimensions
After you have mounted the camera and discovered or defined its IP address, you can use VMS Discovery/Attach procedures to attach the camera to a supported VMS. 7 Camera Dimensions The Elara FR-345-EST camera’s dimensions are: Side View Front View 8 Register the Product Register your Product with FLIR at https://customer.flir.com.
Need help?
Do you have a question about the Elara FR-345-EST and is the answer not in the manual?
Questions and answers