FLIR M-Series Manual
Integration of the flir m-series into a navnet network
Hide thumbs
Also See for M-Series:
- Operator's manual (78 pages) ,
- Installation manual (28 pages) ,
- Owner's manual (10 pages)
Advertisement
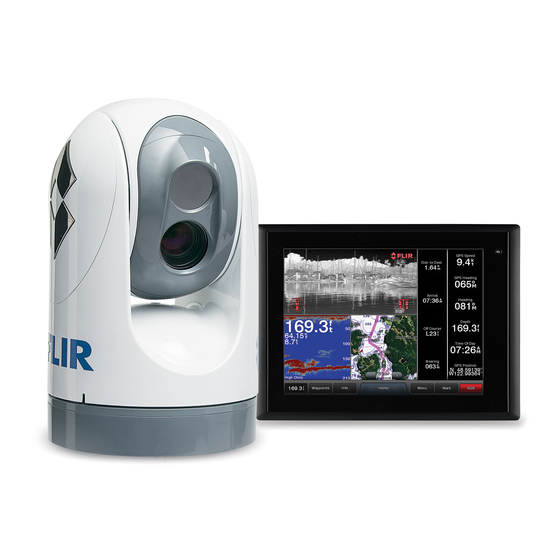
FLIR M-Series and NavNet TZtouch
Overview
The following example illustrates the integration of the FLIR M-Series into a NavNet network. The M-
Series and the JCU controller are set with a fix IP address compatible with NavNet TZtouch. When you
purchase a FLIR (with JCU), it will have a different IP address and will require changes before it is
used with the TZtouch system.
Installation
FLIR Configuration
You have to assign the M-Series and the Controller (JCU), a fixed IP address. We recommend you use
192.168.252.200 / 255.255.255.0 for the M-Series Camera, and 192.168.252.201 / 255.255.255.0
for the JCU (although any IP beginning with 192.168.252.x would work as long as they don't collide
with any existing IP).
The FLIR M-Series and the JCU controller are UPnP-enabled devices. You can easily see the list of
UPnP-enabled devices from your computer by opening "My Network Places" if using a Microsoft XP
computer or "Network" if using a Vista, Windows 7 or Windows 8 computer. Note that the M-Series
and JCU will only appear on your PC, if they are all on the same network domain.
Normally, the JCU gets its power from the camera when directly connected to the M-Series. When
connecting the JCU to a HUB or Switch, you must use a power injector (48V) to power the unit (see
diagram above).
When the computer is connected to the M-Series Camera and JCU via an Ethernet cable or via a
Hub/Switch (without router or DHCP server on the network), the M-Series and JCU automatically
assign themselves an IP address of 169.254.x.x / 255.255.0.0. In order to access the configuration
Advertisement
Table of Contents

Related Manuals for FLIR M-Series


Summary of Contents for FLIR M-Series
- Page 1 Series and the JCU controller are set with a fix IP address compatible with NavNet TZtouch. When you purchase a FLIR (with JCU), it will have a different IP address and will require changes before it is used with the TZtouch system.
- Page 2 M-Series and JCU icon under “My Network Places” (XP) or “Network” (Vista/Windows 7/ Windows 8): Note: If the devices do not appear, try to restart the M-Series and JCU, then check if your computer is setup to display UPnP notifications:...
-
Page 3: Camera Setup
CAMERA SETUP: Double click on the M-SERIES icon to open its configuration webpage. To configure a fixed IP address, click on “Network Setup”: Select the Static (fixed) option rather than Dynamic: The screen will refresh, and the IP, Mask, and Gateway fields will change from grey to white, indicating they can accept user entries. - Page 4 “Save”. FINAL SETUP After changing the IP address of the M-Series Camera and JCU, change the IP address of the PC (192.168.252.10 / 255.255.255.0) to confirm that you see the FLIR and JCU icon again in “My Network Place” (XP) or “Network” (Vista/Windows 7,8).
- Page 5 IMPORTANT: If the M-Series is not discovered automatically, refer to the appendix (at the end of this document) to configure the internal M-Series NEXUS server. Once the FLIR has been detected, select the video input where the analog video output of the FLIR is connected: Note: You could connect the analog video output of the M-Series to an AXIS IP video converter.
- Page 6 TZtouch display but are able to use the Web Control of the M-Series to control it via a web browser on your PC, follow the guide below. Note: If you are not able to control the M-Series from a Web Browser on your PC, make sure that the Ethernet connection and IP addresses are correctly setup.
- Page 7 Scroll at the very bottom of the page and click on “Download Configuration File” Save the file somewhere on your computer (on the desktop for example). Open the configuration file (“server.ini”) with NotePad and look for the section “[Networking Configuration]” Set “Enable Network Discovery”, “Enabled”...
- Page 8 Click on “Choose file” and select the “server.ini” file you just modified. Click on “Upload”. The FLIR M-Series Nexus server needs to be restarted to take the changes into account. Go to the very top of the page (header) and click on “Stop”...
Need help?
Do you have a question about the M-Series and is the answer not in the manual?
Questions and answers