
Related Manuals for Stryker Physio Control Lifepak CR2


Summary of Contents for Stryker Physio Control Lifepak CR2
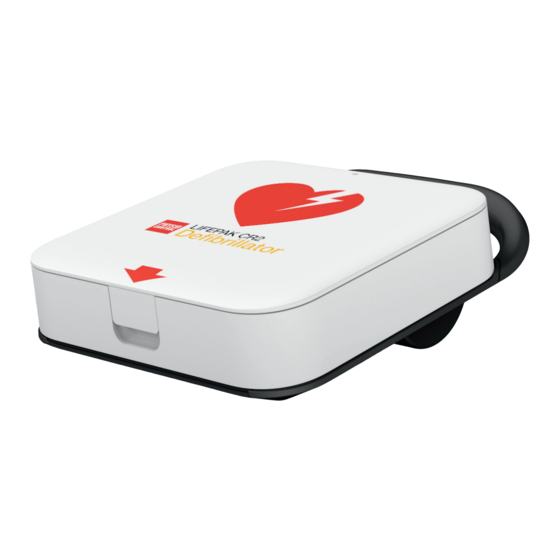
- Page 1 LIFEPAK CR2 Defibrillator ® with LIFELINKcentral AED Program Manager ™ Wireless Setup Guide...
-
Page 2: Before You Begin
Please ensure the LIFEPAK CR2 Defibrillator is ‘Connected and Ready’ for use in an emergency by following these simple instructions. Before You Begin Determine your online account type Determine your defibrillator type You should have an account on one of the following Follow the Getting Started Guide provided with the defibrillator and determine what type of defibrillator you two websites. - Page 3 Wireless Setup Overview A typical wireless setup takes 10-20 minutes. The following pages will guide you through these steps: Download a software application from a website to your computer. Run the application on your computer to load Wi-Fi network settings into the AED. Connect the AED to the wireless network at its intended location.
-
Page 4: Pre-Installation Checklist
Pre-installation Checklist Identify the Wi-Fi network information you will need to Set up your LIFEPAK CR2 Defibrillator (AED) as connect the AED to the network. instructed in the Getting Started Guide and verify the Readiness indicator is flashing. NETWORK NAME: Confirm that the intended location for the AED has a SECURITY KEY: good connection to the Wi-Fi network. - Page 5 Log in to your LIFELINKcentral AED Program Manager account. Use the logon name and password from your “Welcome to LIFELINKcentral” email to log in. FAQs Q: I did not receive an email with my logon name and password. What should I do? A: Check to see if the email was sent to another person in your organization.
- Page 6 Download and install the Wi-Fi Configuration Tool to your PC. Click the icon in the upper right corner Select Resource Center and then select of the screen to download the Wi-Fi Wi-Fi Configuration Tool. Configuration Tool.
- Page 7 After the Wi-Fi Configuration Tool When you see the InstallShield Wizard has downloaded, double-click the Completed screen, make sure the Launch WCT.xxxxx_Setup.exe file to install it. Wi-Fi Configuration Tool checkbox is selected, If you don’t see the file, look in your and then click Finish.
- Page 8 Run the Wi-Fi Configuration Tool and follow the onscreen instructions. This step loads your Wi-Fi network settings into the AED. In the Registration screen, select your When you are instructed to Connect LIFEPAK CR2 country and enter your user name and to Computer, use the USB cable included in the password.
- Page 9 In the Specify Wi-Fi Network Settings screen, When the Wi-Fi setup is complete, you will select a network or click Add Custom Network see the Update Successful screen. to enter your Wi-Fi network settings. Click Next to apply the settings. Click Next, disconnect the USB cable, and then click Close.
- Page 10 Take the AED to its intended location and test the wireless connection. Take the AED to its intended location. Immediately: Open the lid and wait until the voice Close the lid prompts start. Place the AED in its permanent storage location (for example, cabinet or vehicle) Close the door of the cabinet or vehicle The AED will attempt a wireless connection and it must...
- Page 11 If you hear “Wi-Fi connection initiated,” go to step 5. If you hear “Mobile connection initiated,” go to step 6. FAQs Q: I pressed both buttons, but never heard the “Device ready” prompt. A: When you open the lid, you must wait until the voice prompts start before pressing the two buttons. After the voice prompts start, you must press the two buttons within 10 seconds.
- Page 12 Confirm the Wi-Fi Connection With the AED in its permanent location, listen for the following voice prompts: “Wi-Fi connection initiated,” followed by “Connection in progress.” There will be a pause while the AED connects. “Connection established.” Once a Wi-Fi connection is established, the AED will update your online account with its current status.
- Page 13 FAQs Q: I heard “Unable to establish Wi-Fi network connection.” What should I do? A: This may mean that the signal strength at your location is not strong enough to connect the AED to the Wi-Fi network. After you hear “Powering off,” move the AED installation closer to your Wi-Fi access point and try again.
- Page 14 Confirm the cellular connection, if applicable. “Connection established.” If your AED has cellular capability, it will attempt a cellular connection Once a cellular connection is immediately after the Wi-Fi connection established, the AED will update your online account with its in step 5.
- Page 15 Return to your computer, log in The wireless setup is to your account, and verify that now complete. the AED is ready. Please return to step 9 in the Note: See step 1 for information about logging in to Getting Started Guide for your account.
-
Page 16: How To Get Help
How to get help. If you need assistance, contact Physio-Control Customer Support. See the contact list included with this guide for region-specific phone numbers. When you call, be prepared to provide your AED serial number (recorded in step 4 of the Getting Started Guide). Physio-Control Headquarters Customer Support 11811 Willows Road NE...
Need help?
Do you have a question about the Physio Control Lifepak CR2 and is the answer not in the manual?
Questions and answers