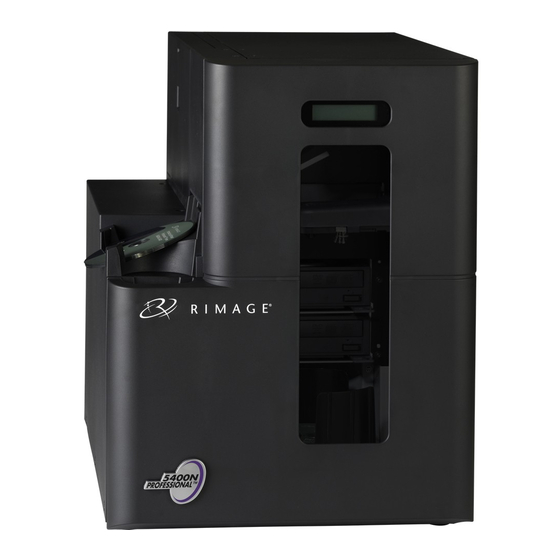
Rimage Professional 3400 Diagnostic Manual
Hide thumbs
Also See for Professional 3400:
- User manual (283 pages) ,
- Upgrade installation (4 pages) ,
- User manual (41 pages)
Table of Contents
Advertisement
Quick Links
Advertisement
Table of Contents

Related Manuals for Rimage Professional 3400


Summary of Contents for Rimage Professional 3400
- Page 1 Rimage Professional™ 3400 and 5400N Diagnostic Tests...
-
Page 2: Table Of Contents
Contents Diagnostic Tests for the Rimage Professional™ 3400 and 5400N ........1 Access and Select Diagnostic Tests ....................... 1 Access Diagnostic Mode ..........................1 Select a Diagnostic Test ..........................1 Exit Diagnostic Test Mode ..........................2 Perform Diagnostic Tests ........................2 Test 1 –... -
Page 3: Diagnostic Tests For The Rimage Professional™ 3400 And 5400N
Diagnostic Tests for the Rimage Professional™ 3400 and 5400N This document provides the information needed to access, select and perform all diagnostic tests for the Rimage Professional 3400 and 5400N. The term “autoloader” is used throughout this document to refer to these products. ... -
Page 4: Exit Diagnostic Test Mode
Diagnostic Tests for the Rimage Professional™ 3400 and 5400N Exit Diagnostic Test Mode 1. If a diagnostic test is currently in process, press button 1 once to stop the test. 2. When the diagnostic test is stopped, press button 1 eight times and hold it in until the operator panel displays [99 EXITING DIAGNOSTIC]. -
Page 5: Test 2 - Cycle Test Diagnostic
Rimage Professional™ 3400 and 5400N Diagnostic Tests Test 2 – Cycle Test Diagnostic This test has 6 cycles. The cycles are determined by whether or not a disc is present and where it is placed in the autoloader. The cycle beings when the autoloader detects the location of the disc, if present. -
Page 6: Cycle 2: Cycle A Disc At The Recorder
Diagnostic Tests for the Rimage Professional™ 3400 and 5400N Cycle 2: Cycle a Disc at the Recorder 1. Select diagnostic test 2. Refer to page 3. 2. Open the recorder tray. Important! Make sure the printer tray is closed. -
Page 7: Cycle 4: Cycle Discs At The Carousel
Rimage Professional™ 3400 and 5400N Diagnostic Tests Cycle 4: Cycle Discs at the Carousel 1. Select diagnostic test 2. Refer to page 3. 2. Make sure the printer tray and recorder trays are closed. 3. Place discs (Qty. 50) in carousel bin 1. -
Page 8: Cycle 6: Cycle The Lift Arm
Diagnostic Tests for the Rimage Professional™ 3400 and 5400N Cycle 6: Cycle the Lift Arm 1. Select diagnostic test 2. Refer to page 3. 2. Make sure that the printer tray and recorder trays are closed. 3. Make sure that carousel bins 1, 2, and 3 are empty. - Page 9 Rimage Professional™ 3400 and 5400N Diagnostic Tests 6. Check the position of the carousel. Note: When the carousel is positioned correctly, the disc should not touch any part of the carousel. Manually, lower the lift arm and attached disc all the way into bin 1.
-
Page 10: Test 4 - Sensors Test Diagnostic
Diagnostic Tests for the Rimage Professional™ 3400 and 5400N Test 4 – Sensors Test Diagnostic This test verifies the functionality of the motion detectors and sensors in the 3400 and 5400N. There are 2 motion detectors and 5 sensors and in the autoloader. -
Page 11: Lift Motion Detector (Lm)
Rimage Professional™ 3400 and 5400N Diagnostic Tests Lift Motion Detector (LM) The lift motion detector senses when the lift arm is in motion. When the lift arm is in motion, the operator panel displays a digital value, signified by ‘X’. -
Page 12: Output Bin Sensor (O)
Diagnostic Tests for the Rimage Professional™ 3400 and 5400N Output Bin Sensor (O) The output bin sensor is located inside the output bin, on the left side of the autoloader. It detects when the output bin is full. Note: The output bin holds 8 discs. -
Page 13: Test 5 - Cycle Carousel Test Diagnostic
Rimage Professional™ 3400 and 5400N Diagnostic Tests Test 5 – Cycle Carousel Test Diagnostic This test continuously cycles the carousel between bins 1 and 3. 1. Make sure the autoloader is in diagnostic test mode. Refer to the Access and Select Diagnostic Tests section on page 1. - Page 14 Diagnostic Tests for the Rimage Professional™ 3400 and 5400N Support information Contact Rimage US, Asia/Pacific, Mexico/Latin America: When you contact Rimage Support, please provide: Web: www.rimage.com/support • Unit serial number and software version. KnowledgeBase: http://rimage.custhelp.com • Functional and technical description of the problem.
Need help?
Do you have a question about the Professional 3400 and is the answer not in the manual?
Questions and answers