Advertisement
Assembly Instructions
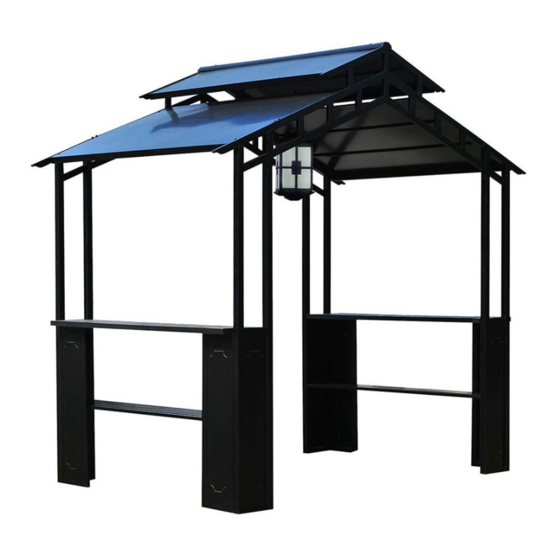
Item: L-GZ459PAL-D
Our clear, easy-to-follow, step-by-step instructions will guide you through the project from start to finish. The final
product will be a quality piece that will go together smoothly and give years of enjoyment.
All you will need is a screwdriver, a hammer and two ladders whose height is no less than 2.5m.
Note: THIS UNIT IS HEAVY!
Do NOT assemble this item alone for safety. Four people are necessary.
Item Identification: For ease of identification, all parts are labeled to correspond to the Step number in which the
part is used
Advertisement
Table of Contents

Subscribe to Our Youtube Channel
Related Manuals for Sunjoy L-GZ459PAL-D


Summary of Contents for Sunjoy L-GZ459PAL-D
- Page 1 Assembly Instructions Item: L-GZ459PAL-D Our clear, easy-to-follow, step-by-step instructions will guide you through the project from start to finish. The final product will be a quality piece that will go together smoothly and give years of enjoyment. All you will need is a screwdriver, a hammer and two ladders whose height is no less than 2.5m.
- Page 2 Parts List Screen 1 Screen 2 Side panel 1 Side panel 2 Roof support frame Pothook beam Pothook Small top roof panel Big top roof panel Cover plate Slate top Shelf Support piece LED Light Remote control...
- Page 3 Hardware Pack 1 M6X15 Bolt 16PCS M6X20 bolt 4PCS M6 flat washer (Bigger) 32 PCS M6X35 bolt 8 PCS M6 wrench 1 PC Fig.1: Insert screen (A & B) to roof panel (E), fix them with bolt (AA) and washer (BB), fix bottom hole with bolt (II) and washer (BB) (Note: Put the parts on the ground evenly.)
- Page 4 Hardware Pack 2 M6X20 bolt 2PCS M6 flat washer (bigger) 34 PCS M6X15 bolt 24PCS M6X35 bolt 8 PCS Fig.3 Fig.4...
- Page 5 Fig.3: Attach pothook (G) to pothook beam (F), then fix pothook beam (F) to the top of roof panel (E) with bolt (II) and washer (BB). Fig.4: Attach support piece (M) to screen A (B) & side panel C (D) with bolt (HH) and washer (BB). Then place slate top (K) to side panel (D &...
- Page 6 Fig.6: Attach small top roof panel (H) to roof panel (E) with bolt (EE) and washer (BB). Fig.7: Attach big top roof panel (I) to roof panel (E) with bolt (EE) and washer (BB). Fig.8: Attach cover plate (J) to pothook beam (F) with bolt (FF) and washer (BB). Hang LED light (N) to the pothook (G) when use.
- Page 7 Fig.10: Hang assembled light (N) on pothook (G) when use.
- Page 8 Please do not return this product to the store. For technical assistance on assembly or replacement parts. Please call Sunjoy Industries at 1-866-578-6569 from 8:00 am EST to 8:00 pm PST or fax the replacement part form which is in the box to 1-740-283-3549 or Email customer.care@sunjoygroup.com for assistance.
Need help?
Do you have a question about the L-GZ459PAL-D and is the answer not in the manual?
Questions and answers