
Related Manuals for Sunjoy L-GZ472PST-C-A


Summary of Contents for Sunjoy L-GZ472PST-C-A
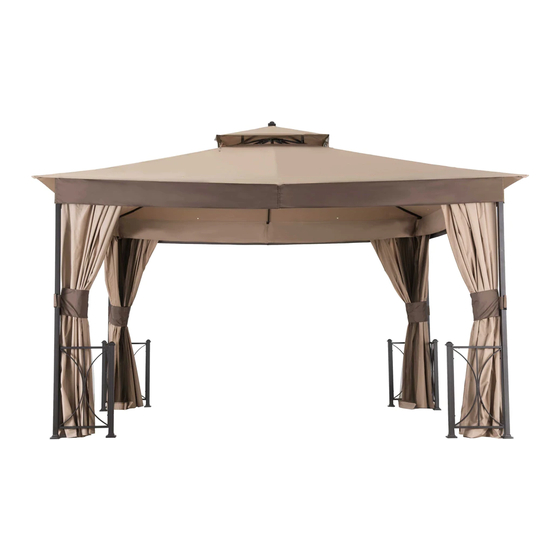
- Page 1 Assembly Instructions Item#: L-GZ472PST-C-A 2019+工厂代码 Production Number:2018xxxx...
-
Page 2: Table Of Contents
Table of Contents Table of Contents ............2 Hardware Included ............. 3 Safety Information ............2 Package Contents ........... 4-5 Warranty ................. 2 Assembly ..............6-8 What is Covered ............2 Care and Cleaning ............9 What is Not Covered ..........2 Important ………………………………….…………...…..9 Pre-Assembly .............. -
Page 3: Pre-Assembly
Pre-Assembly PLANNING ASSEMBLY Before beginning assembly of this product, make sure all parts are present. Compare parts with the Hardware Included and Package Contents lists. If any part is missing or damaged, do not attempt to assemble the product. Contact customer service for replacement parts. -
Page 4: Package Contents
PACKAGE CONTENTS Description Part# Label Image Big post P11175B01108 P11176B01108 Small post P11224A01108 Fence P11023D01108 Long screen 1 P11024D01108 Long screen 2 P11025D01108 Short screen 1 P11026D01108 Short screen 2 Long mosquito net P12169A01108 tube Short mosquito net P12170A01108 tube P10407B01108 Middle beam 1 P10408B01108... - Page 5 Description Part# Label Image Straight pipe P10839A01108 connector P00155B07011 Small canopy P00156B07011 Big canopy P00340B01902 Mosquito net P00218B07011 Wall...
-
Page 6: Assembly
Assembly Attaching the long and short Attaching the screens to the screens post □ Insert the long screen 1 (D) into long screen 2 (E). Then □ Install the assembled screens to the big posts (A) using install straight pipe connector (S between the two bolts (CC) and flat washers (BB). - Page 7 Assembly (continued) Assembling the oblique Assembling the roof beams □ Insert the oblique beams (L) into oblique beam □ Insert the oblique beams (L) into the connecting tube of connectors (M). Secure the oblique beam connectors big roof connector (N). Secure the hook (R) to the big (M) to the U-shaped assembly using bolts (CC), flat roof connector (N).
- Page 8 Assembly (continued) Attaching the small roof Attaching the decoration oblique beams □ Insert the small roof oblique beams (P) into the small □ Assemble the small canopy (T) to the small roof oblique roof connector (O). beam (P) and assemble the decoration (Q) to the small roof connector (O).
-
Page 9: Care And Cleaning
Important Please do not return this product to the store. For technical assistance or replacement parts, please call Sunjoy Group at 1 (866) 578-6569 anytime. You may fax your replacement parts form (which is included in the packaging) to 1 (740) 283-3549 or email to customer.care@sunjoygroup.com...
Need help?
Do you have a question about the L-GZ472PST-C-A and is the answer not in the manual?
Questions and answers