Advertisement
ASSEMBLY INSTRUCTIONS
ITEM# L-GZ798PST-E (A)
SKU# 222255/222256
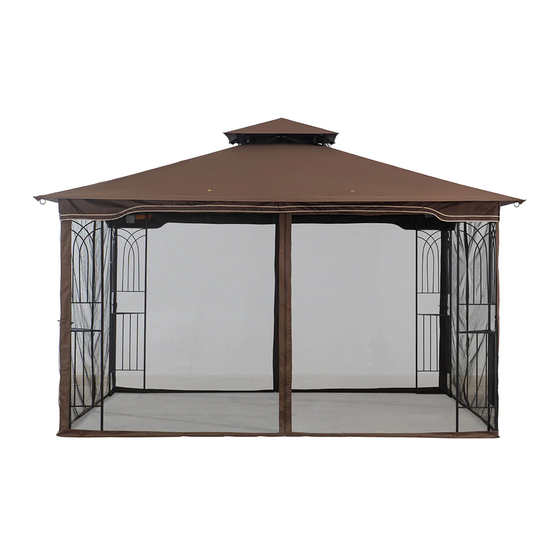
GAZEBO REGENCY DLX
IF YOU PURCHASED THE GAZEBO ONLINE AND HAVE ANY
QUESTIONS OR CONCERNS
PLEASE CONTACT YOUR SELLER FIRST
GO TO YOUR ORDER DETAILS,
CLICK ON THE SELLER NAME,
THEN "ASK A QUESTION" OR "CONTACT SELLER" BUTTON
OTHERWISE PLEASE VISIT OUR WEBSITE AT:
www.sunjoyonline.com
OR TOLL FREE AT:
1-866-578-6569
8:30 AM EST TO 8:30 PM PST
SUNJOY INDUSTRIES GROUP LIMITED
619 Slack Street
Steubenville, Ohio 43952 US
Production Number: 2020200007
Advertisement
Table of Contents

Related Manuals for Sunjoy REGENCY L-GZ798PST-E


Summary of Contents for Sunjoy REGENCY L-GZ798PST-E
- Page 1 THEN “ASK A QUESTION” OR “CONTACT SELLER” BUTTON OTHERWISE PLEASE VISIT OUR WEBSITE AT: www.sunjoyonline.com OR TOLL FREE AT: 1-866-578-6569 8:30 AM EST TO 8:30 PM PST SUNJOY INDUSTRIES GROUP LIMITED 619 Slack Street Steubenville, Ohio 43952 US Production Number: 2020200007...
- Page 3 SAFETY INFORMATION: Please read and understand this entire manual before attempting to assemble or install the product. When installing and assembling the item, it is recommended two or more adults are involved This product is intended for outdoor use only and should be placed on flat, horizontal ground ...
- Page 4 Parts List Description Part Image Corner Panel Long Cross Beam 1 Long Cross Beam 2 Short Cross Beam 1 Short Cross Beam 2 Oblique Beam Long Middle Beam Short Middle Beam Bottom Long Middle Beam Bottom Oblique Beam 1 Bottom Oblique Beam 2 Big Roof Connector Hook Small Roof Oblique Beam...
- Page 5 Mosquito netting Knob Plastic Ring 7” Ground Stakes Fig.1: Spread the Corner Panels (A) on the ground, approximately 10 feet apart Fig.2: Insert Long Cross Beams (B and C) into each other, tighten with Knobs (S); insert Short Cross Beams (D and E) into each other, tighten with Knobs (S) Fig.3: Connect Corner Panels (A) with assembled Cross Beams (B-C and D-E);...
- Page 6 Fig.4: Insert the Oblique Beam (F) into Bottom Oblique Beam (J1&J2), you will assemble four Oblique Beams Fig.5,6: Ask your assistant to step on the ladder and hold Big Roof Connector (K) in the middle of the Gazebo; one-by-one insert assembled Oblique Beams F-J1 and F-J2 into the Corner Panels (A), then into the Big Roof Connector(K);...
- Page 7 Fig.13: Spread Large Canopy (P) to the roof along the Oblique Beams, aligning the corners and stretching it to fit Fig.14: Place Corner Shelves (O) onto Corner Panels (A) as desired. Fig.15: Hang the Mosquito Netting (R) on the cross beams rails, by using the Plastic Rings (AA) Fig.16: Secure the assembled gazebo to the ground with the provided stakes (BB) through the bottom of Corner Panels (A) or bolt it down to the patio/deck with appropriate bolts/screws (not included) CARE &...
Need help?
Do you have a question about the REGENCY L-GZ798PST-E and is the answer not in the manual?
Questions and answers