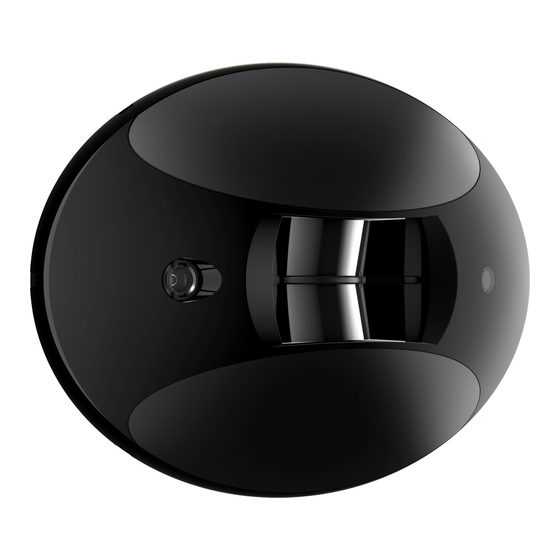
Summary of Contents for BEA LZR SIGMA
-
Page 1: Table Of Contents
How to connect - power How to connect - network INSTALLATION Installation preparation Installation location tips Mounting options Before you begin Mounting SETUP ADDITIONAL FEATURES INSTALLATION VERIFICATION TROUBLESHOOTING APPENDIX: SENSOR LOG ©BEA | Original Instructions 75.5929.01 LZR-SIGMA 20210630 Page 1 of 17... -
Page 2: Product Information
When installing multiple sensors at one site, It is considered best practice to log each sensor and its location. Please use the log chart (Appendix) by adhering the extra sticker (loose in box) in the appropriate space and log the site location. ©BEA | Original Instructions 75.5929.01 LZR-SIGMA 20210630... -
Page 3: Led Indications
The device is connecting to the network Learning Define the max. limit on your right or left Error If this occurs, please contact BEA. Connection to the device is impossible Updating Wait for update completion Check network settings with your IT support... -
Page 4: How It Works
Ports 123 (UDP), 22 (TCP), 443 (TCP), and 8883 (MQTT) must be open. LZR-SIGMA-ETH models: The following sites must be accessible: • ethernet SFTP (Port 22) sftp://drop.sensorio.com/upload sftp:// 13.80.21.238/upload HTTPS (Port 443) https://callback.sensorio.com http://httpbin.org/post https://www.sensorio.com/ MQTTS (Port 8883) eu.airvantage.net ©BEA | Original Instructions 75.5929.01 LZR-SIGMA 20210630 Page 4 of 17... -
Page 5: Installation
INSTALLATION INSTALLATION PREPARATION BEA, Inc. recommends that you prepare for your installation to avoid unexpected hurdles while on the job. Identify all of the entryways that will require sensors for counting coverage. Review the environment of each entryway (using the following BEA mounting recommendations) to strategize sensor placement. - Page 6 UNSURE ABOUT YOUR APPLICATION? EMAIL BEA FOR A GUIDED INSTALLATION! If your application has many nuances to be considered that makes you question sensor placement, BEA is here to help. Before contacting BEA, please be sure to take photographs of the entryway in question - the more, the better! Helpful tips for photos: •...
-
Page 7: Installation Location Tips
Observe the "A" and "B" markings on the sensor. When wall mounting (or ceiling mounting near a wall), direction A must be pointing away from the wall. Scan me to start X0006F ©BEA | Original Instructions 75.5929.01 LZR-SIGMA 20210630 Page 7 of 17... - Page 8 When that is not possible, you can install SIGMA on the opening side. Make sure you place it right above the leading edge (option 2). closing side closing side closing side closing side ©BEA | Original Instructions 75.5929.01 LZR-SIGMA 20210630 Page 8 of 17...
-
Page 9: Mounting Options
See User's Guide 75.5799 for more information. BEFORE YOU BEGIN BEA highly recommends downloading the LZR-SIGMA mobile app and registering your account before you begin the mounting process. ©BEA | Original Instructions 75.5929.01 LZR-SIGMA 20210630... -
Page 10: Mounting
Secure the base to the ceiling. If necessary, a piece of the base can be removed with a cutting tool. Or use BEA’s wall mounting accessory to Connect the cable to the counting head secure to the wall. Clip the counting head to the base and close SIGMA. -
Page 11: Setup
Identify the site (usually a store Begin typing the address and a list will number or location name). autopopulate with locations. Choose from an option within the list. ©BEA | Original Instructions 75.5929.01 LZR-SIGMA 20210630 Page 11 of 17... - Page 12 MANUAL ADJUSTMENT (preferred): Measure the width of the entryway and increase or decrease limit accordingly using the + and - buttons. BEA recommends adding 6" to your dimensions to ensure your area is fully covered. AUTOMATIC ADJUSTMENT: Follow prompts.
- Page 13 Once setup is complete, perform a manual counting proof to verify that your sensor setup is satisfactory. H12345 See next page for information on counting proofs. ©BEA | Original Instructions 75.5929.01 LZR-SIGMA 20210630 Page 13 of 17...
-
Page 14: Additional Features
Partial = clears only field limits Full = clears all, including sensor information ©BEA | Original Instructions 75.5929.01 LZR-SIGMA 20210630 Page 14 of 17... -
Page 15: Installation Verification
Perform another manual counting proof and walk at an angle through the detection zone, entering on the edges of the detection zone. Review proof and determine if limits need widened. BEA recommends widening by 6" increments. Review proof and determine if obstructions are affecting sensor performance or if the sensor mounting orientation is incorrect (see page 6, Sensor Directionality). -
Page 16: Troubleshooting
The ethernet configuration is wrong or no cellular network is available White LED Check the network connection Check if port 8883 is opened Error If this occurs, please contact BEA. Orange LED on Updating Connection to the device is impossible Wait for update completion Orange LED flashing... -
Page 17: Appendix: Sensor Log
Please use the log chart below by adhering the extra sticker (loose in box) in the appropriate space and log the site location. QR code Site location QR code Site location QR code Site location QR code Site location ©BEA | Original Instructions 75.5929.01 LZR-SIGMA 20210630 Page 17 of 17...


Need help?
Do you have a question about the LZR SIGMA and is the answer not in the manual?
Questions and answers