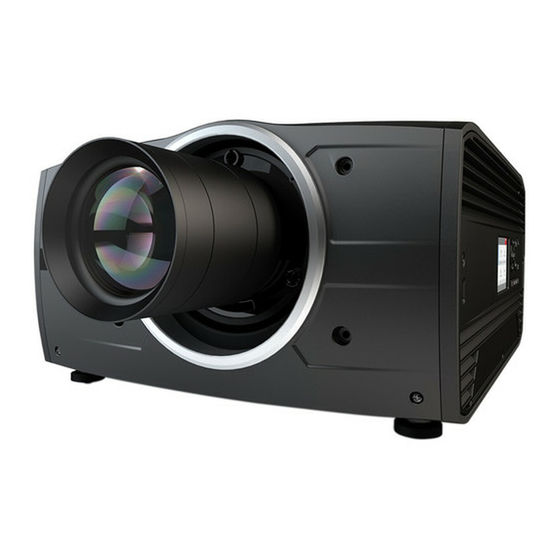
Barco F70 Series User Manual
3d functionality pulse platform
Hide thumbs
Also See for F70 Series:
- User manual (218 pages) ,
- Service manual (168 pages) ,
- Installation manual (22 pages)
Summary of Contents for Barco F70 Series
- Page 1 3D functionality Pulse Platform User Guide Valid for F70, F80 and F90 series projectors. 601–0469/00 27/02/2018...
- Page 2 Barco Fredrikstad AS Habornveien 53, N-1630 Gamle Fredrikstad, Norway Phone: +47 6930 4550 Fax: +47 6930 4580 Support: Support.fre@barco.com Visit us at the web: www.barco.com Printed in Norway...
-
Page 3: Table Of Contents
Table of contents TABLE OF CONTENTS 1. 3D principles ...................... . 3 3D projection. - Page 4 Table of contents 601–0469 3D FUNCTIONALITY PULSE PLATFORM 27/02/2018...
-
Page 5: D Principles
1. 3D principles 1. 3D PRINCIPLES 3D projection About The projectors based on the Pulse software platform are capable of displaying 3D images and movies in both active and passive stereoscopic 3D. The projectors default method is active stereo output. When using passive stereo output, special equipment and setup is required. -
Page 6: The Difference Between Active Stereo & Passive Stereo Output
The difference between Active Stereo & Passive Stereo output About The Barco Pulse based projectors have an implemented functionality for Active 3D output, which is the standard mode for the Pulse platform. In addition, the Pulse platform also have the possibility for rendering passive 3D. This requires a special version of the projector which can be ordered on a separate article number. - Page 7 1. 3D principles Image 1-3 601–0469 3D FUNCTIONALITY PULSE PLATFORM 27/02/2018...
- Page 8 1. 3D principles 601–0469 3D FUNCTIONALITY PULSE PLATFORM 27/02/2018...
-
Page 9: Input Modes
2. Input Modes 2. INPUT MODES About There are two different 3D input modes; Active and passive. The principles and setup is explained below. Input channel setup About There are two input ports that can be used and configured for 3D rendering: DVI-I and Displayport 1.2. Both ports have two input channels each, and can be used in either passive or active stereo input mode. -
Page 10: Synchronization
2. Input Modes Dual input (Passive stereo) Input 1 Input 2 Image 2-2 Passive stereo input principle Source setup Refer to the manual for the specific graphic source. Select passive stereo display mode Synchronization There are two sync inputs in use in the Pulse projector 3D mode. •... - Page 11 2. Input Modes Parameter Value Supported Link Rate RBR, HBR1, HBR2 Progressive Scan format Max. input data resolution 2560x1600@120Hz WQXGA / 3840x2400 @60Hz (4K ) Max Bit depth 8, 10, 12 bit EDID Supported 601–0469 3D FUNCTIONALITY PULSE PLATFORM 27/02/2018...
- Page 12 2. Input Modes 601–0469 3D FUNCTIONALITY PULSE PLATFORM 27/02/2018...
-
Page 13: Projector 3D Setup
3. Projector 3D setup 3. PROJECTOR 3D SETUP 3D setup Setup of a 3D installation requires an advanced understanding of the 3D systems, both for the projector, and also for the signal source. Regarding setup of the signal source, refer to the user manual for the specific unit. In 3D setup, it is crucial that the projected images are perfectly synchronized through the whole signal path, from the signal source to the picture viewed through the 3D goggles. - Page 14 3. Projector 3D setup Image 3-3 Image 3-2 2. Enter the menu Home/Installation/Display Setup, and select AutoStereo in the drop down menu. (The other choices in the drop down menu is not applicable). Image 3-4 3. Enter the menu Home/Installation/3D Setup, and set the dark time to 1600us or 1850us depending on which colorwheel in- stalled.(The projector detect the color wheel, and only one option is available, depending on the color wheel).


Need help?
Do you have a question about the F70 Series and is the answer not in the manual?
Questions and answers