Table of Contents
Advertisement
Quick Links
Advertisement
Table of Contents

Related Manuals for Wassermann Sidomix II


Summary of Contents for Wassermann Sidomix II
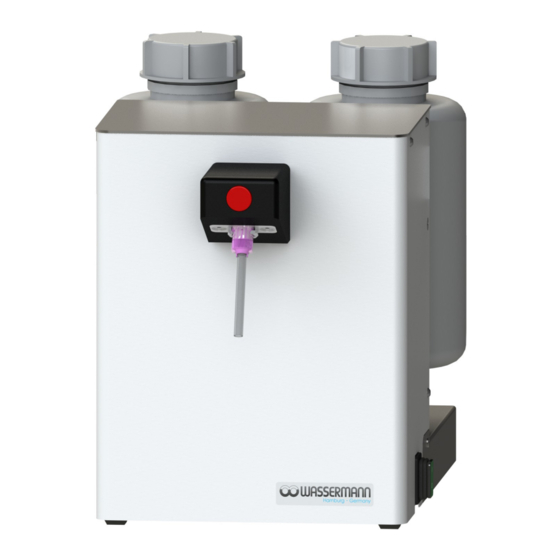
- Page 1 Dosing and Mixing Unit Sidomix II USER MANUAL...
- Page 2 Dear customer, Thank you for choosing a product from the Wassermann range. Wassermann Dental- Maschinen incorporates the highest standards of quality and the latest technology. In order to enjoy maximum performance and years of trouble-free operation, please read this user manual carefully before you connect this device and start work, and operate the device according to the recommended guidelines.
-
Page 3: Table Of Contents
Contents 1 Features..........................4 2 Safety Symbols used in this Manual.................5 3 Safety Guidelines......................6 4 Responsibility for Operation or Damage................7 4.1 Warranty..........................7 5 Application.........................7 6 Before Starting........................8 6.1 Transport..........................8 6.2 Installation..........................8 6.3 Storage..........................8 7 Installation/ Start-up......................9 7.1 When using 2 Litre Material Containers (included):..............9 7.2 When using 1 kg Bottles:......................9 7.3 When using 6 kg Bulks:......................10 7.4 When using 25 kg Bulks:....................10... -
Page 4: Features
Features Mixing and dosing of addition-vulcanazing 1:1 two-component silicones. For even dosage of both components, both must have similar viscosity. The additional quantity flow control ensures an optimum mixing ratio. Should there be discrepancies, for example, for technical reasons (wear of the pump), or following a change of components with different viscosity, the mixing ratio can be adjusted. -
Page 5: Safety Symbols Used In This Manual
Safety Symbols used in this Manual Warning! This is a warning of risk situations and dangers. Failure to observe this warning could be life-threatening. These warnings has to be observed. Information! This symbol draws your attention to specific features that has to be observed. -
Page 6: Safety Guidelines
Safety Guidelines Configuring and operating this equipment requires precise knowledge and observance of the instructions in this user manual. The equipment is designed only for its intended application. WARNING: Servicing and repairs should be carried out only by authorised specialists. Disconnect the power plug before starting any maintenance work. -
Page 7: Responsibility For Operation Or Damage
The unit has to be maintained and operated in accordance with this user manual. Wassermann Dental-Maschinen GmbH is not responsible for damage arising from the nonobservance of these instructions. -
Page 8: Before Starting
Before Starting Transport Before transporting the unit, ensure that it has been unplugged from the power socket. Make sure that it is packed correctly in order to avoid accidental damage. Be sure to check for any transport damage when unpacking the goods. Note down any damage if found. -
Page 9: Installation/ Start-Up
Installation/ Start-up Before starting the unit, connect up the following: Remove the closing plugs from the connections and dosage head. • Finally, insert the power plug into the socket, making sure that the mains and the unit operate on the same voltage. When using 2 Litre Material Containers (included): Fill the material container with the relevant component. -
Page 10: When Using 6 Kg Bulks
When using 6 kg Bulks: Remove the closings from the cans filled with two component silicone and screw the adaptor set onto the cans. Warning: Screw the colour marked adapter onto the can filled with coloured silicone compound – component B. Do not mix up! If you mix up the closings even for a short time, the device must be disassembled and cleaned. -
Page 11: Replacing Bottles/ Cans
Replacing Bottles/ Cans: Remove the quick coupling/bottle adaptor from the device by pulling up the lock. Screw the quick coupling/bottle adaptor onto the new bottle/can and connect as explained above. Take special care to never confuse the bottles or connection hoses A+B –... -
Page 12: Operation
Operation General Operating Instructions All instructions for using the unit, whether in verbal or written form, are based on our own experience and experimentation and can only be regarded as guidelines. Switch on the device; the toggle switch lights green (right side of the unit). Note for the Quantity Flow Control/ Setting of Quantity Flow Controller The adjusting screws are located on the side panel of the machine. -
Page 13: Initial Start-Up And Material Change
Initial Start-up and Material Change * The unit will be delivered with a testing-liquid filled in! Observe at the first start-up * or at material change necessarily the following, because otherwise this will cause a mixing of the test liquid and the material or of "old"... -
Page 14: Using Of The Mixing Tips And Dosage
Using of the Mixing Tips and Dosage Mount the mixing cannula by turning it 90° on the mixing cannula adaptor (clean the adaptor before if necessary). Place the bowl or the model to be used for doubling the system under the mixing cannula. Press the red button: 1:1 mixed silicone runs out of the mixing cannula. -
Page 15: Troubleshooting
Clean the mixing head and connect a new mixing cannula if necessary. Silicone output Silicone components We recommend using Wassermann doubling without 1:1 ratio. do not have similar silicones WaSil soft and WaSil speed. viscosity. -
Page 16: Care And Maintenance
Care and Maintenance 10.1 Cleaning Disconnect the power plug before starting any maintenance work. The identification plate has always to be kept in easily legible condition and has not to be removed. Remove external dirt from time to time with some form of cold cleaner. Use only cold cleaners to avoid damaging the paintwork or removing the lettering. -
Page 17: Spare Parts
Adapter-set for duplicating silicones, 2 x 6 kg-cask 172636 Mixing canulas, pink, 100 pcs. 622002 Technical Data Sidomix II Item no.: 172980 Sidomix II 115 V* Item no.: on request* Voltage 220–240 V / 50/60 Hz 110–120 V / 50/60 Hz* Power consumption 1.6 A 3.2 A*... -
Page 18: Disposing Of The Unit
Disposing of the Unit The unit has to be disposed by an authorized recycling operation. The selected company has to be informed of all possibly health-hazardous residues in the unit. 12.1 Information on Disposal for Countries within the EU To conserve and protect the environment, prevent environmental pollution and improve the recycling of raw materials, the European Commission adopted a directive that requires the manufacturer to accept the return of electrical and electronic units for proper disposal or recycling. -
Page 19: Eu Declaration Of Conformity
1:1, for Rudorffweg 15-17 dental 21031 Hamburg applications Germany Model: Sidomix II Item no. 172984 Sidomix II 115 V Item no. on request Applicable DIN EN 61010-1 standards: DIN EN 61000-6-3 DIN EN 61000-6-1 DIN 45635-1 DIN EN 60335-1 Hiermit wird bestätigt, dass die oben bezeichnete Maschine den genannten EU-Richtlinien...
Need help?
Do you have a question about the Sidomix II and is the answer not in the manual?
Questions and answers