Advertisement
Quick Links
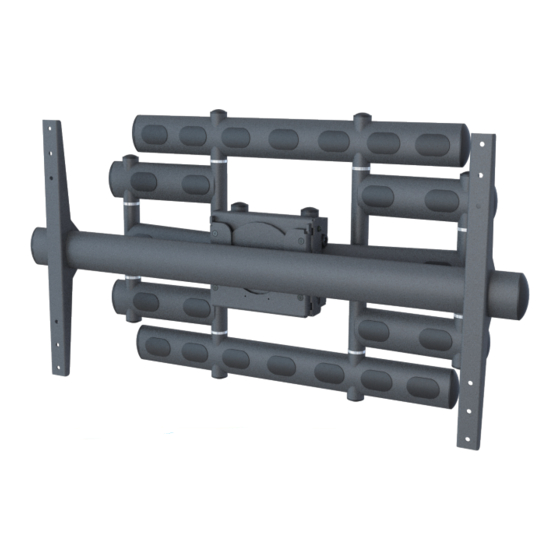
AM500
Installation Guide
Installationsanleitung, Guía de Instalacíon, Guida de Installazione, Guide d'Installation, Installatie gids
Warranty, Garantie, Garantía, Garanzia, Garantie, Waarborg: http://www.mounts.com/warranty
9531-060-001-00
www.mounts.com | North America 800.368.9700 | International +1-714-632-7100 | Europe +44 (0) 24 7664 4105
1321 S. State College Blvd., Fullerton, CA 92831 USA
Advertisement

Related Manuals for Premier Mounts AM500


Summary of Contents for Premier Mounts AM500
- Page 1 AM500 Installation Guide Installationsanleitung, Guía de Instalacíon, Guida de Installazione, Guide d’Installation, Installatie gids Warranty, Garantie, Garantía, Garanzia, Garantie, Waarborg: http://www.mounts.com/warranty 9531-060-001-00 www.mounts.com | North America 800.368.9700 | International +1-714-632-7100 | Europe +44 (0) 24 7664 4105 1321 S. State College Blvd., Fullerton, CA 92831 USA...
-
Page 2: Included Components
Installation Guide Installationsanleitung, Guía de Instalacíon, Guida de Installazione, Guide d’Installation, Installatie gids Included components 5/32” 5/16” M10 x 60 M6 x 12mm M8 x 10mm M5 x 6mm 2.5mm 5/16” x 3” M8 x 16mm M8 x 20mm... - Page 3 Installation Guide Installationsanleitung, Guía de Instalacíon, Guida de Installazione, Guide d’Installation, Installatie gids With minimum two people place the AM-500 wall plate as- Take the mounting template supplied insure the template sembly and secure to the wall using the top center hole of is centered and level at the desired height on the mounting the wall plate.
- Page 4 Installation Guide Installationsanleitung, Guía de Instalacíon, Guida de Installazione, Guide d’Installation, Installatie gids Remove the two security screws from the right and left side of the mounting bracket crossbar and slide the two mounting brackets inside the left and right side security screw hole and reinstall the two security screws.
- Page 5 Installation Guide Installationsanleitung, Guía de Instalacíon, Guida de Installazione, Guide d’Installation, Installatie gids Once the mounting brackets are secured to the rear of the Invert the flat panel display and place it on a smooth flat display alighn the round portion of the cross bar so it is on surface so the back of the display panel is facing up.
- Page 6 Installation Guide Installationsanleitung, Guía de Instalacíon, Guida de Installazione, Guide d’Installation, Installatie gids Note: appropriate number of personal and possible installa- Remove the 6mm knurl knob safety screw and set it aside. tion lift aids lift and insert the round portion of the crossbar...
- Page 7 Installation Guide Installationsanleitung, Guía de Instalacíon, Guida de Installazione, Guide d’Installation, Installatie gids The two side mounted screws in the receiver head of the Power and signal cables may be conveniently run through mount can be adjusted to add or subtract tension in the rota- the arms of the mount between the display and the power tion of the display in the mount.
- Page 8 Installation Guide Installation Guide Installationsanleitung, Guía de Instalacíon, Guida de Installazione, Guide d’Installation, Installatie gids Installationsanleitung, Guía de Instalacíon, Guida de Installazione, Guide d’Installation, Installatie gids ITEM NO. PART NUMBER DESCRIPTION QTY. ITEM NO. PART NUMBER DESCRIPTION QTY.
- Page 9 What Premier Mounts Will Do At the sole option of Premier Mounts, Premier Mounts will repair or replace any product or product part that is defective. If Premier Mounts chooses to replace a defective product or part, a replacement product or part will be shipped to you at no charge, but you must pay any related labor costs.
Need help?
Do you have a question about the AM500 and is the answer not in the manual?
Questions and answers