
Related Manuals for Carlisle DeVilbiss Compact HVLP


Summary of Contents for Carlisle DeVilbiss Compact HVLP
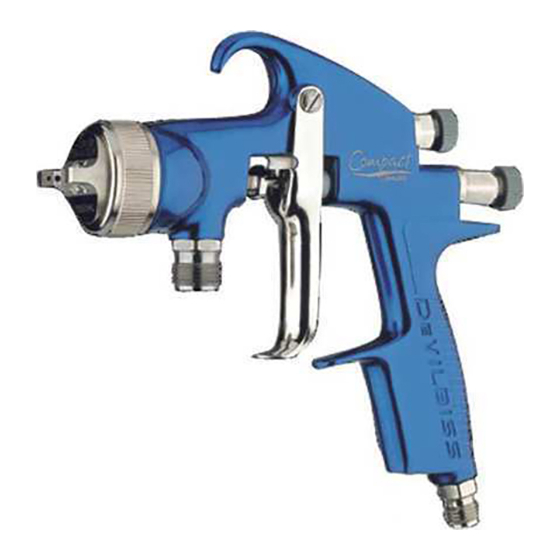
- Page 1 DeVilbiss Compact HVLP Manual Gun Parts Identification 16430 N. Scottsdale Road, Suite 450, Scottsdale, Arizona 85254 / Office: 480.781.5250...
- Page 2 Gun Daily Maintenance and Cleaning 1. Flush gun with proper cleaning solvent 2. Use stiff bristle brush dipped into solvent to clean exterior of gun wipe clean with rag 3. Remove air cap and place in clean container of solvent 4.
- Page 3 5. Clean air cap with stiff brush and solvent 6. Inspect air cap to ensure fan and atomization holes are clean and free of any debris DO NOT COMPLETELY SOAK GUN IN SOLVENT FOR EXTENDED PERIODS OF TIMETHIS WILL CAUSE PAINT AND DEBRIS TO ENTER THE AIR PASSAGES OF THE GUN CAUSING INCREASED MAINTENANCE AND DOWN TIME.
- Page 4 7. Apply Binks Gunners Mate to areas shown below. A few additional drops may be used on exterior of gun to make cleaning easier 16430 N. Scottsdale Road, Suite 450, Scottsdale, Arizona 85254 / Office: 480.781.5250...
- Page 5 Weekly Gun Cleaning and Maintenance 1. Clean gun following daily instructions 2. Remove needle by turning needle adjustment knob counterclockwise until knob and spring disengage from gun. Remove needle. 3. Inspect needle for any damage. Replace if damaged. Clean needle with solvent wipe clean with cloth. Apply a few drops of gun lube to needle and spring.
- Page 6 4. Using a 10mm wrench remove fluid tip inspect for damage and clean. Use gun-cleaning brush if necessary to remove paint from air and fluid holes. 5. Remove black air separator seal, clean, inspect for damage. If necessary clean gun head interior with gun-cleaning brush. It may necessary to remove the packing nut to thoroughly clean fluid passage.
- Page 7 Compact Gun Replacement Parts Maintenance Air Valve Service Kit Replace As Needed The air valve will need to be replaced when air is leaking from seal(s) when the trigger is not engaged. It is important to replace all parts in the kit even though some of the parts may be seem to be in good condition.
- Page 8 The picture below illustrates the location for the air valve parts. Use brass tool to remove old seals and replace new seals. See next page for detail step-by-step instructions. Ensure seals are facing the proper direction 16430 N. Scottsdale Road, Suite 450, Scottsdale, Arizona 85254 / Office: 480.781.5250...
- Page 9 Compact Gun Replacement Parts Maintenance Gun Service Kit Replace As Needed The Gun Service Kit contains a replacement needle spring, air separator, packing nut assembly, and seal kit for the Fan Pattern Adjustment Valve. 16430 N. Scottsdale Road, Suite 450, Scottsdale, Arizona 85254 / Office: 480.781.5250...
- Page 10 To remove Fan Adjustment Valve turn knob counterclockwise to full open position and use wrench to remove complete assembly. Clean and inspect for damage to stem. 16430 N. Scottsdale Road, Suite 450, Scottsdale, Arizona 85254 / Office: 480.781.5250...
- Page 11 With assembly in hand, turn adjustment knob clockwise to expose locking clip. Use small screwdriver to remove clip. Once locking clip is removed turn knob counterclockwise to remove housing from assembly. Replace O-ring and seal. Turn adjustment knob counter clockwise in the full open position before inserting back into gun shown in picture above.
- Page 12 Needle Packing Assembly Replace as needed Replace packing nut assembly when tightening the packing nut will no longer stop paint from leaking through the Teflon packing 16430 N. Scottsdale Road, Suite 450, Scottsdale, Arizona 85254 / Office: 480.781.5250...
- Page 13 1. Remove needle and fluid tip following weekly cleaning instructions 2. Using wrench turn packing nut counter clockwise remove packing nut, spring and Teflon packing 3. Clean packing and fluid section with solvent and gun cleaning brush 4. Replace packing nut assembly 16430 N.
Need help?
Do you have a question about the DeVilbiss Compact HVLP and is the answer not in the manual?
Questions and answers