
Subscribe to Our Youtube Channel
Related Manuals for ATEN VE813A


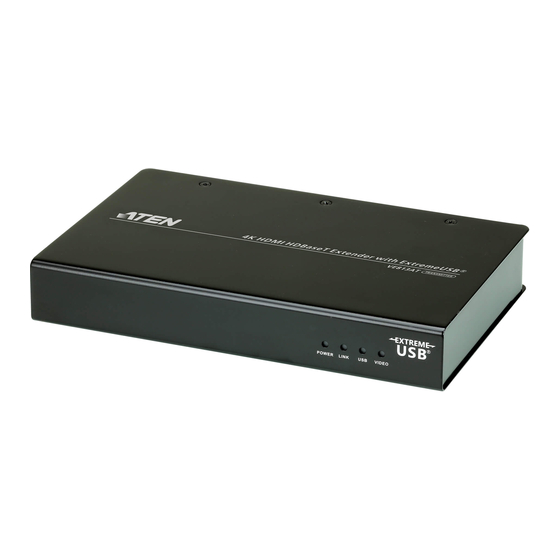
Summary of Contents for ATEN VE813A
- Page 1 VE813A User Manual 4K HDMI HDBaseT Extender with ExtremeUSB® VE813A User Manual www.aten.com...
-
Page 2: Emc Information
© Copyright 2021 ATEN® International Co., Ltd. Released Date: 2021-01-14 ATEN and the ATEN logo are registered trademarks of ATEN International Co., Ltd. All rights reserved. All other brand names and trademarks are the registered property of their respective owners. The terms HDMI, HDMI High-Definition Multimedia Interface, and the HDMI Logo are trademarks or registered trademarks of HDMI Licensing Administrator, Inc. -
Page 3: User Information
VE813A User Manual User Information Online Registration Be sure to register your product at our online support center: International http://eservice.aten.com Telephone Support For telephone support, call this number: International 886-2-8692-6959 China 86-400-810-0-810 Japan 81-3-5615-5811 Korea 82-2-467-6789 North America 1-888-999-ATEN ext 4988... -
Page 4: Package Contents
* Features may have been added to the VE813A since this manual was published. Please visit our website to download the most up-to-date version... -
Page 5: Table Of Contents
VE813A User Manual Contents EMC Information ..........ii RoHS. - Page 6 An overview of the information found in the manual is provided below. Chapter 1, Introduction, introduces you to the VE813A system. Its purpose, features and benefits are presented, and its front and back panel components are described.
-
Page 7: Conventions
For information about all ATEN products and how they can help you connect without limits, visit ATEN on the Web or contact an ATEN Authorized Reseller. Visit ATEN on the Web for a list of locations and telephone numbers: International http://www.aten.com... - Page 8 VE813A User Manual This Page Intentionally Left Blank viii...
-
Page 9: Introduction
HDMI and USB 2.0 signals up to 100 meters from the HDMI source using a single Cat 5e/6 cable. The VE813A supports HDMI features such as 3D, Deep Color, 4K2K, CEC and HDCP. It is equipped with USB connectors that provide touch panel control and file transfer functionality. -
Page 10: Features
USB 1.1 web cameras and other USB devices which require moderate amounts of bandwidth Works with all major operating systems: Windows®, OS X®, and Linux® Rack-mountable *Note: The VE813A supports USB transfer rates of up to 40 Mbps. -
Page 11: Requirements
Chapter 1. Introduction Requirements Display An HDMI display capable of the highest resolution you will be using Source Device The following equipment is required: A source device with an HDMI port A computer or device that is USB compatible ... -
Page 12: Operating Systems
10 / 11.1 and higher Debian 3.1 / 4.0 Ubuntu 7.04 / 7.10 UNIX FreeBSD 5.5 / 6.1 / 6.2 Novell Netware 6.0 and higher OS 10.1 and higher Note: The VE813A does not support an OS that do not support USB. -
Page 13: Components
Firmware Upgrade The Firmware Upgrade Port is reserved for technical Port support. If you would like to upgrade the unit’s firmware yourself, please contact your ATEN dealer. HDMI In Port Connect an HDMI cable from the source device into this port. -
Page 14: Ve813Ar (Receiver) Front And Rear View
The Firmware Upgrade Port is reserved for technical Port support. If you would like to upgrade the unit’s firmware yourself, please contact your ATEN dealer. USB Type A Ports Your USB 2.0 devices plug in here. (keyboard, mouse, web cam, flash drive, printers, scanners, cameras,... -
Page 15: Hardware Setup
Keyboard Power On function. Rack Mounting For convenience and flexibility, the VE813A can be mounted on system racks. To rack mount a unit do the following: 1. Remove the two screws on the bottom of the VE813A:... - Page 16 VE813A User Manual 2. Using the screws provided in the Mounting Kit, screw the mounting bracket on to the bottom of the unit as show in the diagram, below: 3. Screw the bracket into any convenient location on the rack.
-
Page 17: Installation
Chapter 2. Hardware Setup Installation Grounding To prevent damage to your installation it is important that all devices are properly grounded. 1. Use a grounding wire to ground both units by connecting one end of the wire to the grounding terminal, and the other end of the wire to a suitable grounded object. - Page 18 VE813A User Manual 3. For increased grounding protection, use STP (shielded twisted pair) cable to connect the Transmitter and Receiver units. There are two methods that can be used: a) In addition to the eight paired wires, STP cable also contains a grounding wire.
-
Page 19: Setting Up
Chapter 2. Hardware Setup Setting Up Setting up the VE813A HDMI Extender system is simply a matter of plugging in the cables. Make sure that all the equipment to be connected are powered off. Refer to the installation diagram on the following page and do the following: 1. -
Page 20: Installation Diagram
VE813A User Manual Installation Diagram VE813AT Rear View Local PC HDMI USB cable cable Cat 5e cable VE813AR Rear View USB Device... -
Page 21: Operation
Chapter 3. Operation Chapter 3 Operation LED Display The VE813A Transmitter and Receiver units have front panel LEDs to indicate their operating status, as shown in the tables, following: VE813AT (Transmitter) and VE813AR (Receiver) Indication Power (Green) Lights to indicate that the system is receiving power. - Page 22 VE813A User Manual This Page Intentionally Left Blank...
-
Page 23: Appendix
Appendix Appendix Safety Instructions General Read all of these instructions. Save them for future reference. Follow all warnings and instructions marked on the device. This product is for indoor use only. Do not place the device on any unstable surface (cart, stand, table, etc.). If the device falls, serious damage will result. - Page 24 VE813A User Manual If the following conditions occur, unplug the device from the wall outlet and bring it to qualified service personnel for repair. The power cord or plug has become damaged or frayed. Liquid has been spilled into the device.
-
Page 25: Mounting
Appendix Mounting Before working on the rack, make sure that the stabilizers are secured to the rack, extended to the floor, and that the full weight of the rack rests on the floor. Install front and side stabilizers on a single rack or front stabilizers for joined multiple racks before working on the rack. -
Page 26: Technical Support
VE813A User Manual Technical Support International For online technical support – including troubleshooting, documentation, and software updates: http://eservice.aten.com For telephone support, Telephone Support, page iii North America Email Support support@aten-usa.com Online Troubleshooting http://www.aten-usa.com/support Technical Documentation Support Software Updates... -
Page 27: Specifications
Appendix Specifications Function VE813A Video Input Interface 1 x HDMI Type A Female (Black) Impedance 100Ω Max distance 1.8m Video Output Interface 1 x HDMI Type A Female (Black) Impedance 100Ω Video Max. data rate 10.2Gbps (3.4 Gbps per lane) Max. -
Page 28: Limited Warranty
What is covered by the Limited Hardware Warranty ATEN will provide a repair service, without charge, during the Warranty Period. If a product is detective, ATEN will, at its discretion, have the option to (1) repair said product with new or repaired components, or (2) replace the entire product with an identical product or with a similar product which fulfills the same function as the defective product.
Need help?
Do you have a question about the VE813A and is the answer not in the manual?
Questions and answers