Overland Storage NEO 200s Replacement Instructions
Hide thumbs
Also See for NEO 200s:
- Getting started (10 pages) ,
- Instructions (3 pages) ,
- User manual (170 pages)
Advertisement
Quick Links
Chassis Replacement Instructions
This document describes how to remove and replace the chassis
of a NEO 200s or NEO 400s library from Overland Storage.
WARNING:
To reduce the risk of electric shock or damage to
equipment, always remove any power cords while working with
the unit.
WARNUNG:
Um das Risiko eines elektrischen Schlags oder
Schäden am Gerät zu vermeiden, ziehen Sie stets den
Netzstecker, bevor Sie an der Einheit arbeiten.
AVERTISSEMENT:
Pour réduire le risque de choc électrique
ou endommagement de l'équipement, retirez toujours les
cordons électriques en travaillant avec l'appareil.
CAUTION:
While working with the unit, observe standard
Electrostatic Discharge (ESD) precautions to prevent damage
to micro-circuitry or static-sensitive devices.
Prepare the Unit
Save Library Configuration
If possible, save the current configuration of the old library:
1. Plug a USB drive into the rear panel.
2. At the Operator Control Panel, press:
Configure > Save/Restore > Save Library Config.
3. Remove USB drive.
Power Off and Disconnect
1. If possible, use Operator Control Panel to unload drives
that contain a cartridge ( Control > Move Cartridges ).
2. Power OFF the library.
3. Disconnect the power cord (
4. Disconnect all other cables (
10400370-002
).
&
).
©2012-16 Overland Storage, Inc.
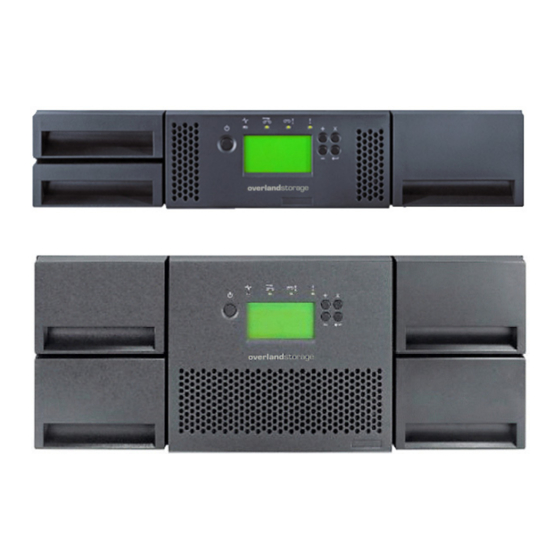
NEO
200s / 400s
®
Page 1 of 5
Advertisement

Related Manuals for Overland Storage NEO 200s


Summary of Contents for Overland Storage NEO 200s
- Page 1 ® Chassis Replacement Instructions This document describes how to remove and replace the chassis of a NEO 200s or NEO 400s library from Overland Storage. WARNING: To reduce the risk of electric shock or damage to equipment, always remove any power cords while working with the unit.
-
Page 2: Transfer Components
NEO 200s / 400s Library Chassis Replacement Instructions Remove Old Library from Rack WARNING: It is recommended that a mechanical lifter (or at least two people) be used during rack installation or removal to prevent injury. WARNUNG: Um Verletzungen zu vermeiden, empfehlen wir zur Rack-Installation oder -Deinstallation die Nutzung einer mechanischen Hebehilfe (oder mindestens zwei Personen). - Page 3 Operator Control Panel. Refer to the NEO 200s/400s User Guide for more detailed instructions. 3. If the New library detected message is displayed, follow the instructions listed on the Operator Control Panel to run the Library Verify test ( Service >...
- Page 4 NEO 200s / 400s Library Chassis Replacement Instructions Troubleshoot Library Installation Power Button Error LED If the Library Verify test in “Verify the Library Replacement” successfully completed, skip this section and proceed to “Move Cartridge Magazines (Optional).” 1. If the Error LED turns on while trying to complete “Verify the Library Replacement,”...
- Page 5 NEO 200s / 400s Library Chassis Replacement Move Extra Power Supply (NEO 400s Only) If an extra power supply has been added to a NEO 400s for redundancy, it should be move to the replacement chassis: 1. Use a Phillips screwdriver to remove and retain the three screws holding the power supply bay cover.
Need help?
Do you have a question about the NEO 200s and is the answer not in the manual?
Questions and answers