Table of Contents
Advertisement
Advertisement
Table of Contents

Subscribe to Our Youtube Channel
Related Manuals for Deda Elementi Jet Clip-On


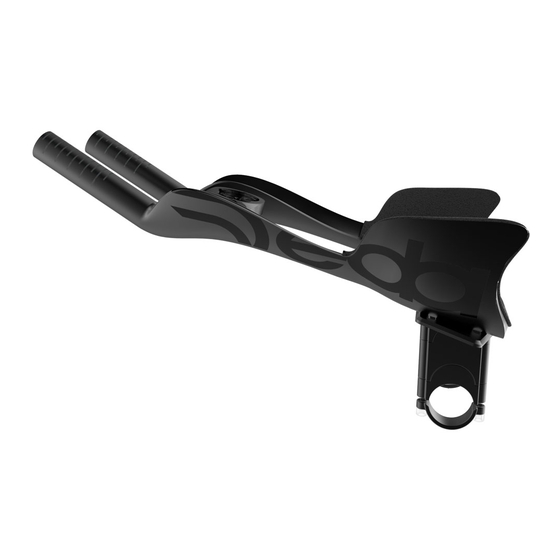
Summary of Contents for Deda Elementi Jet Clip-On
- Page 1 USeR’S MAnUAL Ver. 00 – February 2021 ©Deda Elementi JET CLIP-ON...
- Page 2 Congratulations for your new Deda Elementi product. Please read these instructions carefully and follow them for correct use. An improper installation or wrong application of the instructions could damage the product, that will be no more covered under warranty, damage the bicycle or cause an accident resulting in injury or death.
- Page 3 CONTENTS GENERAL SAFETY INFORMATION ____________________________________________ pag. 4 WARRANTY _______________________________________________________________ pag. 5 PACKAGING ______________________________________________________________ pag. 6 ASSEMbLY INSTRuCTIONS __________________________________________________ pag. 10 COMPuTER MOuNT ________________________________________________________ pag. 15...
- Page 4 If any doubts or problems occur, discontinue riding and have them inspected by an official Deda Elementi dealer or a qualified bicycle technician.
- Page 5 WARRANTY Deda Elementi warrants that all products are free from defects in materials or workmanship for a period of two years after original purchase unless otherwise stated on the Warranty policy. The Warranty is valid with the purchase of an original Deda Elementi products only.
- Page 6 The JET extensions are available in two versions: JET ONE, to be assembled on Ø31.75 mm handlebar. Spacers and other parts are included for mounting on Deda Elementi handlebars or any other handlebar with a diameter of Ø31.75 mm. JET TWO, for direct mounting on original bicycle brands TT handlebar. JET TWO clip-on includes an aluminum plate to fit the original handlebar spacers.
- Page 7 11-12-13-14...
- Page 8 3.2 JET TWO JET TWO clip-on includes the following parts: 1) Carbon extensions, 1 set 2b) Fixing plate, 2 pcs. 3b) Support plates, 1 set 4b) Extension fixing screw M5x12 mm and nut, 4 pcs 5) Adjustable computer mount for Garmin® & Wahoo® or for Bryton® 6) Computer holder fixing screw M4x12 mm, 2 pcs 7) Armrest pad and cable cover sticker, 1 set...
- Page 10 ASSEMbLY INSTRuCTIONS WARNING Always use a calibrated dynamometric key to tighten all screws when assembling and adjust the extensions. A tightening torque higher than recommended can lead to parts failure without notice. WARNING For the shifter levers assembly follow the recommendations from the manufacturer. The maximum tightening torque of the shifter lever must not exceed 4Nm.
- Page 11 3. the carbon extension can be cut to length, never exceed the cut limit as indicated on the product (see Fig. 2). WARNING The cutting of the carbon extension required specific tools and must be done by an official Deda Elementi dealer or a qualified bicycle technician.
- Page 12 Fig. 2 Armrest setback / Arretramento poggiagomiti ( ± 15 mm ) LENGTH / LUNGHEZZA : S = 340 mm M = 370 mm 4. Install the pads and the cable cover stickers (8).
- Page 13 3. the carbon extension can be cut to length, never exceed the cut limit as indicated on the product (see Fig. 4). WARNING The cutting of the carbon extension required specific tools and must be done by an official Deda Elementi dealer or a qualified bicycle technician.
- Page 14 Fig. 4 Armrest setback / Arretramento poggiagomiti ( ± 20 mm ) LENGTH / LUNGHEZZA : S = 340 mm M = 370 mm 4. Install the pads and the cable cover stickers (8)
- Page 15 COMPuTER MOuNT The computer mount is made up to the following parts: 1) Bottom support 2) Top support 3) Upper support adjustment screws M3x8 mm, 2 pcs 4) Computer holder insert for Garmin®/Wahoo® or for Bryton® 5) Insert fixing screw M3x4 mm 6) Computer holder fixing screw M4x12 mm, 2 pcs...
- Page 16 5.1 COMPuTER MOuNT ASSEMbLY ANd AdJuSTMENT Ensure the computer mount with the screws (6) on the extension. Computer alignment: 1. Completely unscrew the insert fixing screw (5). 2. Remove the insert (4). 3. Slightly unscrew the adjustment screws (3). 4. Center the top support. 5.
- Page 17 Dedaindustrie s.r.l. owner of Deda Elementi brand, reserves the right to modify without notice the content of this manual always guaranteeing the availability of the updated versions on the website download area.
- Page 18 www.dedaelementi.com Dedaindustrie S.r.l. Via Leonardo Da Vinci 19/21/23 26010 Campagnola Cremasca (CR) - Italia Phone +39 0373 750 129 Fax +39 0373 751 105 www.dedaos.com.tw Deda OS No.8, Lane 150-30, Sec. 3, Xitun Rd., Xitun Dist. Taichung City 407, Taiwan (R.O.C.) tel: +886-4-24623436 fax: +886-4-24623430 #ridededa...
Need help?
Do you have a question about the Jet Clip-On and is the answer not in the manual?
Questions and answers