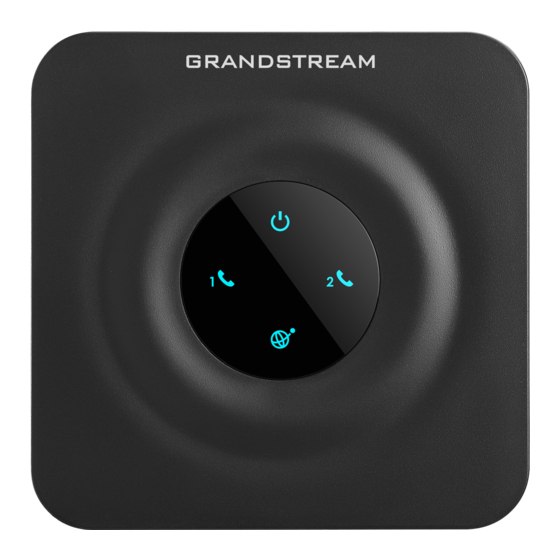
Grandstream Networks HT-802 Manual
Hide thumbs
Also See for HT-802:
- User manual (47 pages) ,
- Quick installation manual (21 pages) ,
- Self-installation and configuration manual (7 pages)
Summary of Contents for Grandstream Networks HT-802
-
Page 1: Table Of Contents
Home PBXware SERVERware TELCOware SIPmon SIPProt Desktop & Mobile UADs Appliances From Bicom Systems Wiki Contents 1 Introduction 2 Requirements 2.1 Identifying Phone Model 2.2 Phone Firmware 2.3 DHCP Server 2.4 PBXware Version 3 Installation 3.1 Basic Setup 3.2 Reset to Factory Settings 4 Registering phone 4.1 Manual Configuration 4.2 Auto Provisioning... -
Page 2: Requirements
This Configuration Guide is written as a general guide on how to configure the Grandstream device model HT-802 to work with PBXware 5.3.6. Requirements Identifying Phone Model To start and successfully complete registration of your Grandstream device you need to know which phone model to set up. -
Page 3: Dhcp Server
The Grandstream HT-802 device has four analog phone ports, so if needed, four phones can be registered by using a single ATA device. After you connected the analog phone to your HT-802 device, pick up the phone and dial: *** - enter the configuration menu 02 - the IP address announcement Write down the IP address for your future reference. -
Page 4: Registering Phone
administration interface login screen. Example: http://192.168.1.22. Log in to the web administration interface with your password. Please note that the factory default password is admin. Click the Basic Settings tab. In the Reset Type field, select Full Reset. Click the Reset button. Wait some time for a device to reboot. - Page 5 UAD Settings Navigate to Settings: UAD. Make sure that the Grandstream UAD is enabled. To check the UAD's status, click the Edit icon corresponding to your Grandstream phone. Make sure that Status is set to Active, Auto provisioning is set to No, and DHCP is set to Yes.
- Page 6 Log in to the web administration interface by entering a password. (The default password for Grandstream web administration is admin). Navigate to the Profile 1 tab. Enter the Hostname or IP Address of PBXware in the Primary SIP Server field. - Example of a Hostname: voip.bicomsystems.com - Example of an IP Address: 192.168.1.10 Click the Apply button at the bottom of the page.
-
Page 7: Auto Provisioning
- The Secret of the Extension as received in the e-mail associated with this Extension. Example: _%Z4M3*Ts9y7. The password is generated automatically for each newly created Extension. Name - Usually the same number as the SIP User ID. Click the Apply button. Dial *123 to verify registration. - Page 8 Navigate to Settings: UAD. Make sure that the Grandstream UAD is enabled. To check the UAD status, click the Edit icon corresponding to your Grandstream phone. Make sure that Status is set to Active, Auto provisioning is set to Yes, and DHCP is set to Yes.
- Page 9 Enter the Grandstream phone's MAC address. Example: 0004F2FF1536. MAC address can be found at the back of the phone. 1. Log in to your device's web administration interface Open a new browser window and enter the ATA IP address, for example 192.168.1.57 Log in to the web administration interface by entering the password.
- Page 10 If you choose to use the TFTP server type, enter the Hostname or the IP Address. Example of a Hostname: voip.bicomsystems.com Example of an IP Address: 192.168.1.10 Scroll down to the bottom of the page and click the Apply button to save changes. Go to Advanced Settings again, scroll down to the bottom of the page, and click the Reboot button to save changes.


Need help?
Do you have a question about the HT-802 and is the answer not in the manual?
Questions and answers