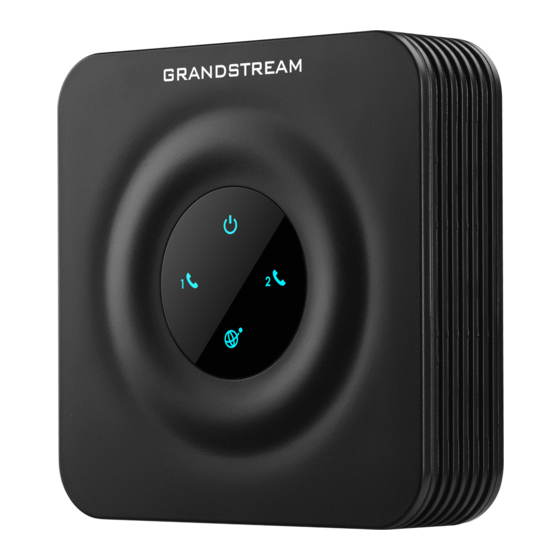
Grandstream Networks HT802 Setup
2-port analog telephone adapter
Hide thumbs
Also See for HT802:
- User manual (47 pages) ,
- Quick installation manual (21 pages) ,
- Manual (10 pages)
Table of Contents
Advertisement
Quick Links
Grandstream HT802 ATA Setup
Updated: 8/29/2018 3:58 PM
https://businesssupport.vonage.com/articles/answer/Grandstream-HT802-ATA-Setup
The Grandstream HT802 is 2-port Analog Telephone Adapter (ATA) that allows analog phones
to be used with Vonage. A Factory Reset is needed when used with a prior service or moving to
a different Extension.
NOTE: You can connect a fax machine to send and receive a fax. If you experience any issues,
contact the manufacturer of your device for assistance with settings and steps to work with
VoIP.
Single Port Configuration
Factory Reset the Device
1. Plug in and power on the ATA device.
2. Locate the indented RESET button between the power and ethernet port.
3. Use a paper clip or toothpick to press and hold the reset button for 10 seconds. Do not
release the button until all 4 lights on the top of the ATA flash for 1-2 seconds.
Reset the Device from Web UI
This is an alternative method to reset the device and should only be used if the reset button
does not work.
1. Identify the ATA's IP address using one of these methods:
Access the DHCP client list on the user's router.
o
Download and run a network scanning tool, such as
o
the user's PC.
SoftPerfect Network Scanner
on
Advertisement
Table of Contents

Summary of Contents for Grandstream Networks HT802
- Page 1 Updated: 8/29/2018 3:58 PM https://businesssupport.vonage.com/articles/answer/Grandstream-HT802-ATA-Setup The Grandstream HT802 is 2-port Analog Telephone Adapter (ATA) that allows analog phones to be used with Vonage. A Factory Reset is needed when used with a prior service or moving to a different Extension.
- Page 2 Plug in an analog phone to phone Port 1 of the ATA and press *** (three stars). After hearing the greeting, press 02 to hear the IP address being recited. 2. Open a browser on a computer connected to your network. 3.
- Page 3 5. Copy the SIP password from the prompt that appears. You may be required to provide this to Vonage. 6. Call Vonage at 678-257-2715. Provide them the Account Number from your W/O. And tell them you are provisioning the 2 Port for a Grandstream HT802 ATA.
- Page 4 7. Vonage will sign into the Customers Online Account and finish setting up the 2 Port. While they are doing this you may proceed to the below: Setup the Device 1. Identify the ATA's IP address using one of these methods: Access the DHCP client list on the user's router.
- Page 5 6. Locate Upload Configuration at the bottom of the screen and click Upload from local directory. 7. Click Choose File when prompted and locate the configuration file you saved. 8. Click Open, after selecting the file, and then click Upload Configuration. NOTE: Setting up the device can take between 3-4 minutes to complete, and is indicated when 4 blue lights on the ATA device are illuminated.
- Page 6 Next you will need to select the second port or “FXS PORT 2” The following screen shot shows the expected screen and fields that will need to be altered: Troubleshoot Issues One-Way or No-Way Audio Disable SIP ALG and the SPI firewall. ATA Not Powering On Check that the ATA is plugged in and powered on by an AC power adapter.


Need help?
Do you have a question about the HT802 and is the answer not in the manual?
Questions and answers