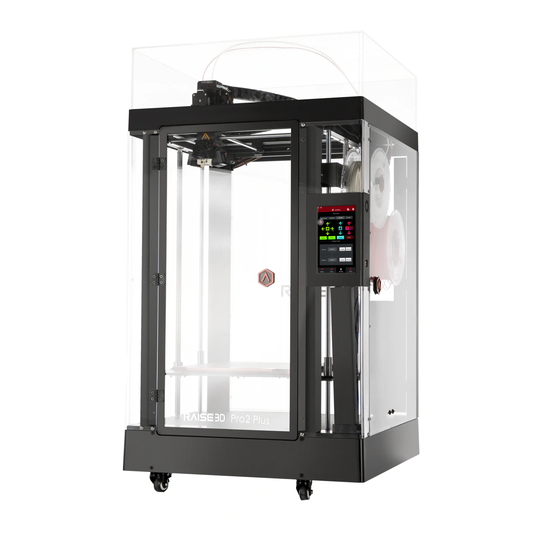
Raise3D Pro2 Installation Instruction
Endstop limit switch board installation
Hide thumbs
Also See for Pro2:
- Manual (43 pages) ,
- Quick start manual (32 pages) ,
- Installation instruction (3 pages)
Summary of Contents for Raise3D Pro2
- Page 1 Pro2 Endstop Limit Switch Board Installation Instruction Pro2 Endstop Limit Switch Board Installation Instruction STEP 1: The Locations of Endstop Boards Y-Endstop Board X-Endstop Board Z-Endstop Board WWW.RAISE3D.COM AMERICA · ASIA · EUROPE...
- Page 2 Pro2 Endstop Limit Switch Board Installation Instruction STEP 2: Power Off Power off the printer. STEP 3: Remove the Z-Endstop Limit Switch Board ⚫ The steps of replacing Endstop Board are similar for different directions. We will use Z direction here as reference.
- Page 3 Pro2 Endstop Limit Switch Board Installation Instruction STEP 4: Reinstall Z-Endstop Limit Switch Board ⚫ Fix new Z-Endstop Board to original position with two fixing screws removed before. ⚫ Plug the cable back onto the Board. STEP 5: Bed positioning ⚫...
- Page 4 Pro2 Endstop Limit Switch Board Installation Instruction • In the Home tab of the touchscreen, select the Left nozzle, and set the temperature to 180. This will ensure that the left nozzle is enabled and in the proper position. •...
- Page 5 Pro2 Endstop Limit Switch Board Installation Instruction STEP 7: Left Nozzle Calibration Select the Left Nozzle Icon, and press the down arrow to ensure the left nozzle is enabled. ⚫ Use the feeler gauge (included in printer toolkit) and place it underneath the left nozzle.


Need help?
Do you have a question about the Pro2 and is the answer not in the manual?
Questions and answers