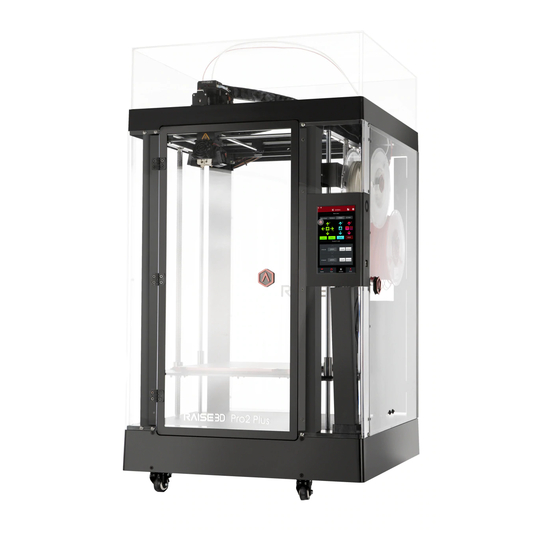
Raise3D Pro2 Quick Start Manual
How to replace the thermocouple
Hide thumbs
Also See for Pro2:
- Manual (43 pages) ,
- Quick start manual (32 pages) ,
- Installation instruction (5 pages)
Advertisement
How to Replace the Thermocouple -V1.0
Pro2 - How to Replace the Thermocouple - V1.0
Tools:
① 1.5mm hex wrench
② 2.5mm hex wrench
③ Flat head screwdriver
④ Flush cutter
1. Lower the build plate.
1)
In the "Utilities tab", lower the Z-Axis platform by selecting the down arrow.
2)
Lower the plate until you have enough space to comfortably maneuver tools within the area.
Note
: The recommended value of Z-axis is 150-250mm.
- 1 / 8 -
www.raise3d.com
Date: 11/20/2020
Advertisement
Table of Contents

Related Manuals for Raise3D Pro2


Summary of Contents for Raise3D Pro2
- Page 1 How to Replace the Thermocouple -V1.0 Date: 11/20/2020 Pro2 - How to Replace the Thermocouple - V1.0 Tools: ① 1.5mm hex wrench ② 2.5mm hex wrench ③ Flat head screwdriver ④ Flush cutter 1. Lower the build plate. In the “Utilities tab”, lower the Z-Axis platform by selecting the down arrow.
- Page 2 2. Unload the filament. In the “Utilities” tab, verify that the temperature is the set as the recommended temperature for your filament. (For example, 215℃ for Raise3D PLA) Adjust the temperature if required. Press the “Unload” button to unload the filament.
- Page 3 Loosen the retaining screws inside the heating block, then loosen the screw on the collet to remove the hotend assembly. Remove thermocouple cable from extruder connection board with a flat head screwdriver. Use a 2.5mm wrench to remove the two screws on the extruder connecting board. - 3 / 8 - www.raise3d.com...
- Page 4 How to Replace the Thermocouple -V1.0 Date: 11/20/2020 Loosen two screws that hold the wires for the thermocouple ( being replaced) with a flat head screwdriver. - 4 / 8 - www.raise3d.com...
- Page 5 How to Replace the Thermocouple -V1.0 Date: 11/20/2020 Remove the two retaining screws from the wire protection and take the cover off. Cut the zip ties holding wires. - 5 / 8 - www.raise3d.com...
- Page 6 Make sure that no exposed wires are in contact with the printer, otherwise it may cause injury to the printer. 7. Final step. Bind the wires together with zip ties and re-install the cord cover. - 6 / 8 - www.raise3d.com...
- Page 7 How to Replace the Thermocouple -V1.0 Date: 11/20/2020 [ Manual Pro2 Series - How to Replace the Thermocouple - V1.0 ] -END- - 7 / 8 - www.raise3d.com...
- Page 8 How to Replace the Thermocouple -V1.0 Date: 11/20/2020 America | Asia | Europe Sales & Business: sales@raise3d.com Technical Support: help.raise3d.com For any other inquiries: inquiry@raise3d.com - 8 / 8 - www.raise3d.com...
Need help?
Do you have a question about the Pro2 and is the answer not in the manual?
Questions and answers