Advertisement
Quick Links
Pro2 Hotend Installation Instruction
Pro2 Hotend Installation Instruction
Step 1: Drop the build plate
•
Lower the Z-Axis platform by using the onboard touchscreen. This menu can be found in the
Utilities tab.
•
Lower the plate until you have enough clearance to comfortably maneuver tools within the area
(5-12 inches)
Step 2: Unload filament
•
In the 'Utilities' tab, verify that the temperature is set for your material. (215℃ for Raise3D PLA)
•
Use the arrows to adjust the temperature if required. Press the 'unload' button to begin.
•
The printer will begin to heat up to the designated temperature. Once the temperature is reached
the Unload button will become available.
•
Press Unload to withdraw the filament.
WWW.RAISE3D.COM
AMERICA · ASIA · EUROPE
Advertisement

Subscribe to Our Youtube Channel
Related Manuals for Raise3D Pro2 Hotend


Summary of Contents for Raise3D Pro2 Hotend
- Page 1 (5-12 inches) Step 2: Unload filament • In the ‘Utilities’ tab, verify that the temperature is set for your material. (215℃ for Raise3D PLA) • Use the arrows to adjust the temperature if required. Press the ‘unload’ button to begin.
- Page 2 Pro2 Hotend Installation Instruction Step 3: Cool down • Open the ‘Home’ tab, and click on the nozzle temperature. In the new window, set the temperature at 0, and press OK. Do this for both nozzles. • Allow the components to cool down completely before continuing.
- Page 3 Pro2 Hotend Installation Instruction Step 5: Remove the hotend Loosen the 4 set screws inside the heating block. This will release the hotend from the wiring, which will be removed in the next step. • Loosen the fixing screw to release the hotend from the machine.
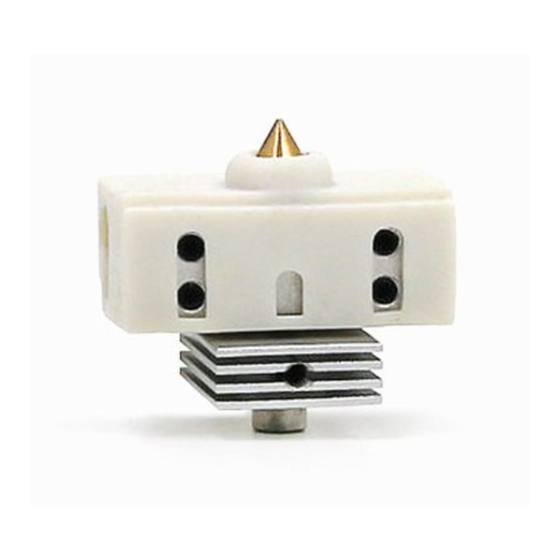
- Page 4 Pro2 Hotend Installation Instruction Step 6: Inspect Replacement HotEnd • To completely replace the hotend, verify that the new hotend is properly adjusted. • The bottom of the heat sink should lie flush with the bottom of the larger cylinder.
- Page 5 Pro2 Hotend Installation Instruction Step 8: Install hot end • Insert the hotend and push it all the way up. • Secure it by tightening the fixing screw. If replacing multiple hotends, repeat steps 4-8 with the second hotend before continuing to the alignment procedures.
- Page 6 Pro2 Hotend Installation Instruction STEP 10: Bed positioning • Loosen the Z thumbscrew by rotating it counter clockwise 1 full rotation. • Power on your unit. Cooling fans will not be attached by this stage. Exercise caution when operating around spinning parts.
- Page 7 Pro2 Hotend Installation Instruction STEP 11: Extruder Positioning • Disable the motor with the ‘Disable Motor’ button. This will allow you to freely reposition the extruder by hand. ⚫ Move the extruder head along the rods into the center position.
- Page 8 Pro2 Hotend Installation Instruction • Use the feeler gauge (included in printer toolkit) and place it underneath the left nozzle. ⚫ To adjust the nozzle height, rotate the large thumbscrew as depicted in the diagram. DO NOT adjust the small side-mounted screw.
- Page 9 Pro2 Hotend Installation Instruction STEP 13: Right Nozzle Calibration ⚫ The left nozzle should and bed should already be in proper position before continuing. • From the home screen, heat the right nozzle to 180, Enable the right nozzle by pressing the icon, then the down arrow.
Need help?
Do you have a question about the Pro2 Hotend and is the answer not in the manual?
Questions and answers