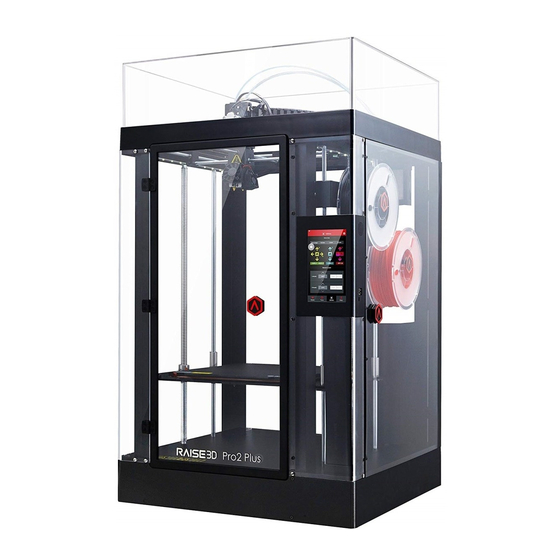
Raise3D Pro 2 Series Manual
How to replace a build surface
Hide thumbs
Also See for Pro 2 Series:
- Manual (43 pages) ,
- Quick start manual (32 pages) ,
- Installation instruction (5 pages)
Advertisement
How to Replace a Build Surface – V1.1
Data:06/16/2020
Manual Pro 2 Series – How to Replace a Build
Surface – V1.1
Replacing the build surface on the Rasie3D Pro 2 and Pro 2 Plus 3D printers is a straight-forward
process. The three main steps to replace the build surface on the Pro 2 Series 3D printers are
removing the build plate, cleaning the build surface, and reinstalling the build plate. Raise3D
generally recommends replacing the build surface every 3 months. However, the replacement
depends on how heavily it is used.
Required Tools:
①
Scraper
Step I: Removing the Build Plate
1. Remove the build plate from the printer and place it gently on a flat workplace.
- 1 / 3 -
www.raise3d.com
Advertisement
Table of Contents

Summary of Contents for Raise3D Pro 2 Series
- Page 1 Replacing the build surface on the Rasie3D Pro 2 and Pro 2 Plus 3D printers is a straight-forward process. The three main steps to replace the build surface on the Pro 2 Series 3D printers are removing the build plate, cleaning the build surface, and reinstalling the build plate. Raise3D generally recommends replacing the build surface every 3 months.
- Page 2 How to Replace a Build Surface – V1.1 Data:06/16/2020 2. Securely press and hold the build plate with one hand and peel back the used Raise3D build surface from the plate with the other hand. Step II: Cleaning the Build Plate 3.
- Page 3 5. Reinstall the build plate. After the build plate is reinstalled, recalibrate the distance between the nozzle and build plate. - END - America | Asia | Europe Sales & Business: sale@raise3d.com Technical Support: help.raise3d.com For any other inquiries: inquiry@raise3d.com - 3 / 3 - www.raise3d.com...


Need help?
Do you have a question about the Pro 2 Series and is the answer not in the manual?
Questions and answers