Advertisement
Quick Links
DO NOT
LIFT HERE
LIFT HERE
If you have a problem, question, or request, call
your local dealer, or Coalesse at 1.800.627.6770
Or visit our website: www.coalesse.com
©
2015 Coalesse
San Francisco, California U.S.A.
Printed in U.S.A.
NOTE: For larger tables, it is recommended that
you use two or more people to install this product.
SW_1
™
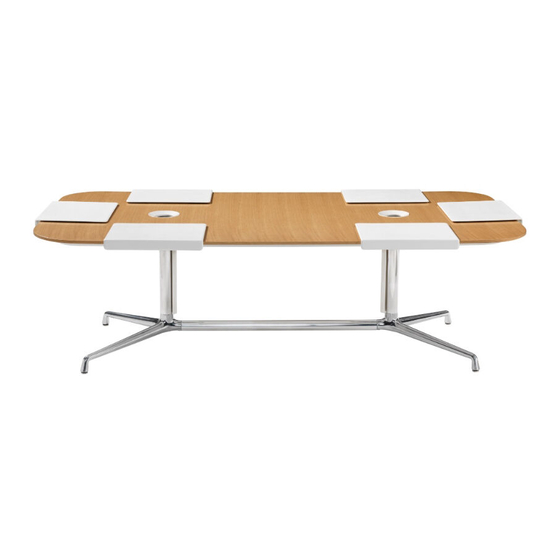
Tables
#2 Phillips Bit
1/4" Hex Bit
3/4"
3/32", 1/8", & 5 mm
Hex Allen Wrench
Page 1 of 11
939500440 Rev E
Advertisement

Subscribe to Our Youtube Channel
Related Manuals for Coalesse SW 1


Summary of Contents for Coalesse SW 1
- Page 1 NOTE: For larger tables, it is recommended that you use two or more people to install this product. If you have a problem, question, or request, call your local dealer, or Coalesse at 1.800.627.6770 3/32", 1/8", & 5 mm Or visit our website: www.coalesse.com Hex Allen Wrench ©...
- Page 2 NOTE: This page applies to the “X” base used on the small round and square tables. Remove 1/4-20 bolt and washer from column. Insert column assembly into base. NOTE: Tabs and notches in column and base allow for correct position. With rubber mallet, hit on top of column assembly to seat the tapers in the column and the base together.
- Page 3 FOR STANDARD TABLES NOTE: Go to page 6 for Large Round and Square Tables. Place bases upside down on a protected surface. Align spanners to legs (1a). If needed, lightly tap spanner to engage into base. Hand tighten bolts (1b). After all bolts are hand tightened, fully tighten to 23...
- Page 4 NOTE: This page applies to the large “X” base, “V” base and inline base. NOTE: It is recommended that you use two people to assemble the base assembly. Insert threaded rod into upper cone. NOTE: Make sure tab in upper cone aligns with threaded rod ring notch.
- Page 5 NOTE: Cone assemblies must be level Level cones. with each other to ensure proper fit of joint on multi-piece worksurface tables. If grommet option is selected, attach the barrier to the threaded rod inside the cone by twisting the barrier until it stops spinning freely, then turn another 1/4 turn, being careful not to over tighten (8a).
- Page 6 FOR LARGE ROUND AND SQUARE TABLES NOTE: Go to page 3 for Standard Tables. LEVELING 4-WAY Insert spanner tubes into 4-way GLIDES CONNECTOR connector (1a) then tighten bolts (1b). Place bases upside down on a protected surface. Align spanner tubes to legs (1c). If needed, lightly tap spanner to engage into base.
- Page 7 Use a 3-3/4” high wood block NOTE: Care must be taken to NOT lift the table under center connector for support. halves by the top surface. Table halves must be lifted by the sub-structure. One table half has large domino and dowel holes, and the other half has small holes.
- Page 8 Rest the other half (with the larger domino and dowel holes) on top of the cones. Make sure halves are in alignment, then move the free half at a slight angle so that the oversize holes accept the dominoes / dowels. Push halves together until tight.
- Page 9 Use caution when using mallet to Use a 5mm allen wrench or minimize risk of damage. provided bit to snug the connector Never use mallet on worksurface top. (not completely). Tap from underside of table. Feel top surface of seam, then use a rubber mallet near connector to raise the low side.
- Page 10 GLASS TOP INSTALLATION Follow previous installation steps for substructure. a) Clean bottom of glass with alcohol and a clean rag. b) Clean top surface of substructure with a rag before applying pads. Peal off paper backing on the back of rubber pads. Apply pads onto the substructure Peel off paper, then place at the locations shown.
- Page 11 GROMMET TABLET INSTALLATION If you are installing a tablet, pull slides out from tablet until fully extended (1a). Place tablet onto tablet slide assembly (1b). Align slide with pilot hole area underneath substructure, tighten (2) set screws on tablet slide assembly, (1c). Put assembly into position (1d) and secure using three (3) screws per slide (1e).
Need help?
Do you have a question about the SW 1 and is the answer not in the manual?
Questions and answers