Advertisement
Quick Links
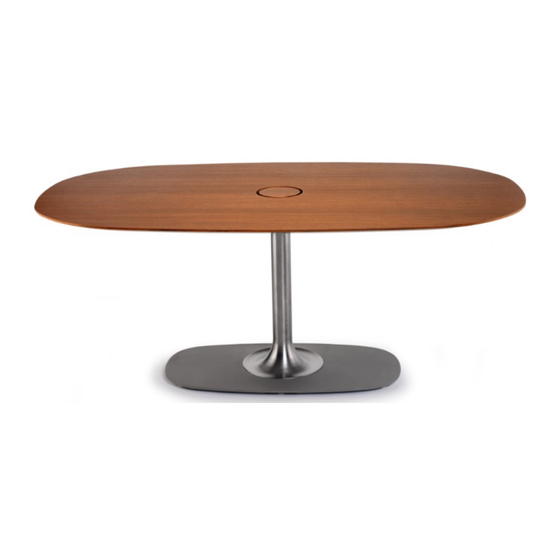
Denizen Round and Oval Table
™
Touch Latch Assembly Replacement
ALLEN WRENCH
If you have a problem, question, or request, call
your local dealer, or Steelcase Line 1 at
888.STEELCASE (888.783.3522)
for immediate action by people who want to help you.
(Outside the U.S.A., Canada, Mexico, Puerto Rico,
and the U.S. Virgin Islands, call: 1.616.247.2500)
Or visit our website: www.steelcase.com
©
2016 Steelcase Inc.
Grand Rapids, MI 49501
Page 1 of 9
U.S.A.
1066880001 Rev A
Printed in U.S.A.
Advertisement

Subscribe to Our Youtube Channel
Related Manuals for Coalesse Denizen Round


Summary of Contents for Coalesse Denizen Round
- Page 1 Denizen Round and Oval Table ™ Touch Latch Assembly Replacement ALLEN WRENCH If you have a problem, question, or request, call your local dealer, or Steelcase Line 1 at 888.STEELCASE (888.783.3522) for immediate action by people who want to help you.
- Page 2 Instructions to Replace Mini Touch Latch Assembly with Magnetic Touch Latch Assembly Unplug power cord. Using 2 people, flip the table top down. Note: Protect top surface from scratches while working on it. POWER CORD TIP: Place a shim under carpet to allow a finger hold when assembled unit is ready to upright.
- Page 3 Disassemble the base by removing (12) screws that attach base to worksurface. Pull the power cords from the base column. SCREWS Page 3 of 9 1066880001 Rev A...
- Page 4 Remove the PVD liner by rotating it until the tabs line up with the slots. Pull it out by hand. Disassemble the cover by removing (8) screws that attach cover to worksurface. COVER PVD LINER Page 4 of 9 1066880001 Rev A...
- Page 5 Disassemble the mini-touch latch bracket by removing two screws. Use 5/64" Hex Key (Allen Wrench). Assemble the magnetic touch latch using two screws. Use 5/64" Hex Key. Page 5 of 9 1066880001 Rev A...
- Page 6 Assemble the cover to worksurface by reusing the (8) screws that were removed during step #4. Install dust cover as shown in the picture. COVER Page 6 of 9 1066880001 Rev A...
- Page 7 Route the power cords through the base column hole. Assemble the base to worksurface by using (12) screws that were removed during step#3. SCREWS Page 7 of 9 1066880001 Rev A...
- Page 8 Denizen PVD Lid Touch Latch Assembly Open PVD Lid Remove paper liner from the back of the self adhesive plate. Attach self adhesive plate on to the bottom of PVD lid by applying adequate pressure. Self adhesive plate to be flush to edge. Note: Self adhesive plate (PN: Y526083) does not come with the touch latch.
- Page 9 Insert touch latch into bracket as shown Manually thread the nut. Hold the touch latch with fingers and gently tighten nut using adjustable wrench or 3/8” square drive, 12 point, 2.5 deep socket. TOUCH LATCH Note: Overtightening the nut could BRACKET damage the touch latch.
Need help?
Do you have a question about the Denizen Round and is the answer not in the manual?
Questions and answers