Advertisement
Quick Links
HD420 QUICK START GUIDE
About this Guide
This guide is a quick reference for users to install and operate HD420 Night
Vision HD Indoor/Outdoor Bullet Cameras. It provides only basic information
regarding installation and operation of your camera. For further details,
please refer to the HD420 User Manual.
CONTENTS OF CAMERA BOX
Before proceeding, please check to confirm that the box contains the items
listed here. If any item is missing or has defects, DO NOT install or operate
the product and contact AvertX for assistance.
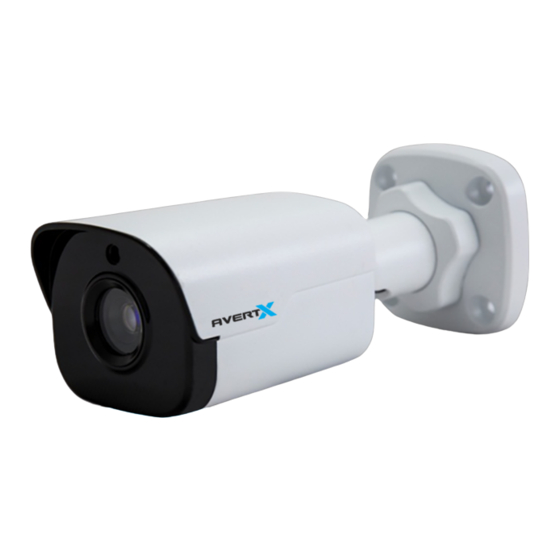
HD420 Bullet Camera
Waterproof Cable
Anchors
Screws
Connector
Documents
4MP MINI IP BULLET
WITH NIGHT VISION
INSTALLATION
Align Holes on Wall
Adjust Aim
The HD420 camera can be installed directly
onto a wall or ceiling. Be sure that the structure
is strong enough to support the camera.
1. Remove the HD420 camera from the
packaging.
2. Connect the camera cable from the
ceiling or wall to the dongle on the
camera. If using the waterproof cable
connector, attach it now. See instructions
below.
3. Loosen the locknut on the camera
bracket mount. Aim the camera down to
access screw holes
4. Affix the camera base to the ceiling
or wall with the included self-tapping
screws. When mounting on an
unprotected wall, the cable notch should
be positioned downward.
5. Adjust the position of your camera. Be
careful not to damage the cable when
moving the camera.
6. Tighten the locknut to secure your
camera.
Note:
The HD420 mini bullet camera is pre-
focused and factory sealed. There is no need
to open the camera housing.
If mounting outside, seal the opening at the
wall and the base of the camera with silicone
caulking.
Improper installation may cause damage to
your camera and void the warranty.
35041AA
Advertisement

Related Manuals for avertX HD420


Summary of Contents for avertX HD420
- Page 1 HD420 QUICK START GUIDE INSTALLATION About this Guide This guide is a quick reference for users to install and operate HD420 Night Align Holes on Wall The HD420 camera can be installed directly Vision HD Indoor/Outdoor Bullet Cameras. It provides only basic information onto a wall or ceiling.
- Page 2 1-855-2AVERTX (1-855-228-3789) www.avertx.com Copyright © 2016 AvertX. All rights reserved. Information contained in this document is subject to change without prior notice. AvertX does its best to provide accurate information, but cannot be held responsible for typos or mistakes. 35041AA...
Need help?
Do you have a question about the HD420 and is the answer not in the manual?
Questions and answers