Advertisement
ercol
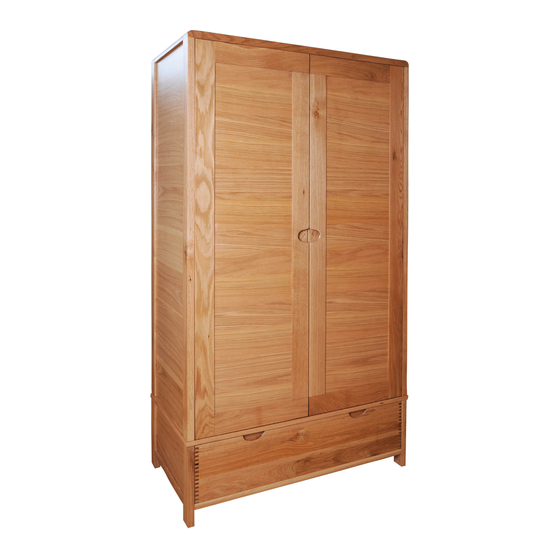
bosco
1365 2 door wardrobe
Thank you for purchasing this bosco wardrobe. Please read the instructions carefully before use to
ensure safe and satisfactory operation of this product.
This product is HEAVY, Take care when lifting to avoid personal injury and (or) damage to the product.
Please check the pack contents before attempting to assemble this product. A full checklist of
components is given in this leaflet. If any pieces are missing, please contact the retailer from whom you
bought this product. The fittings pack contains SMALL ITEMS which should be KEPT AWAY FROM
YOUNG CHILDREN.
Necessary Tools
Advertisement
Table of Contents

Subscribe to Our Youtube Channel
Related Manuals for Ercol Bosco 1365


Summary of Contents for Ercol Bosco 1365
- Page 1 1365 2 door wardrobe Thank you for purchasing this bosco wardrobe. Please read the instructions carefully before use to ensure safe and satisfactory operation of this product. This product is HEAVY, Take care when lifting to avoid personal injury and (or) damage to the product.
- Page 2 Fittings and parts checklist Drawer unit x 1 Hanging rail x 1 LH side panel x 1 30mm screws x 41 RH side panel x 1 ‘L’ bracket x 1 15mm screws x 2 Door frame x 1 Wooden dowels x 8 Back panel x 1 Wedge x 1 Top panel x 1...
- Page 3 Step by step instructions 1, Check that all the wooden dowels are present in the side panels. See fig.1 K x 8 fig. 1 2. Locate the side panels B and C into the drawer unit A. Secure using 2 of the 30mm screws. Insert them at an angle (holes are pre drilled) through the rear post of each side panel.
- Page 4 fig. 3,4,5 and 6 are all shown without the doors for clarity of illustration. With the help of another person, locate the door frame section onto the front of the wardrobe as shown in fig 3. Secure to the side panels using 5 of the 30mm screws per side. Secure at the bottom using 4 of the 30mm screws inserted at an angle.
- Page 5 5. With the help of another person move the wardrobe close to it’s final position. If your floor is uneven the other person may need to tilt the wardrobe slightly so that the doors remain square, while you secure the back panel using 16 x 30mm screws fig.5. H x 16 fig.
- Page 6 7. We recommend that you fix this wardrobe to the wall, using appropriate fixings for your type of wall, see fig.7 fig. 7 Move the wardrobe into it’s final position against the wall. Align the L bracket to the pre drilled holes on the top of your wardrobe in the middle along the back rail and using the 2 x 15mm screws fix the bracket to the top of your wardrobe.
- Page 7 9. Check that the doors are aligned correctly. If necessary adjust the door hinges as shown in fig.9 fig. 9 10. Finally, fully tighten the screws to secure the wardrobe to your wall fig.10 I X 1 J X 2 fig.
- Page 8 No liability will be accepted for damage or injury caused by incorrectly installed furniture. PLEASE KEEP THESE INSTRUCTIONS FOR FUTURE REFERENCE Ercol Furniture Ltd, Summerleys Road, Princes Risborough, Buckinghamshire. HP27 9PX www.ercol.com...
Need help?
Do you have a question about the Bosco 1365 and is the answer not in the manual?
Questions and answers