Advertisement
ercol
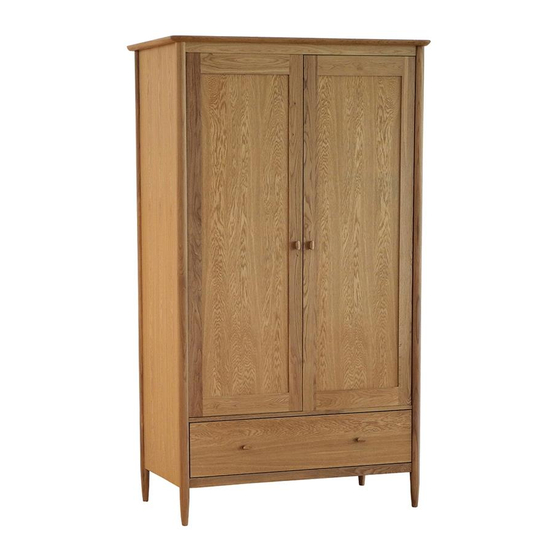
teramo 2686 2 door wardrobe
Thank you for purchasing this teramo 2 door wardrobe. Please read the instructions carefully before use to en-
sure safe and satisfactory operation of this product.
This item is HEAVY
Necessary Tools
Pre-assembly preparation
Please ensure instructions are read in full before attempting to assemble this product
Please check the pack contents before attempting to assemble this product. A full checklist of components
is given in this leaflet. If any components are missing, please contact the retailer from whom you bought
this product.
This product is HEAVY, it should be assembled as near as possible to the point of use. TAKE CARE
WHEN LIFTING to avoid personal injury and (or) damage to the product.
This product takes approximately 30 MINUTES to assemble with 2 PEOPLE.
The fittings pack contains SMALL ITEMS which should be KEPT AWAY FROM YOUNG
CHILDREN.
Advertisement
Table of Contents

Related Manuals for Ercol Teramo 2686


Summary of Contents for Ercol Teramo 2686
- Page 1 2686 2 door wardrobe Thank you for purchasing this teramo 2 door wardrobe. Please read the instructions carefully before use to en- sure safe and satisfactory operation of this product. This item is HEAVY Necessary Tools Pre-assembly preparation Please ensure instructions are read in full before attempting to assemble this product Please check the pack contents before attempting to assemble this product.
- Page 2 Fittings and parts checklist Top panel x 1 25mm Screws x 16 LH side panel x 1 30mm Screws x 4 RH side panel x 1 Brackets x 2 Left & Right doors x 2 Strap x 1 Back panel x 1 Screws x 1 Wedge x 2 Drawer box unit x 1...
- Page 3 Step by step assembly instructions 1. Take the drawer out of the drawer box unit as shown below. 2. Attach the side panels B & C to the drawer box unit, making sure the 4 dowels locate squarely into the side panels. Using M6*35 bolt 8pc s , attach the side panels B & C through the inside holes of the drawer box unit, as shown below.
- Page 4 3. Locate the top panel A into the dowels on the tops of the side panels B & C and secure using the 6pcs M6*35 bolt. 4. To increase the overall strength, Using 4 of the 30mm screws (I) attach the side panel rails front and back to the top of the wardrobe through the pre drilled holes provided, see below.
- Page 5 5. Using the 25mm screws H (16), fix the back panel to the rear of the wardrobe as shown. 6. Put the hanging rail, G into the hanging rail supports inside the wardrobe, and put the drawer into the the drawer box.
- Page 6 Wall fixing - if in doubt seek professional advice Wood Cavity wall Brick or Masonry If fixing to wood Special toggle Use an appropriate make sure that it wall plugs are wall plug provided you isn’t chipboard as needed. Seek are sure your wall is screws can easily pull expert advice...
- Page 7 You can also snap them lengthways. 11. Check that the doors are aligned correctly. If necessary adjust the door hinges as shown below PLEASE KEEP THESE INSTRUCTIONS FOR FUTURE REFERENCE Ercol Furniture Ltd, Summerleys Road, Princes Risborough, Buckinghamshire. HP27 9PX www.ercol.com...
Need help?
Do you have a question about the Teramo 2686 and is the answer not in the manual?
Questions and answers