Advertisement
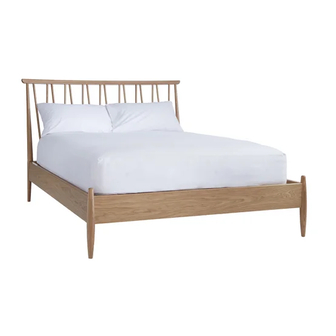
Thank you for purchasing this shalstone 4 ft 6in bed. Please read the instructions carefully before use to ensure
safe and satisfactory operation of this product
This item is HEAVY
Pre-assembly preparation
Please ensure instructions are read in full before attempting to assemble this product.
Please check the pack contents before attempting to assemble this product. A full checklist of components is
given in this leaflet. If any components are missing, please contact the retailer from whom you bought this
product.
HEAVY
This product is
WHEN LIFTING
This product is product takes approximately
The fıttings pack contains
CHILDREN.
Shalstone Bedstead Double
Necessary Tools
it should be assembled as near as possible to the point of use.
,
to avoid personal injury and (or) damage to the product.
20 MINUTES
SMALL ITEMS
assemble with
TO
KEPT AWAY FROM YOUNG
which should be
Page 1 of 6
YNG TAL 14 / ESMT1 D: 09.07.2015 / RN 002.
Stock numbers 80311502
TAKE CARE
2 PEOPLE
.
Advertisement
Table of Contents

Related Manuals for Ercol Shalstone Bedstead Double


Summary of Contents for Ercol Shalstone Bedstead Double
- Page 1 YNG TAL 14 / ESMT1 D: 09.07.2015 / RN 002. Shalstone Bedstead Double Stock numbers 80311502 Thank you for purchasing this shalstone 4 ft 6in bed. Please read the instructions carefully before use to ensure safe and satisfactory operation of this product...
- Page 2 Fittings and parts checklist Headboard x 1 Firm Fix Assembly Nut x 8 Footboard x 1 Threads (M8*67) x 8 L/H Side Rail x 1 Spanner (M13) x 1 R/H Side Rail x 1 Ends for slats x 72 Centre Rail x 1 Wooden Dowels (10*35 mm)x 8 Bed Slats x 36 Page 2 of 6...
- Page 3 Step by step assembly instructions 1. Threaded rods to be screwed by hand to headboard and footboard before moving to step 2 2. 4x wooden dowels to be attached to the each side rail by using a rubber mallet as shown. 3 - 4 3.
- Page 4 4. In order to assist in easily winding the nut on to the bolt, please put the nut in place - see sketch - and lightly press it against the bolt using one of your fingers as shown in the sketch. With your other, free hand start turning the nut clockwise, using the spanner supplied with the fittings.
- Page 5 6. Push fit two plastic caps onto either end of the slat. Push fit the slat into the pre-drilled pilot holes. Please note that it may require a light tap with a rubber mallet to secure the plastic end caps into the holes. Repeat this step with the other 35 slats.
-
Page 6: Care And Maintenance
No liability will be acepted for damage or injury caused by incorrectly installed furniture. PLEASE KEEP THESE INSTRUCTIONS FOR FUTURE REFERENCE Ercol Furniture Ltd, Summerleys Road, Princes Risborough, Buckinghamshire. HP27 9PX www.ercol.com Page 6 of 6...
Need help?
Do you have a question about the Shalstone Bedstead Double and is the answer not in the manual?
Questions and answers