Subscribe to Our Youtube Channel
Summary of Contents for GABOR TM-SS
- Page 1 TM -S S / TIL TIN T / SM AL L TM-SS / TILTING WA LL MO UN WALL MOUNT for Small Flat-Panel Displays User Manual...
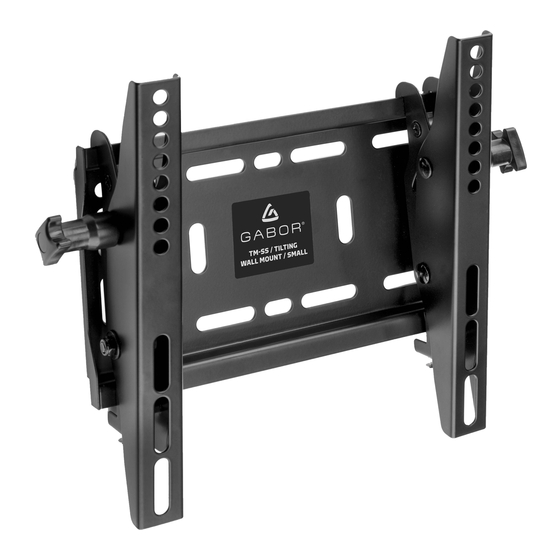
- Page 2 Thank you for choosing Gabor. The Gabor TM-SS Tilting Wall Mount offers durable and discreet support for small flat-panel displays measuring 15 to 40 inches and weighing up to 110 pounds. This mount’s low 2.2-inch profile assures that your screen will hang practically flush against the wall. Anti-theft screws are integrated and secure the display, making the mount ideal for public places.
-
Page 3: Safety Warnings
• This product may contain small parts which can possibly pose a choking professional or installation contractor; Gabor takes no responsibility for hazard; keep out of reach of children and pets. any product damage or personal injury resulting from mishandling, incorrect mounting, faulty assembly, or improper use of this product. -
Page 4: Product Specifications
Product Specifications Depth from Mounting Source Max Weight Capacity 2.2 in. (5.6 cm) 110 lb. (50 kg) Recommended Screen Sizes Material 15 to 40 in. (38 to 101.6 cm) Steel VESA Mounting Patterns Weight 75×75 mm 2.71 lb. (1.23 kg) 100×100 mm 200×100 mm 200×200 mm... - Page 5 Overview Required Tools Adjustable crescent Stud finder 3/16 in. (4.5 mm) wrench Wood drill bit Wall Bracket 3/8 in. (10 mm) Drill Concrete drill bit Hammer Tape measure Phillips screwdriver Pencil TM-S S / TILT / SMA LL WAL L MOU NT Display Brackets 27 ×...
- Page 6 Display/TV Placement Before installing the Gabor Tilting Wall Mount, you will need to determine the placement of your display and identify surrounding support structures for attachment. The best height for a display is at the viewer’s eye level. You can find this height in one of two ways.
- Page 7 Attaching the Display/TV Brackets Selecting the Right VESA Mounting Hardware for Your Display A variety of screws are included to fit VESA standards on the backs of most displays. If the screw is too Select the M4, M5, M6, or M8, screws and short, it may not hold washers that best fit your display.
- Page 8 Four anchor screws (I) have been included for use with the TM-SS, but you will need only two screws. Use a stud finder to locate the edges of the wooden studs, and mark the center of each stud.
- Page 9 Attaching the Wall Bracket to Concrete TM-SS / TILTING Warning! Make sure the concrete wall is solid and at least 8 inches (20 cm) thick. If / SMALL WALL MOUNT the concrete exhibits cracks or other defects, this may result in failure of the concrete anchors and cause serious personal injury or damage your display.
- Page 10 Attaching the Wall Bracket (cont.) Wooden Studs Concrete wall bracket mounted to wooden stud, with correct screw placement. wall bracket mounted to concrete, with correct screw placement. TM-SS / TILTING TM-SS / TILTING WALL MOUNT / SMALL WALL MOUNT / SMALL...
- Page 11 Mounting the Display on the Wall Bracket Lift your display up to the wall bracket, and hang the display from the top hooks of the brackets. Tighten the display bracket’s security screws, using the included hex wrench. Use the tilt tension knobs on both brackets to adjust the tension for the tilting mechanisms. Tilt the display into the ideal viewing angle from -10°...
-
Page 12: One-Year Limited Warranty
To obtain warranty coverage, contact the Gabor Customer Service Department to obtain a return merchandise authorization (“RMA”) number, and return the defective product to Gabor along with the RMA number and proof of purchase. Shipment of the defective product is at the purchaser’s own risk and expense.


Need help?
Do you have a question about the TM-SS and is the answer not in the manual?
Questions and answers