Table of Contents
Advertisement
Advertisement
Table of Contents

Related Manuals for Riello AMW P Series


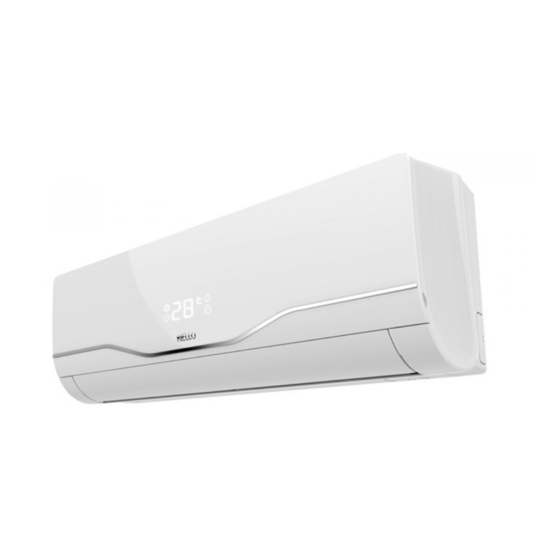
Summary of Contents for Riello AMW P Series
- Page 1 AMW P SERIES R32 INSTALLATION AND TECHNICAL SERVICE INSTRUCTIONS...
- Page 2 While your technical skills and knowledge will certainly be more than sufficient, this booklet contains all the information that we have deemed necessary for the device's correct and easy installation. Thank you again, and keep up the good work. RIELLO COMPLIANCE R AMW P heat pumps are compliant with the following European Directives: —...
-
Page 3: Table Of Contents
AMW P TAbLE OF CONTENTS GENERAL INFORMATION ....p. 4 General Notices ......p. 4 Safety precautions . -
Page 4: General Information
GENERAl INfORMAtION GENERAL INFORMATION According to EU Regulation no. 517/2014 regarding certain General Notices fluorinated greenhouse gases, the total amount of refrig- erant contained within the installed system must be indi- cated. This information can be found on the unit technical data plate. -
Page 5: Unit Description
1PH,230V~,50HZ Technical Support Service, using only original components. Anti-electric shock Class Please refer to the spare parts catalogue. RIELLO Spa - Via Ing. Pilade Riello, 7 Net Weight 10.0 kg 37045 LEGNAGO (VR) - Italy Air volume XXX m ³ /h... -
Page 6: Technical Specifications
GENERAl INfORMAtION Technical specifications Model Electrical characteristics Power supply 230/1/50 V/Ph/Hz Protection factor IP20 Quantity Nominal power input 0,03 0,03 0,03 0,04 0,05 Nominal current consumption 0,15 0,15 0,15 0,25 0,35 Maximum air flow 1100 m³/h Medium air flow m³/h Minimum air flow m³/h Superminimum air flow... -
Page 7: Installation
The Instruction book comes with the equipment and it should be taken, read and kept carefully. The document envelope must be kept in a safe place. Any duplicate must be requested from Riello S.p.A. which re- serves to charge the cost. Model... -
Page 8: Storage
INStAllAtION Document envelope and material supplied as kit Polystyrene elements Follow the below instructions for packing removal and product handling: — transport the equipment in the installation place — open the cardboard packaging Model — remove the document envelope Product dimensions —... -
Page 9: Recommended Distances
INStAllAtION Minimum floor area for indoor unit (m²) Gas charge Indoor unit installation floor Window Wall Ceiling 1,10 No requirements 1,224 1,225 12,88 4,64 1,43 0,96 1,30 14,50 5,22 1,61 1,08 1,90 30,98 11,15 3,44 2,30 2,00 34,32 12,36 3,81 2,55 2,30 45,39... -
Page 10: Installation On Old Systems Or Systems In Need Of Upgrading
INStAllAtION MODEl 50 Fastening slots Fastening holes Metal support Equipment overall dimensions MODEl 70 Installation on old systems or systems in need of upgrading When R AMW P is installed on old systems or systems in need of upgrading, it is recommended to ensure that: —... - Page 11 INStAllAtION — drill holes in the marked positions Contact R Technical Support Service. — fix the metallic support with the screws and the wall plugs Device preparation: Check that the installation is horizontal using a water level. Drilling into the wall: 5 - 6 mm Inner side Outer side...
-
Page 12: Condensate Discharge Position
INStAllAtION — use the pipe locking bracket to space the unit lower side side from the metallic support 2.11 Refrigerating connection If there is a connection box: — use one of the polystyrene protections from the packaging After performing the connections: The dimensions and positions of R AMW P cooling connec- tions are shown hereunder. - Page 13 INStAllAtION — keep a downward inclination toward the external side MODEl 25 - 35 — insert a plastic tube in the hole in order to protect the con- nections — introduce the supplied hole protection insert on the inter- nal side of the wall —...
- Page 14 INStAllAtION — bring line ends with flare connection close to their cou- pling on the unit — manually rotate the flare nuts by 3 - 4 turns — tighten the connections using a spanner and a counter spanner Use a torque wrench to tighten so as to prevent damage to flare nuts and gas leaks.
-
Page 15: Condensate Discharge Connection
INStAllAtION to 70°C 2.12 Condensate discharge connection R AMW P is provided with a tray that collects condensate generated during the cooling operation, which must be con- veyed into a suitable place for discharge. Sizes and position of the discharge pipe are indicated below. <... -
Page 16: Wiring Diagram
INStAllAtION — pour water into the condensate tray — check that it flows out correctly through the drainage pipe — reposition the filters — close the panel 2.13 Wiring diagram DC Fan motor C0N3 C0N2 O F F C0N1 CN5' Horizontal swing motor CN21... -
Page 17: Remote Control
INStAllAtION — unscrew the fastening screws diagrams contained within this booklet — remove the terminal board cover panel — take anti-static precautions in case of weather conditions where humidity is less than 40% Electric connections shall be made in compliance with na- tional regulations. - Page 18 INStAllAtION DOOR ClOSED DOOR OPEN TIMER TIMER FAN MODE POWER Display Door On- Off key Advanced function keys Quick function keys When the door is open, you can access the advanced functions, When the door is closed, you can activate the quick functions, e.g.
-
Page 19: Unit Display
INStAllAtION user and the detected weather conditions. Vertical deflector position (not available on AMW The display is divided into uniform areas according to function type. Deflector automatic operation fan settings Fan speed set Automatic speed enabled Climatic settings 1. Detected ambient temperature 2. -
Page 20: Commissioning And Maintenance
COMMISSIONING AND MAINtENANCE COMMISSIONING AND MAINtENANCE The device is designed to be installed with two purifying Preparation for first commissioning filters. Chose among the ones supplied according to your needs. For the installation: Prior to commissioning, it is necessary to check that: —... -
Page 21: Putting Into Service
COMMISSIONING AND MAINtENANCE FAN MODE Emergency switch — open the door — press To switch on: — keep the emergency switch pressed down with a pointy The time indication starts to blink. object until a double acoustic signal is emitted —... -
Page 22: Ordinary Maintenance
COMMISSIONING AND MAINtENANCE — take out the mesh filter by grabbing the relevant fins — remove exhausted purifying filters if present — remove dust with an vacuum cleaner Stubborn dirt can be removed by washing the filter in a luke O F F warm (max. -
Page 23: Extraordinary Maintenance
COMMISSIONING AND MAINtENANCE — remove exhausted purifying filters Wait for at least 10 minutes before restarting the unit. — insert new purifying filters into the prearranged slots If the fault occurs again, an accurate check of the device — to reposition them, proceed in reverse order components is required. -
Page 24: Disposal
RECYClING AND DISPOSAl DISPOSAl Packaging materials shall be disposed of separately so as to re- cover and recycle them. At the end of its service life, the device shall be disposed of according to the existing legislation. - Page 28 RIELLO S.p.A. - 37045 Legnago (VR) tel. +39 0442 630111 - fax +39 0442 630371 www.riello.it As the manufacturer is constantly improving its products, the aesthetic or dimensional features, the technical data, the equipment and accessories indicated could be subject to variations.
Need help?
Do you have a question about the AMW P Series and is the answer not in the manual?
Questions and answers