Sign In
Upload
Download
Table of Contents
Contents
Add to my manuals
Delete from my manuals
Share
URL of this page:
HTML Link:
Bookmark this page
Add
Manual will be automatically added to "My Manuals"
Print this page
×
Bookmark added
×
Added to my manuals
Manuals
Brands
Riello Manuals
Heat Pump
AMW 25 ST
Installation and technical service instructions
Riello AMW 25 ST Installation And Technical Service Instructions
Hide thumbs
1
2
Table Of Contents
3
4
5
6
7
8
9
10
11
12
13
14
15
16
17
18
19
20
21
22
23
24
25
26
27
28
page
of
28
Go
/
28
Contents
Table of Contents
Bookmarks
Table of Contents
Table of Contents
1 General Information
General Notices
Safety Precautions
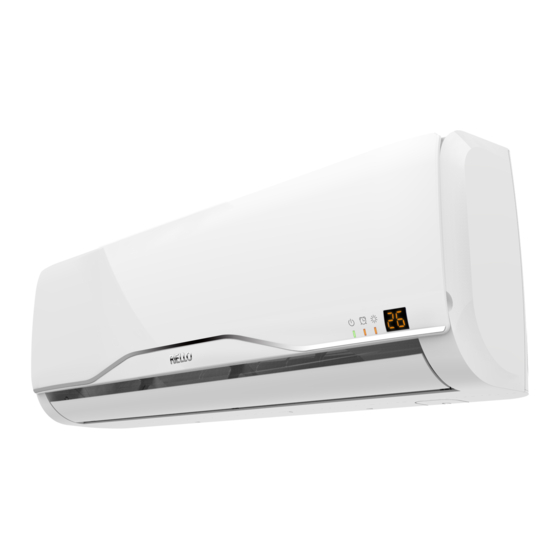
Unit Description
Safety and Adjustment Devices
Identification
Layout
Technical Specifications
Cooling Circuit
2 Installation
Receiving the Product
Labels Positioning
Dimensions and Weight
Storage
Handling and Removal of the Packing
Place of Installation
Recommended Distances
Installation on Old Systems or Systems in Need of
Upgrading
Positioning
Condensate Discharge Position
Refrigerating Connection
Condensate Discharge Connection
Wiring Diagram
Electrical Connection
Remote Control
Unit Display
Light Indicators
3 Commissioning and Maintenance
Preparation for First Commissioning
Putting into Service
Temporary Shutdown
Stop for an Extended Period of Time
Ordinary Maintenance
Extraordinary Maintenance
Alarms
4 Disposal
Advertisement
Quick Links
1
General Notices
2
Unit Description
3
Technical Specifications
4
Remote Control
5
Unit Display
6
Ordinary Maintenance
7
Alarms
Download this manual
AMW ST
SERIES R32
EN
INSTALLATION AND TECHNICAL SERVICE INSTRUCTIONS
Table of
Contents
Previous
Page
Next
Page
1
2
3
4
5
Advertisement
Table of Contents
Need help?
Do you have a question about the AMW 25 ST and is the answer not in the manual?
Ask a question
Questions and answers
Related Manuals for Riello AMW 25 ST
Air Conditioner Riello AARIA PRO P Series Installation And Technical Service Instructions
(44 pages)
Air Conditioner Riello R32 Series Installation And Technical Service Instructions
(32 pages)
Heat Pump Riello R32 Series Installation And Technical Service Instructions
(28 pages)
Heat Pump Riello R32 Series Installation And Technical Service Instructions
(24 pages)
Heat Pump Riello AMW 35 ST Installation And Technical Service Instructions
(28 pages)
Heat Pump Riello AMW 50 ST Installation And Technical Service Instructions
(28 pages)
Heat Pump Riello AMW 70 ST Installation And Technical Service Instructions
(28 pages)
Heat Pump Riello AMS P Series Installation And Technical Service Instructions
(27 pages)
Heat Pump Riello AMW P Series Installation And Technical Service Instructions
(28 pages)
Heat Pump Riello AARIA PRO AMK P User Instructions
(24 pages)
Heat Pump Riello AARIA START Installation And Technical Service Instructions
(28 pages)
Heat Pump Riello A2WHPR32M/004 Manual
(144 pages)
Heat Pump Riello NXHM A2WHPR32M/004 Installer And User Manual
(75 pages)
Heat Pump Riello NexPolar Series Installation And Technical Service Instructions
(72 pages)
Heat Pump Riello NexSirius 006 M Instructions For The Installer And The Technical Service Centre
(100 pages)
Heat Pump Riello NXHM Installation & Owner's Manual
(129 pages)
This manual is also suitable for:
R32 series
Amw 35 st
Amw 50 st
Amw 70 st
Table of Contents
Print
Rename the bookmark
Delete bookmark?
Delete from my manuals?
Login
Sign In
OR
Sign in with Facebook
Sign in with Google
Upload manual
Upload from disk
Upload from URL


Need help?
Do you have a question about the AMW 25 ST and is the answer not in the manual?
Questions and answers