Kramer VIA Campus2 PLUS Quick Start Manual
Hide thumbs
Also See for VIA Campus2 PLUS:
- User manual (85 pages) ,
- Quick start manual (4 pages) ,
- User manual (141 pages)
Table of Contents
Advertisement
Quick Links
VIA Campus² PLUS Quick Start Guide
For Installer
Scan for full
This guide helps you install and configure your VIA Campus² PLUS for the first time.
manual
Go to
manual and check if firmware upgrades are available.
Step 1: Check what's in the box
VIA Campus² PLUS Collaboration Device
1 Power adapter (19V DC)
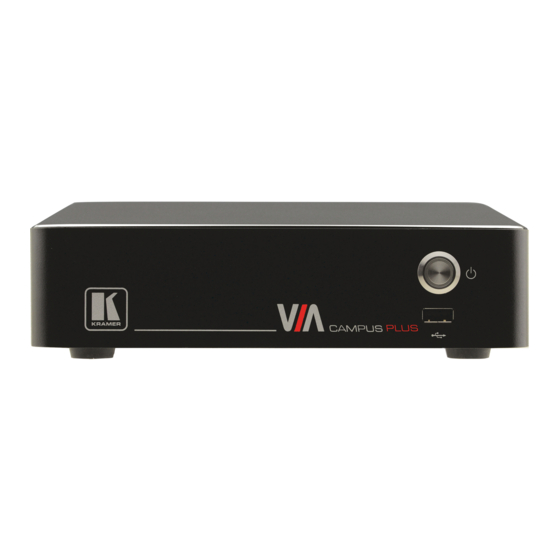
Step 2: Get to know your VIA Campus² PLUS
#
Feature
1
Power Button
2
USB 2.0 Connector
3
DC IN 19V Connector
4
Wi-Fi Antenna Port (1 of 2)
5
HDMI OUT Connector
6
HDMI IN Connector
7
DP OUT Connector
8
USB 3.0 connectors
9
USB 2.0 connectors
10
LAN RJ-45 Connector
11
Wi-Fi Antenna Port (2 of 2)
12
REMOTE 2-pin Terminal Block
13
AUDIO
LINE OUT 3.5mm Mini Jack
MIC IN 3.5mm Mini Jack
Step 3: Install VIA Campus² PLUS
Install VIA Campus² PLUS using one of the following methods:
•
Mount the unit in a rack using the recommended rack adapter
(see
www.kramerav.com/product/VIA Campus2
•
Place the device on a flat surface.
VIA
Campus² PLUS Quick Start
www.kramerav.com/downloads/VIA Campus2 PLUS
HDMI cable extender (M to F)
1 Quick start guide
Function
For turning the unit on and off.
For upgrading firmware or connecting a USB device.
Connects to the 19V DC power adapter.
Connect one of the Wi-Fi antennas for collaborating via the built-in Wi-Fi.
Connect to an HDMI display.
Connect to an HDMI source (for example, a laptop).
Connect to a DisplayPort display.
Connect to up to 2 USB devices.
Connect to up to 2 USB devices.
Connect a Local Area Network (LAN) cable.
Connect one of the Wi-Fi antennas for collaborating via the built-in Wi-Fi.
Connect to a toggle switch to remotely turn the device on and off.
Connect to an unbalanced stereo audio acceptor.
Connect to a microphone.
PLUS).
to download the latest user
• Ensure that the environment (e.g., maximum ambient temperature &
air flow) is compatible for the device.
• Avoid uneven mechanical loading.
• Appropriate consideration of equipment nameplate ratings should
be used for avoiding overloading of the circuits.
• Reliable earthing of rack-mounted equipment should be maintained.
P/N:
2 9 0 0 - 3 0 1 2 1 3 QS
2 Wi-Fi antennas
Rev: 1
Advertisement
Table of Contents

Related Manuals for Kramer VIA Campus2 PLUS


Summary of Contents for Kramer VIA Campus2 PLUS
- Page 1 This guide helps you install and configure your VIA Campus² PLUS for the first time. manual Go to www.kramerav.com/downloads/VIA Campus2 PLUS to download the latest user manual and check if firmware upgrades are available. Step 1: Check what’s in the box VIA Campus²...
- Page 2 Always switch OFF the power on each device before connecting it to your VIA Campus² PLUS. For best results, we recommend that you always use Kramer high-performance cables to connect AV equipment to VIA Campus² PLUS. Connect the keyboard and mouse.
- Page 3 Enter the Room Name of the VIA Campus² PLUS device into your computer’s browser. The Welcome page of VIA Campus² PLUS appears. Select Run VIA to execute the Kramer VIA app without downloading it. (Intended for guests who are using VIA only temporarily.) Select Install VIA to download the Kramer VIA app onto your computer.
- Page 4 Step 4: Using the VIA dashboard menu • Click Features to access VIA Campus² PLUS features. • Click Present to present your screen to the meeting participants on the main display. • Click Participants to see who else is connected. Step 5: VIA Campus²...
Need help?
Do you have a question about the VIA Campus2 PLUS and is the answer not in the manual?
Questions and answers