Advertisement
Quick Links
INSTALLATION MANUAL
Level of Difficulty
Moderate
This is the first of two manuals required
to complete this installation. The second
manual is included with your bumper
corners. If installing a brush guard, there
will be a third manual required.
Center Section Parts List
1
TrailChaser
™
center section
8
Hex bolt, M12
16
Flat washer, M12
8
Lock washer, M12
8
Nut, M12
Tools Required
Ratchet
Phillips screwdriver
Socket extension
Flathead screwdriver
Socket set
Allen wrench set
Level
Box wrench set
Torque Specifications
M6 bolt
7 ft-lbs.
M8 bolt
16 ft-lbs.
M10 bolt
33 ft-lbs.
M12 bolt
58 ft-lbs.
Use above torque setting unless otherwise noted
ARIESAUTOMOTIVE.COM
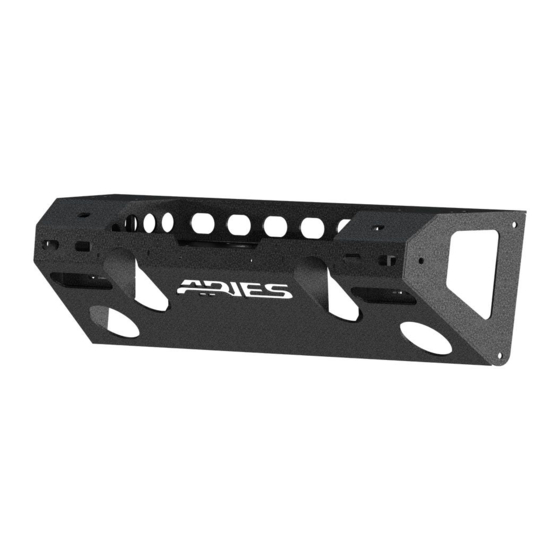
Product Photo (center section only)
Applicable to the Following Part Numbers
2081004
Notes and Maintenance
Before you begin installation, read all instructions thoroughly.
Proper tools will improve the quality of installation and reduce the time required.
Mild automotive detergent may be used to clean the product. Do not use dish detergent, abrasive
cleaners, abrasive pads, wire brushes or other similar products that may damage the finish.
Refer to the table to the left when securing hardware during the
installation process to help prevent damage to the product or vehicle.
Product Registration
CURT Group stands behind our products with industry leading warranties.
You can help us continue to improve our product line and help us understand
your needs by registering your purchase by visiting:
warranty.curtgroup.com/surveys
At CURT Group, customer is king. We value your feedback and we use that information to make
improvements on our products. Please, take a minute and let us know how we are doing.
•
NEED ASSISTANCE?
•
877.287.8634
•
RA
•
PAGE 1
CENTER SECTION
2081003
Advertisement

Related Manuals for Aries 2081004


Summary of Contents for Aries 2081004
- Page 1 TrailChaser ™ center section Hex bolt, M12 Flat washer, M12 Lock washer, M12 Nut, M12 Applicable to the Following Part Numbers 2081004 2081003 Tools Required Ratchet Phillips screwdriver Notes and Maintenance Socket extension Flathead screwdriver Before you begin installation, read all instructions thoroughly.
- Page 2 Step 1 Remove the front fascia by removing the eight plastic push fasteners from the upper edge of the lower front fascia. Using a socket, remove the two 5mm screws securing the lower edge of the plastic fascia. Step 2 From behind the factory bumper on the passenger side, disconnect the fog light wiring harness.
- Page 3 Step 5 On the driver side, remove the plastic cover over the factory fog light. Remove the fog light and plastic housing from the factory bumper. Disconnect the wiring harness from the fog light. Remove the factory fog light from the plastic housing. Repeat this step on the passenger side.
- Page 4 Step 6 Remove the fog light wiring harness from the factory bumper. Begin by removing the retainer clips from the eight bumper mounting studs. Remove the four bolts securing the beam to the bumper. Lift the beam from the bumper, exposing the fog light harness.
- Page 5 Note: If installing a bumper with corners that include turn signals, refer to step 12 on the installation included with your bumper corners. Congratulations on the installation of your new ARIES TrailChaser bumper. ™ With the bumper installed, periodic inspections should be performed to ensure all mounting hardware remains tight.
Need help?
Do you have a question about the 2081004 and is the answer not in the manual?
Questions and answers