Table of Contents
Advertisement
Quick Links
INSTALLATION MANUAL
Parts List
1
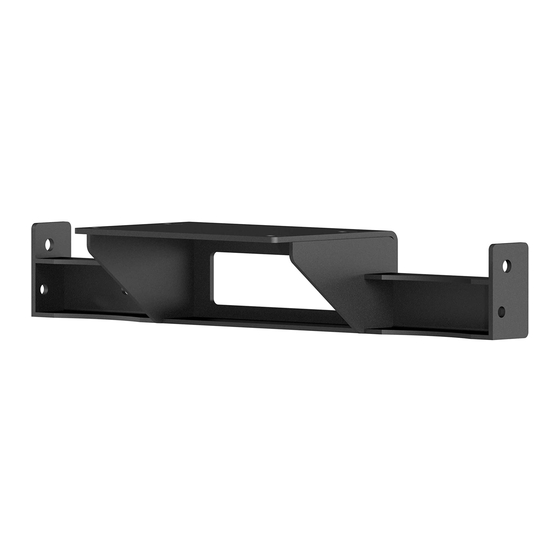
Winch support bracket
2
Nut plate
2
Hex bolt, M10 x 30mm
2
Flat washer, M10
2
Lock washer, M10
2
Hex bolt, M12 x 30mm
2
Flat washer, M12
2
Lock washer, M12
Tools Required
Ratchet
Torque wrench
Phillips
Flathead
screwdriver
screwdriver
10mm socket
Deburring tool
16mm socket
Touch-up paint
18mm socket
Masking tape
Cut-off tool
Torque Specifications
M6 bolt
3 ft.-lbs.
M8 bolt
7 ft.-lbs.
M10 bolt
25 ft.-lbs.
M12 bolt
45 ft.-lbs.
1/4" bolt
3 ft.-lbs.
5/16" bolt
7 ft.-lbs.
3/8" bolt
16 ft.-lbs.
7/16" bolt
20 ft.-lbs.
1/2" bolt
28 ft.-lbs.
Use above torque setting
unless otherwise noted
Level of Difficulty
Moderate
Product Image
Notes and Maintenance
Before you begin installation, read all instructions thoroughly.
Proper tools will improve the quality of installation and reduce the time required.
To protect the product, wax after installing. Regular waxing is recommended
to add a protective layer over the finish. Do not use any type of polish or wax
that may contain abrasives that could damage the finish.
For polished, gloss and other smooth finishes,
polish may be used to clear small scratches and scuffs on the finish.
Mild automotive detergent may be used to clean the product.
Do not use dish detergent, abrasive cleaners, abrasive pads,
wire brushes or other similar products that may damage the finish.
Refer to the table to the left when securing hardware during the
installation process to help prevent damage to the product or vehicle.
PAGE 1 • 2072101-INS-RB • 877.287.8634 • NEED ASSISTANCE?
2072101
Scan
for helpful
install tips
• ARIESAUTOMOTIVE.COM
Advertisement
Table of Contents

Related Manuals for Aries 2072101


Summary of Contents for Aries 2072101
- Page 1 45 ft.-lbs. 1/4" bolt 3 ft.-lbs. 5/16" bolt 7 ft.-lbs. 3/8" bolt 16 ft.-lbs. 7/16" bolt 20 ft.-lbs. 1/2" bolt 28 ft.-lbs. Use above torque setting unless otherwise noted • ARIESAUTOMOTIVE.COM PAGE 1 • 2072101-INS-RB • 877.287.8634 • NEED ASSISTANCE?
- Page 2 Unclip the wiring harness from the bumper cover Step 3 Locate the two fasteners securing the frame cover in place on top of the bumper. Remove these with a Phillips screwdriver. ARIESAUTOMOTIVE.COM • NEED ASSISTANCE? • 877.287.8634 • 2072101-INS-RB • PAGE 2...
- Page 3 Step 6 Remove the front bolt securing the vacuum pump to the frame. Loosen the rear bolt securing the vacuum pump to the frame and rotate it to the left. • ARIESAUTOMOTIVE.COM PAGE 3 • 2072101-INS-RB • 877.287.8634 • NEED ASSISTANCE?
- Page 4 Insert a nut plate, aligning the two threaded holes with the holes in the Jeep frame. Temporarily hold in place with tape. Repeat this process on the driver side. ARIESAUTOMOTIVE.COM • NEED ASSISTANCE? • 877.287.8634 • 2072101-INS-RB • PAGE 4...
- Page 5 Step 12 Remove the tape from both nut plates. Using a torque wrench, torque the M10 bolts to 25 ft./lbs. and the M12 bolts to 45 ft./lbs. • ARIESAUTOMOTIVE.COM PAGE 5 • 2072101-INS-RB • 877.287.8634 • NEED ASSISTANCE?
- Page 6 Note: Please refer to the instructions provided with the front bumper, and the winch manufacturers instructions to complete the installation. ARIESAUTOMOTIVE.COM • NEED ASSISTANCE? • 877.287.8634 • 2072101-INS-RB • PAGE 6...
Need help?
Do you have a question about the 2072101 and is the answer not in the manual?
Questions and answers