Table of Contents
Advertisement
Quick Links
INSTALLATION MANUAL
Parts List
1
Bull bar
2
Driver / left
mounting bracket
2
Passenger / right
mounting bracket
6
Hex bolt, M8
6
Flat washer, M8
6
Nylock nut, M8
4
Hex bolt, M10
8
Flat washer, M10
4
Nylock nut, M10
1*
LED wiring harness*
* Wiring harness only included
with LED equipped models
Additional Hardware*
4
Bolt plate
4
Flat washer, 12mm
4
Nylock nuts, 12mm
* Optional for use with
vehicles without tow hooks.
Tools Required
Ratchet
Socket, 13mm
Extension
Socket, 15mm
Level
Socket, 16mm
Wrench, 17mm
Socket, 19mm
Torque Specifications
M6 bolt
3 ft.-lbs.
M8 bolt
7 ft.-lbs.
M10 bolt
16 ft.-lbs.
M12 bolt
28 ft.-lbs.
1/4" bolt
3 ft.-lbs.
5/16" bolt
7 ft.-lbs.
3/8" bolt
16 ft.-lbs.
7/16" bolt
20 ft.-lbs.
1/2" bolt
28 ft.-lbs.
Level of Difficulty
Easy
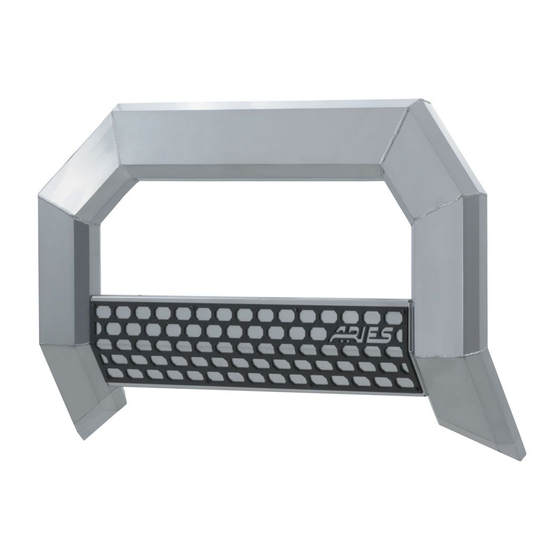
Product Image
2153000
2153100
Notes and Maintenance
Before you begin installation, read all instructions thoroughly.
Proper tools will improve the quality of installation and reduce the time required.
For chrome powder coat, polish may be used to clear small scratches
and scuffs on the finish. Mild soap may be used also to clean the product.
For black finishes, mild soap may be used to clean the product.
Refer to the table to the left when securing hardware during the
installation process to help prevent damage to the product or vehicle.
PAGE 1 • 800.798.0813 • NEED ASSISTANCE?
Scan
for helpful
install tips
2163000
2163100
• ARIESAUTOMOTIVE.COM
Advertisement
Table of Contents

Related Manuals for Aries 2153000


Summary of Contents for Aries 2153000
- Page 1 Hex bolt, M8 Flat washer, M8 Nylock nut, M8 Hex bolt, M10 Flat washer, M10 Nylock nut, M10 LED wiring harness* 2153000 2163000 * Wiring harness only included with LED equipped models Additional Hardware* Bolt plate Flat washer, 12mm Nylock nuts, 12mm * Optional for use with vehicles without tow hooks.
- Page 2 Step 1 For vehicle with factory tow hooks: Starting on the driver side, remove the front factory hex bolt. Loosen the rear factory hex bolt and leave it in place. Remove the tow hook. For vehicle without factory tow hooks: Use the provided bolt plates and 12mm hardware in place of the factory hardware.
- Page 3 Step 5 With help, lift the bull bar into place and align the mounting tabs on the outside of the mounting brackets. Step 6 Insert a M10 hex bolt with flat washer on the outside of the bracket and a M10 flat washer and nylock nut on the inside.
- Page 4 Test the lights to ensure proper function. Step 10 Congratulations on the installation of your new ARIES AdvantEDGE bull bar. ™ With the bull bar installed, periodic inspections should be performed to ensure all mounting hardware remains tight.
Need help?
Do you have a question about the 2153000 and is the answer not in the manual?
Questions and answers