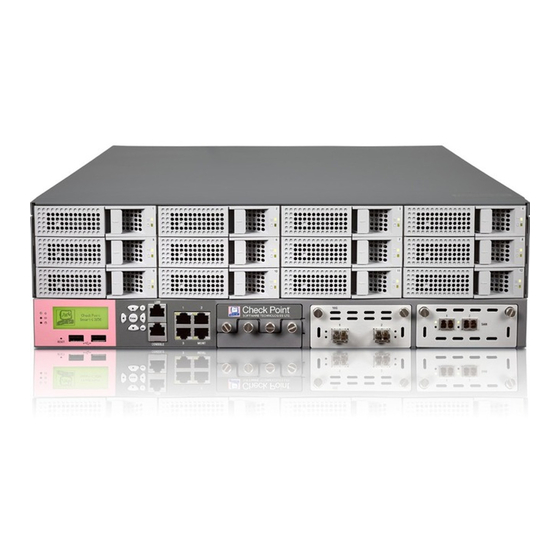
Check Point Smart-1 225 Installing And Removing
Hide thumbs
Also See for Smart-1 225:
- Replacing instructions (5 pages) ,
- Getting started manual (144 pages) ,
- Installing (9 pages)
Advertisement
Table of Contents
- 1 Removing a Hard Disk Drive
- 2 Installing a Hard Disk Drive
- 3 Attaching RAID ID Stickers
- 4 Adding or Replacing a Hard Disk Drive
- 5 To Replace a Hard Disk Drive
- 6 Monitoring RAID Synchronization
- 7 To Monitor the RAID Status of the Disks - Gaia Webui
- 8 To Monitor the RAID Status of the Disks - Smartview Monitor
- Download this manual
Smart-1 Appliance Installing and
Removing Hard Disk Drives
706025
Protected
2014
This document is for Smart-1 225, Smart-1 3050 and Smart-1 3150 models.
Important - Make sure that you are electromagnetically grounded when
doing these procedures. ESD (electrostatic discharge) can damage the
appliance.
For a list of our Third Party Copyright notices, please refer to:
Classification [Protected]
© 2014 Check Point Software Technologies Ltd. All rights reserved.
For a list of our trademarks, please refer to: http://www.checkpoint.com/copyright.html.
http://www.checkpoint.com/3rd_party_copyright.html
P/N:706025 | 1
Advertisement
Table of Contents

Related Manuals for Check Point Smart-1 225


Summary of Contents for Check Point Smart-1 225
- Page 1 Removing Hard Disk Drives 706025 Protected 2014 This document is for Smart-1 225, Smart-1 3050 and Smart-1 3150 models. Important - Make sure that you are electromagnetically grounded when doing these procedures. ESD (electrostatic discharge) can damage the appliance. Classification [Protected] P/N:706025 | 1 ©...
- Page 2 Removing a Hard Disk Drive Item Description Ejector handle Hard drive casing To remove a hard disk drive: On the hard disk drive, push left on the ejector handle to unlock the drive. Important - Do not use the ejector handle to remove the hard disk drive from the appliance.
- Page 3 For Smart-1 3050 and Smart-1 3150, the numbers agree with the RAID DiskNumber. You see the DiskNumber when you monitor the RAID status of the disks ("Monitoring RAID Synchronization" on page 7). Smart-1 225 RAID Stickers Number of hard RAID Disk Number disk drives DiskNumber 0 is the left disk.
- Page 4 Replacing disks when the appliance is off is not supported. Note: Supported RAID modes change according to the number of disks in the appliance. Appliance Default RAID Mode Supported RAID modes Smart-1 225 Smart-1 3050 10 5, 10 Smart-1 3150 ...
- Page 5 To add a new hard disk drive: To learn how to add a new hard drive, see the Smart-1 225/3050/3150 RAID Administration Guide (http://supportcontent.checkpoint.com/documentation_download?ID=32479). To replace a hard disk drive: Log in to the appliance. Enter Expert mode. When the system is up, run raid_diagnostics to check the RAID state of the disks.
- Page 6 Insert a new hard disk. The system automatically adds the new hard disk to the RAID configuration. Run raid_diagnostics to confirm. The example shows that DiskNumber:6 is in State:REBUILD. The SyncState shows the synchronization progress. After the SyncState is at 100%, turn on the the RAID alarm by running raidconfig alarmon...
- Page 7 The numbered labels on the hard disk drawers of the appliance agree with the DiskNumber value in the output of the raid_diagnostic command. This is an example output for Smart-1 225. DiskID 0 is the left hard disk. DiskID 1 is the right hard disk.
- Page 8 In the Gaia WebUI, go to the Maintenance > RAID Monitoring page. To monitor the RAID status of the disks - SmartView Monitor: Open SmartView Monitor. Click All Gateways. Select the Smart-1 Gateway. Click System Information. Click RAID Volumes. For more on RAID, see the Smart-1 225/3050/3150 RAID Administration Guide (http://supportcontent.checkpoint.com/documentation_download?ID=32479).
Need help?
Do you have a question about the Smart-1 225 and is the answer not in the manual?
Questions and answers