Check Point Smart-1 225 Installing
Lom card
Hide thumbs
Also See for Smart-1 225:
- Replacing instructions (5 pages) ,
- Getting started manual (144 pages) ,
- Installing and removing (9 pages)
Advertisement
Quick Links
Installing a Smart-1 LOM Card
705871
Protected
2014
This document is for Smart-1 225, Smart-1 3050, and Smart-1 3150 models.
Important
Read the Health and Safety Information in the Getting Started Guide
(http://supportcontent.checkpoint.com/documentation_download?ID=32309).
To protect the appliance and LOM card from electrostatic discharge, make sure that
you are grounded.
We recommend that you use an ESD grounding wrist strap. Connect the grounding
plug on the wrist strap to the chassis grounding point.
Preparing the Appliance
Before you start to install or remove the LOM card, make sure that:
The appliance is in a clean environment and on a level surface.
You can physically access and open the cover of the appliance.
You can connect to the WebUI or CLI.
You have the Check Point LOM card RMA kit.
RMA Kit Contents
FRU Installation Guide
LOM card
Screwdriver
RMA kit sticker
ESD grounding strap (anti-static)
For a list of our Third Party Copyright notices, please refer to:
Classification [Protected]
© 2014 Check Point Software Technologies Ltd. All rights reserved.
For a list of our trademarks, please refer to: http://www.checkpoint.com/copyright.html.
http://www.checkpoint.com/3rd_party_copyright.html
P/N:705871 | 1
Advertisement

Related Manuals for Check Point Smart-1 225


Summary of Contents for Check Point Smart-1 225
- Page 1 Installing a Smart-1 LOM Card 705871 Protected 2014 This document is for Smart-1 225, Smart-1 3050, and Smart-1 3150 models. Important Read the Health and Safety Information in the Getting Started Guide (http://supportcontent.checkpoint.com/documentation_download?ID=32309). To protect the appliance and LOM card from electrostatic discharge, make sure that you are grounded.
- Page 2 Put on the ESD strap and attach the other end to a grounding point. Remove the appliance from the rack and put it on a flat surface. Remove the appliance top cover. The diagram shows how to remove the Smart-1 3150 cover. The Smart-1 225 and Smart-1 3050 covers are similar. Item...
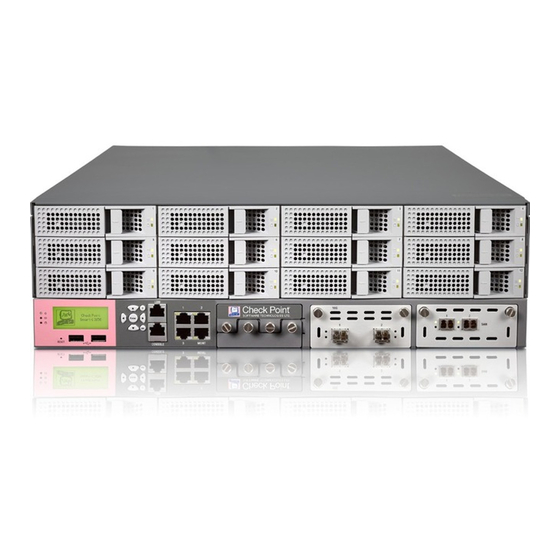
- Page 3 Finding the LOM Card Socket These illustrations show the location of the LOM card in the Smart-1 appliance models. Smart-1 225 Item Description Front panel LOM card (in socket) Rear panel...
- Page 4 Smart-1 3050 Item Description Front panel LOM card (in socket) Rear panel...
- Page 5 Smart-1 3150 Item Description Front panel LOM card (in socket) Rear panel...
- Page 6 Removing the LOM Card Make sure that you prepare the appliance ("Preparing the Appliance" on page 1) before you remove the LOM card. To remove the LOM card: Remove the retaining screw on the LOM card. Pull the socket locking levers OUT (away from the card edges). Lift the rear end of the card up and pull it out of the socket.
- Page 7 a) Connect the power cords to the appliance. b) Turn on the appliance using the power switch at the rear of the appliance. c) Make sure that the LCD screen shows the appliance model. Installing the LOM Card To install the LOM card in the appliance: Find the LOM card socket on the system board.
- Page 8 Press down on the LOM card until it lies flat. Close the appliance. Insert and tighten the screw at the bottom of the LOM card. Make sure the LOM card is installed correctly: a) Connect the power cords to the appliance. b) Turn on the appliance using the power switch at the rear of the appliance.
- Page 9 Initial LOM Login To log in to the LOM WebUI: Open a web browser and enter the default IP address of the LOM card: 192.168.0.100. The login window opens. Enter the default User name (admin) and password (admin). Attaching the RMA Kit Sticker After you install the new RMA component, attach the RMA kit sticker on the appliance.
Need help?
Do you have a question about the Smart-1 225 and is the answer not in the manual?
Questions and answers