
Subscribe to Our Youtube Channel
Related Manuals for pottery barn kids ELLIOT HUTCH


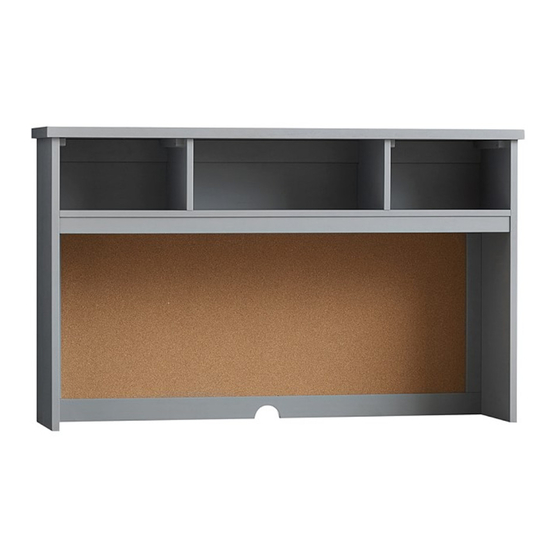
Summary of Contents for pottery barn kids ELLIOT HUTCH
- Page 1 ELLIOT HUTCH www.potterybarnkids.com Date: 2015-Feb-10 Page 1 of 6 Rev:...
- Page 2 Important Safety Instructions: • Please read all instructions carefully before assembling this Hutch. • For your safety, assembly by two or more adults is strongly recommended. • Keep these instructions for future use. • Use only vendor-supplied hardware to assemble this item. Using unauthorized hardware could jeopardize the structural integrity of the hutch.
- Page 3 Assembly Instruction Steps: 1. Attach the Left & Right Dividers (D&E) to the Shelf (F), as shown below. Make sure the cut-outs on the dividers face to the REAR side of the shelf and the wooden cleats on the dividers face outwards, as seen below. 2.
- Page 4 5. Attached the assembled piece (D/E/F/H) and Top Stretcher (G) to the Right Side Panel (C), with the wooden dowels and pre-drilled holes aligned, as shown below. Make sure all cut-outs on the Top Stretcher (G) and Corkboard Frame (F) face to the REAR side, as shown below 6.
- Page 5 10. With the help of another person, carefully turn the assembled Hutch upright. 11. Attach Top Panel (A) onto the assembled Hutch, with the pre-drilled holes and exposed wooden dowels aligned. 12. Insert 8 sets of: Short Bolt (M), Spring Washer (N), and Flat Washer (O) from the pre-drilled holes on the wooden cleats of the Side Panels/Dividers and into Top Panel (A), as seen below.
- Page 6 19. Insert 24 Flat Head Wood Screws (R) to secure. Do not overtighten. 20. Place the Elliot Hutch onto the Elliot Desk (sold separately). Make sure the Hutch is flush to the rear side, as seen in the illustration below.
Need help?
Do you have a question about the ELLIOT HUTCH and is the answer not in the manual?
Questions and answers