Table of Contents
Advertisement
Quick Links
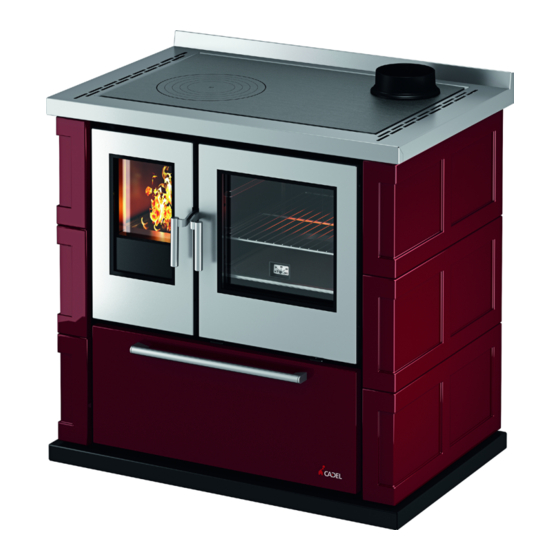
WOOD COOKING STOVE
en
,
installation
use and maintenance manual
KOOK 60 4.0 - KOOK 67 4.0 - KOOK 70 4.0
KOOK 60 4.0V - KOOK 67 4.0V - KOOK 70 4.0V
KOOK 80 - KOOK 87 - KOOK 90 4.0
KOOK 80V - KOOK 87V - KOOK 90 4.0V
Original Instructions | ©2018 CADEL srl | All rights reserved – tutti i diritti riservati
Advertisement
Table of Contents


Need help?
Do you have a question about the KOOK 60 4.0 and is the answer not in the manual?
Questions and answers