Table of Contents
Advertisement
Quick Links
Advertisement
Table of Contents

Related Manuals for Messoa NOD316


Summary of Contents for Messoa NOD316
- Page 1 Mini Outdoor Dome Network Camera NOD316 Quick Start Guide 201511 316 A1...
- Page 2 English WARNING • This camera operates at PoE (IEEE 802.3af Class 3) only. • Installation and service should be performed only by qualified and experienced technicians and comply with all local codes and rules to maintain your warranty. • To reduce the risk of fire or electric shock, do not expose the product to rain or moisture. •...
-
Page 3: Fcc Compliance Statement
English FCC Compliance Statement Information to the user: This unit has been tested and found to comply with the limits for a Class B digital device pursuant to Part 15 of the FCC Rules. Operation is subject to the following two conditions: (1) this device may not cause harmful interference, and (2) this device must accept any interference received, including interference that may cause undesired operation. -
Page 4: Product Overview
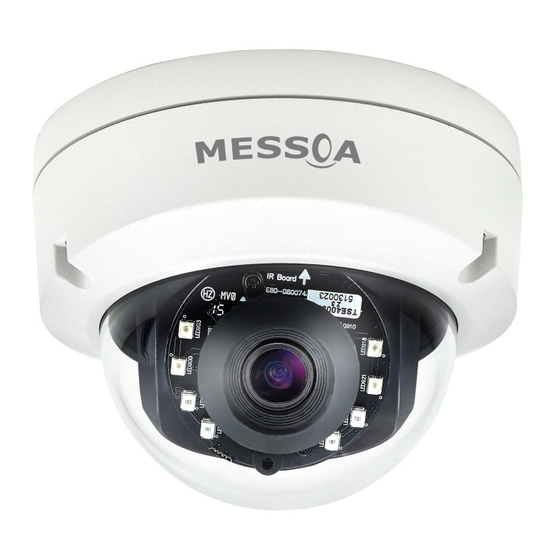
English Product Overview Physical Characteristics Unit: mm Figure 1 - 1: Physical Dimension Table 1 - 1: Pictorial Index Definition Name Conduit Hole Inner Liner Camera Body Top Cover Figure 1 - 2: Pictorial Index... - Page 5 English Figure 1 - 3: Internal Interface Pictorial Index Interface Description Insert an Ethernet cable into the port for network connection as well as PoE RJ-45 Ethernet PoE Port (Power over Ethernet) capability. Press the button for below 1 second to reboot the camera. Reset &...
-
Page 6: Installation
English Installation Package Content Check if everything in the packing box matches to the order form and the packing slip. All items listed below should be included in the packing box. • Network Mini Outdoor Dome Camera x1 • Printed Quick Guide x1 •... -
Page 7: Disassembling The Camera
English 2.2.2 Disassembling the Camera Please refer to the steps with figures below for correct disassembling order. Loosen the 3 torx screws counter-clockwise by the torx wrench. Gently pull the top cover downward to take it apart from the camera body. Lift to open the inner liner coating on the lens for adjustment later. -
Page 8: Mounting The Camera
English 2.2.4 Mounting the Camera Step 1. Mounting Preparation Paste the included guide pattern onto a wall/ceiling where the IP camera is about to be located, and drill 3 hole patterns in accordance with the indications on the guide pattern (3-Ø4.5 Holes) followed by hammering the 3 plastic anchors into the drilled holes. -
Page 9: Desiccant Placement
English Step 3. Assembling the Camera Please refer to the following steps with figure for correct assembling order. After adjustment, fit the inner liner over the camera lens until it clicks into the place. Gently put the top cover upward to attach with the camera body. Fasten the 3 torx screws with the camera body clockwise to complete the mounting. -
Page 10: Adjusting The Camera Position
English 2.2.6 Adjusting the Camera Position The camera has three axes to adjust field of view for different applications. While screening live view on your monitor, adjust the axes by the procedures below simultaneously for desired coverage of field of view. •... -
Page 11: Network Topology
English Connection Network Topology The camera, which is equipped with Ethernet RJ-45 network interface, can deliver live view image in real time via both Internet and Intranet manners. Please refer to the skeleton drawings shown below for understanding. Figure 3 - 1: Network Topology System Requirements Below table lists the minimum requirement to implement and operate the camera. -
Page 12: Connecting Process
English Connecting Process 3.3.1 Default IP address Since this is a network-based camera, an IP address must be assigned at the very first stage. The camera’s default IP address is 192.168.1.30 and sub mask is 255.255.255.0. However, if you have a DHCP server in your network, the camera would obtain an IP address automatically from the DHCP server so that you don’t need to change the camera’s IP address. -
Page 13: Viewing Preparation
English Viewing Preparation Images of the unit can be viewed through various browsers. Before viewing, follow these steps to enable the display. Enable Cookies as instructions below • In Internet Explorer, click Internet Options on the Tools menu. • On the Privacy tab, move the settings slider to Low or Accept All Cookies. •... - Page 14 English • Scroll down to the ActiveX controls and plug-ins radio buttons and set as follows: 【 Download signed ActiveX controls 】 → Prompt (recommended) 【 Download unsigned ActiveX controls 】→ Prompt 【 Initialize and script ActiveX not marked as safe for scripting 】→ Prompt Figure 3 - 4: Security Settings 2/4 【...
- Page 15 English 【 Run ActiveX controls and plug-ins 】→ Enable 【 Script ActiveX controls marked safe for scripting* 】→ Enable Figure 3 - 6: Security Settings 4/4 ● Press OK to save the settings. ● Close the all browser windows and restart the browser. This will allow the new settings taking effect. ●...
- Page 16 IP Finder works only in Microsoft Windows XP, Microsoft Windows Vista, and Microsoft Windows 7 or above. Steps to get the utility program running are listed below. Download IP Finder from MESSOA Website to computer. Double click on IPFinder.exe in computer’s IP Finder folder, and the IP Finder window should pop out.
Need help?
Do you have a question about the NOD316 and is the answer not in the manual?
Questions and answers