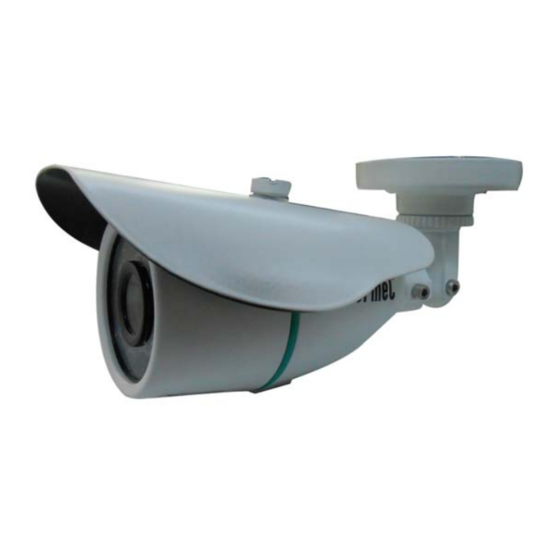
urmet domus 1092 Series Quick Manual
Ahd day & night weatherproof camera 3.6mm fixed lens built-in
Hide thumbs
Also See for 1092 Series:
- User manual (74 pages) ,
- Instructions manual (53 pages) ,
- Quick manual (49 pages)
Table of Contents
Advertisement
Available languages
Available languages
Quick Links
Mod.
1092
DS1092-196
TELECAMERA COMPATTA AHD DAY & NIGHT
OTTICA FISSA 3.6MM
AHD DAY & NIGHT WEATHERPROOF CAMERA
3.6MM FIXED LENS BUILT-IN
AHD-TAG-/NACHT-KOMPAKTKAMERA
FESTOBJEKTV 3,6 MM
CAMÉRA COMPACTE AHD DAY & NIGHT
OPTIQUE FIXE 3.6 mm
CÁMARA COMPACTA DÍA/NOCHE AHD
CON LENTE FIJA 3,6 MM INTEGRADA
Sch./Ref./Typ/Réf. 1092/250
GUIDA RAPIDA
QUICK GUIDE
SCHNELLANLEITUNG
GUIDE RAPIDE
GUÍA RÁPIDA
Advertisement
Table of Contents

Related Manuals for urmet domus 1092 Series


Summary of Contents for urmet domus 1092 Series
- Page 1 Mod. 1092 DS1092-196 TELECAMERA COMPATTA AHD DAY & NIGHT OTTICA FISSA 3.6MM AHD DAY & NIGHT WEATHERPROOF CAMERA 3.6MM FIXED LENS BUILT-IN AHD-TAG-/NACHT-KOMPAKTKAMERA FESTOBJEKTV 3,6 MM CAMÉRA COMPACTE AHD DAY & NIGHT OPTIQUE FIXE 3.6 mm CÁMARA COMPACTA DÍA/NOCHE AHD CON LENTE FIJA 3,6 MM INTEGRADA Sch./Ref./Typ/Réf.
-
Page 2: Comandi E Regolazioni
ITALIANO INSTALLAZIONE Prima d’iniziare l’installazione, assicurarsi che tutte le unità da collegare non siano alimentate. Installare la telecamera sulla staffa, avvitandola sulla stessa. Posizionare la staffa in modo tale da riprendere le immagini prescelte, quindi procedere con il bloccaggio della staffa sul muro o su un’altra superficie piana. Collegare l’uscita video all’utilizzatore previsto. -
Page 3: Utilizzo Del Menu
ATTENZIONE: in caso di assenza di immagini sul dispositivo (monitor o DVR) collegato, verificare che l’uscita video selezionata sia quella prevista dal dispositivo. Nel caso in cui non si riesca a visualizzare le immagini su un DVR con ingressi sia AHD che CVBS, provare i seguenti passi: Lasciare un’unica telecamera connessa sul canale 1 del DVR Premere per alcuni secondi il pulsante a destra e sinistra sino a che appare... -
Page 4: Operating Features
ENGLISH INSTALLATION Make sure that no units are powered before starting the installation procedure. Install the camera on the bracket and fasten it. Position the bracket to frame the required picture and fasten it to the wall or other flat surface. Connect the video output to the utility. - Page 5 ATTENTION: case of missing video on the connected device (monitor or DVR), verify that the selected video output matches with the one selected on the device In case of missing images in a DVR with AHD and CVBS inputs, try the following steps: Leave a single camera connected to the channel 1 of the DVR Press the button for few seconds to right and left until the image appears on...
- Page 6 DEUTSCH INSTALLATION Stellen Sie vor der Installation sicher, dass alle anzuschließenden Einheiten nicht versorgt werden. Die Kamera am Bügel installieren und daran anschrauben. Den Bügel so positionieren, dass die zuvor ausgewählten Bilder aufgenommen werden. Die Befestigung des Bügels dann an der Wand oder einer anderen ebenen Oberfläche vornehmen. Den Videoausgang an den vorgesehenen Verwender anschließen.
-
Page 7: Verwendung Des Menüs
ACHTUNG: Falls Bilder am angeschlossenen Gerät fehlen (Monitor oder DVR), ist zu überprüfen, dass es sich bei dem gewählten Videoausgang um den vom Gerät vorgesehenen Ausgang handelt. Falls es nicht gelingt, die Bilder auf einem DVR sowohl mit AHD- als auch mit CVBS- Eingängen anzuzeigen, die folgenden Schritte ausführen: Nur eine einzige Kamera am Kanal 1 des DVR angeschlossen lassen. -
Page 8: Commandes Et Réglages
FRANÇAIS INSTALLATION Avant de procéder à l’installation, s’assurer qu’aucune des unités à brancher n’est alimentée. Installer la caméra sur la bride en la vissant. Positionner la bride de façon à bien cadrer les images voulues puis procéder à la fixation de la bride au mur ou sur toute autre surface plate. -
Page 9: Utilisation Du Menu
ATTENTION : en cas d’absence d’images sur le dispositif (écran ou DVR) branché, s’assurer que la sortie vidéo sélectionnée est celle prévue par le dispositif. Dans le cas où il s’avérerait impossible de visualiser les images sur un DVR, aussi bien avec entrées AHD et CVBS, procéder comme suit : Maintenir une unique caméra branchée sur le canal 1 du DVR. -
Page 10: Características De Funcionamiento
ESPAÑOL INSTALACIÓN Antes de empezar el procedimiento de instalación, asegúrese de que ninguna unidad esté alimentada eléctricamente. Instale la cámara en el soporte y fíjela. Coloque el soporte de modo que pueda tomar las imágenes deseadas y atorníllelo a la pared o a una superficie plana. -
Page 11: Utilización Del Menú
ADVERTENCIA: si no hay vídeo en el equipo conectado (monitor o DVR), compruebe que la salida de vídeo seleccionada coincide con la seleccionada en el equipo. Si no hay imagen en un DVR con entradas AHD y CVBS, siga los siguientes pasos: Deje una única cámara conectada al canal 1 del DVR Pulse el botón durante unos segundos a DERECHA e IZQUIERDA hasta que la imagen aparezca en pantalla... - Page 12 DS1092-196 URMET S.p.A. Area tecnica 10154 TORINO (ITALY) servizio clienti +39. 011.23.39.810 VIA BOLOGNA 188/C http://www.urmet.com Telef. +39. 011.24.00.000 (RIC.AUT.) e-mail: info@urmet.com +39. 011.24.00.300 - 323 MADE IN CHINA Prodotto in Cina su specifica URMET DS1092-196 Made in China to URMET specification...
Need help?
Do you have a question about the 1092 Series and is the answer not in the manual?
Questions and answers