
Related Manuals for Broadcom Emulex


Summary of Contents for Broadcom Emulex
- Page 1 ® Emulex Fibre Channel Host Bus Adapters Installation Guide Release 12.4 Broadcom LPe-HBA-IG124-100-2CS January 13, 2020...
- Page 2 The term “Broadcom” refers to Broadcom Inc. and/or its subsidiaries. For more information, please visit www.broadcom.com. Broadcom reserves the right to make changes without further notice to any products or data herein to improve reliability, function, or design. Information furnished by Broadcom is believed to be accurate and reliable. However, Broadcom does not assume any liability arising out of the application or use of this information, nor the application or use of any product or circuit described herein, neither does it convey any license under its patent rights nor the rights of others.
-
Page 3: Table Of Contents
Emulex Fibre Channel Host Bus Adapters Installation Guide Table of Contents Chapter 1: Introduction ........................4 1.1 HBA Identification ..............................4 Chapter 2: Installation ........................5 2.1 Preparing the HBA for Installation ..........................5 2.1.1 Changing the Bracket ............................5 2.1.2 Setting the Secure Firmware Feature .......................7 2.2 Installing the HBA ..............................8... -
Page 4: Chapter 1: Introduction
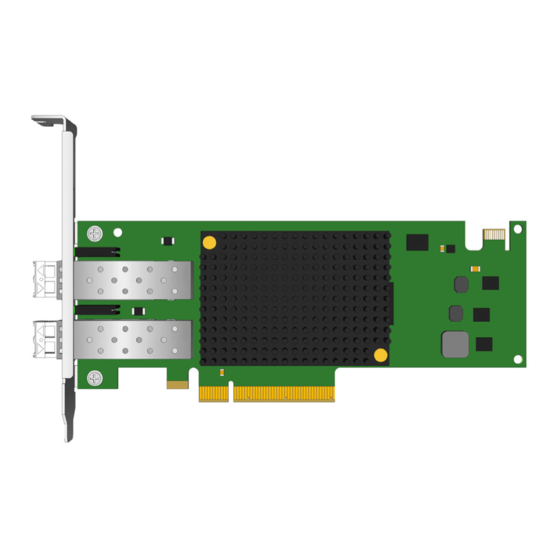
WWN – Derived from the IEEE address; the FC industry uses the WWN for FC connectivity. ® Serial number – Assigned by Emulex. Use this number when communicating with Broadcom Technical Support. NOTE: If the HBA has two ports, it has two IEEE addresses and two WWNs, one for each port. -
Page 5: Chapter 2: Installation
Emulex Fibre Channel Host Bus Adapters Installation Guide Chapter 2: Installation The Emulex HBA can be connected to fiber optic cables (used with embedded optical transceivers). Additional information for these cable connections and other installation procedures are described in the following sections. - Page 6 Emulex Fibre Channel Host Bus Adapters Installation Guide Figure 4: Releasing the Latch on an Optical Transceiver Figure 5 shows an extracted transceiver and another transceiver latched in place. Figure 5: Removing an Optical Transceiver 3. Observing ESD precautions, store the transceiver in an ESD-safe place.
-
Page 7: Setting The Secure Firmware Feature
Emulex Fibre Channel Host Bus Adapters Installation Guide Figure 6: Removing the Mounting Bracket 5. Remove the mounting bracket, and store it for future use. 6. Align the new mounting bracket tabs with the holes in the HBA. CAUTION! Be careful not to push the mounting bracket past the grounding tabs on the transceiver housing. Make sure the LEDs are properly aligned with the holes in the mounting bracket. -
Page 8: Installing The Hba
Emulex Fibre Channel Host Bus Adapters Installation Guide Figure 7: Secure Firmware Jumper Location J3 2.2 Installing the HBA To install the HBA, follow these steps: 1. Turn off the computer. 2. Remove the computer case. 3. For a stand-up HBA, remove the blank panel from an empty PCIe bus slot. -
Page 9: Applying Power
Emulex Fibre Channel Host Bus Adapters Installation Guide Figure 8: Installing an Optical Transceiver 2. Insert an appropriate optical cable into the LC connectors on the HBA. Figure 9: Connecting a Fiber Optic Cable 3. Connect the other end to the FC device. -
Page 10: Viewing The Leds
Emulex Fibre Channel Host Bus Adapters Installation Guide 2.5 Viewing the LEDs You can view the green and yellow LEDs through openings in a stand-up HBA's mounting bracket. The yellow LED indicates port activity or link speed, and the green LED indicates firmware operation. Each port has a corresponding set of yellow and green LEDs.
Need help?
Do you have a question about the Emulex and is the answer not in the manual?
Questions and answers