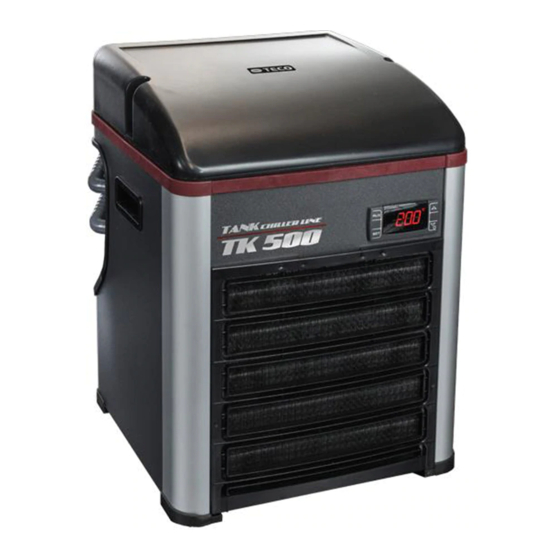
TECO TK Series Replacement Manualline
Overheating probe replacement
Hide thumbs
Also See for TK Series:
- Manualline (15 pages) ,
- Replacement manuallines (11 pages) ,
- Replacement manualline (11 pages)
Summary of Contents for TECO TK Series
- Page 1 GUIDELINE OVERHEATING PROBE REPLACEMENT MODELS : TK3000 – TK6000 – TK 9000 www.tecoonline.com www.tecous.com...
- Page 2 EQUIPMEMT 7 black clamps Screw-drivers Tongs Probe with red connector (spare part) www.tecoonline.com www.tecous.com...
- Page 3 STEP n. Disconnect the chiller form power supply. Using the screw-driver, remove the screws indicated in the picture here below (n°16 screws). www.tecoonline.com www.tecous.com...
- Page 4 STEP n. Disconnect ground wire from the cover Remove the cover www.tecoonline.com www.tecous.com...
- Page 5 STEP n. Disconnect the RED probe connector from main board. Cut the black clamps inside the chiller that embrace the probe’s wire. www.tecoonline.com www.tecous.com...
- Page 6 STEP n. Proceed to cut all black clamps that embrace the probe’s wire. Extract the wire from circular passage. www.tecoonline.com www.tecous.com...
- Page 7 STEP n. - Cut the last black clamp that embrace the probe’s wire and copper pipe near condenser - Extract the probe and replace it www.tecoonline.com www.tecous.com...
- Page 8 STEP n. - Insert probe cable in circular passage - Connect new probe connector to main board - Take new seven black plastic clamps and pinch the probe’s cable with the other cables as it was at the beginning. - Place the chiller cover in its position and then place the sixteen screws to close the chiller.


Need help?
Do you have a question about the TK Series and is the answer not in the manual?
Questions and answers