Sign In
Upload
Download
Table of Contents
Contents
Add to my manuals
Delete from my manuals
Share
URL of this page:
HTML Link:
Bookmark this page
Add
Manual will be automatically added to "My Manuals"
Print this page
×
Bookmark added
×
Added to my manuals
Manuals
Brands
TECO Manuals
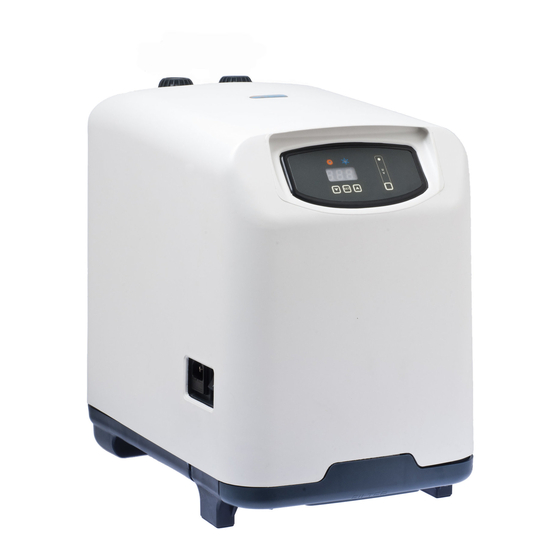
Chiller
TR 10
Resetting manual
TECO TR 10 Resetting Manual
Titanium exchanger
Hide thumbs
1
2
3
4
5
6
7
Table Of Contents
8
page
of
8
Go
/
8
Contents
Table of Contents
Bookmarks
Advertisement
Table of Contents
1
Important Safety Precautions
2
Parts and Tools
3
Removing the Shutoff Valves
4
Removing Filter / Housing
5
Resetting Chiller
6
Replacing the Housing
Download this manual
TECO TR/TC 10, 15, 20 – RESET GUIDE
Chiller Reset Instructions
Table of
Contents
Previous
Page
Next
Page
1
2
3
4
5
Advertisement
Table of Contents
Need help?
Do you have a question about the TR 10 and is the answer not in the manual?
Ask a question
Questions and answers
Related Manuals for TECO TR 10
Chiller TECO seachill tr5 Operator's Manual
(14 pages)
Chiller TECO TC 10 Resetting Manual
Titanium exchanger (8 pages)
Chiller TECO TC 15 Resetting Manual
Titanium exchanger (8 pages)
Chiller TECO TK 5K User Manual
Aquarium chiller (14 pages)
Chiller TECO SEACHILL TK 2800 Instruction Manual
(64 pages)
Chiller TECO Tank TK 150 Instruction Manual
(62 pages)
Chiller TECO SEACHILL TANK TK150 Instruction Manual
(62 pages)
Chiller TECO Tank TK150 Manualline
Probe replacement, aquarium chiller (10 pages)
Chiller TECO TK Series Replacement Manualline
Overheating probe replacement (8 pages)
Chiller TECO TK Series Replacement Manualline
Thermostat replacement (11 pages)
Chiller TECO TK Series Replacement Manuallines
Water probe replacement (11 pages)
Chiller TECO TK Series Manualline
Motor fan replacement (15 pages)
Chiller TECO TK500 Replacement
Overheating probe replacement (12 pages)
Chiller TECO TK3000 Manual
Controller reset, aquarium chiller (9 pages)
Chiller TECO ra 200 Instruction Manual
(60 pages)
Chiller TECO CP5 Instructions For Installation, Use And Maintenance Manual
(15 pages)
This manual is also suitable for:
Tr 15
Tr 20
Tc 10
Tc 15
Tc 20
Table of Contents
Print
Rename the bookmark
Delete bookmark?
Delete from my manuals?
Login
Sign In
OR
Sign in with Facebook
Sign in with Google
Upload manual
Upload from disk
Upload from URL


Need help?
Do you have a question about the TR 10 and is the answer not in the manual?
Questions and answers