Advertisement
Quick Links
Advertisement

Related Manuals for TECO Tank TK150


Summary of Contents for TECO Tank TK150
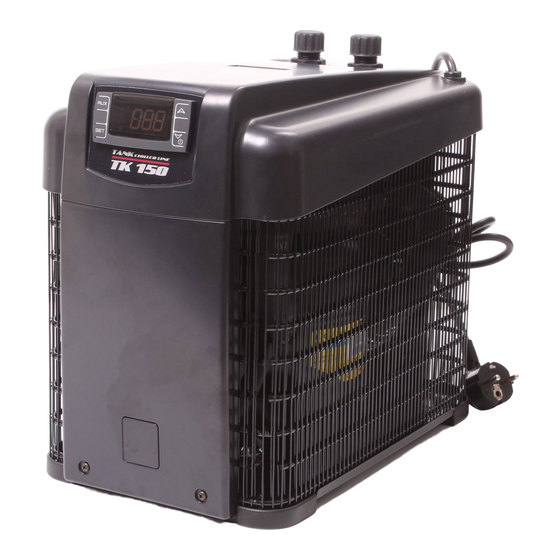
- Page 1 GUIDELINE TK150 PROBE REPLACEMENT TK150 MODELS : www.tecoonline.com www.tecous.com...
- Page 2 EQUIPMEMT black clamps Screw-drivers Tongs Thermostat Probe (spare part) www.tecoonline.com www.tecous.com...
- Page 3 STEP n. WARNING! Parts replacements and reparation may be carried out only by qualified persons. If this are not performed properly, they can cause electric shock, burns and fires Disconnect chiller from power supply. Never touch internal part or dismount chiller when it is connected to power supply to avoid potential electric shock.
- Page 4 STEP n. Remove the ring nut from the water IN/OUT pipe www.tecoonline.com www.tecous.com...
- Page 5 STEP n. Using the screwdriver, remove the two screws from the Remove the chiller cover back of the chiller and the two screws from the front www.tecoonline.com www.tecous.com...
- Page 6 STEP n. Disconnect the probe plug from the thermostat Then, with the small screwdriver, disconnect the green connector from the old probe wire and connect it to the new one. www.tecoonline.com www.tecous.com...
- Page 7 STEP n. Follow the probe wire. In order to remove the wire you have to cut the clamps and replace them later. Remove the insulation in the indicated area (without breaking it too much) www.tecoonline.com www.tecous.com...
- Page 8 STEP n. Remove the white probe insulation Replace the probe taking care that the probe touches the pipe White Insulation Conductive Paste www.tecoonline.com www.tecous.com...
- Page 9 STEP n. Replace the white insulation and the black insulated sheath Connect the probe plug to the thermostat and close the chiller Set “Ot” Parameter for probe Calibration www.tecoonline.com www.tecous.com...
- Page 10 STEP n. www.tecoonline.com | www.tecous.com...
Need help?
Do you have a question about the Tank TK150 and is the answer not in the manual?
Questions and answers