Table of Contents
Advertisement
Quick Links
Advertisement
Table of Contents

Subscribe to Our Youtube Channel
Summary of Contents for Schacht WOLF PUP LOOM
- Page 1 FL3000 FL3006 & WOLF PUP LT LOOM FL3009 ssembly nstructIons WOLF PUP WOLF PUP LT Find out more at schachtspindle.com Schacht Spindle Company 6101 Ben Place Boulder, CO 80301 p. 303.442.3212 f. 303.447.9273 © 2019 Schacht Spindle Company, Inc. 02.19...
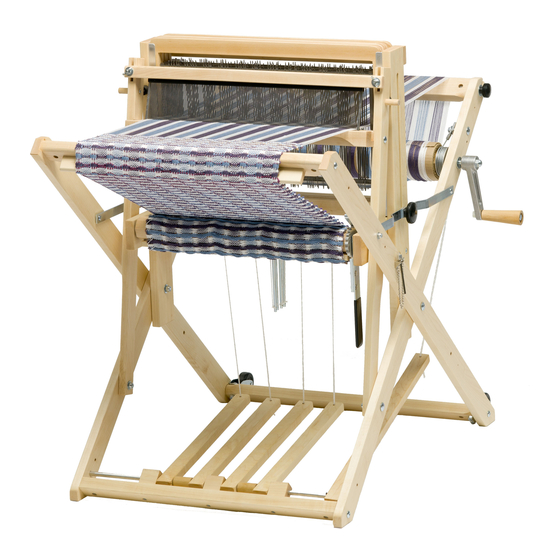
- Page 2 WOLF PUP & WOLF PUP LT ssembly nstructIons beater brake fold knob ratchet pawl outside ratchet gear ratchet inside advance lever brake release pedal BEFORE YOU BEGIN ■ All Wolf looms assemble in a similar way. Watch the Baby Wolf assembly video on our Youtube channel (www.youtube.com/user/schachtspindle).
- Page 3 PARTS Wrapped onto warp beam: Hardware bag 2: apron bars 3/8" cap nut for warp beam crank lease sticks (with holes) handle front beam extension 3/8" washer for warp beam crank heddle bars handle extra 8/32" hex nuts for shafts Accessory pack: #12 SAE washers brass reed hook...
- Page 4 INSTALLING THE BEATER PEGS beater Loosen the wing nuts holding the top side #12 SAE of the beater and remove the beater top. washer Remove the reed from the beater. Insert a 1/4-20 x 2" Phillips truss head 1/4-20 slim 1"...
- Page 5 ATTACHING THE APRON BARS For cherry Wolf looms, see the special instructions for attaching the apron bars. There is one cord for each hole in the cloth and warp beams. Insert one end of a cord through a hole in the beam and pull the cord through.
- Page 6 or small block of wood. The bottom of the heddles shaft frame should be raised 3 to 4 inches (Figure 8). heddle bar Working from the rear of the loom, rear castle lower a pair of heddle bars with heddles cross brace into the castle in front of the raised shaft heddle bar...
- Page 7 1/4-20 x 1-1/2" Phillips truss INSTALLING THE WHEELS head machine screws Skip this step if you will install a stroller lock nuts on your loom. With the loom unfolded, install the wheels. Use two 1/4-20 x 1-1/2" Phillips truss head machine screws and two 1/4-20 lock nuts to attach each wheel rear leg brace to the rear leg brace (Figure 10).
- Page 8 ADJUSTING THE FRICTION BRAKE The friction brake can be adjusted by brake bar tightening or loosening the eye bolt. This bolt will increase or decrease the tension on brake cable the spring, which will in turn increase or decrease the tension on the brake bar and spring the brake cable.


Need help?
Do you have a question about the WOLF PUP LOOM and is the answer not in the manual?
Questions and answers