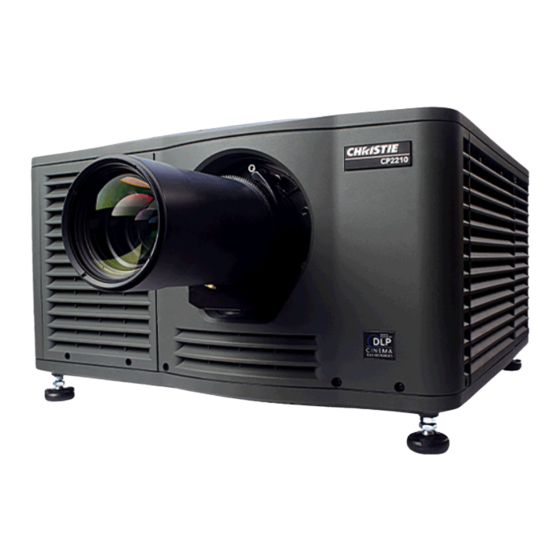
Christie CP2210 Technical Bulletin
Replacing the icp battery
Hide thumbs
Also See for CP2210:
- User manual (164 pages) ,
- Service manual (146 pages) ,
- Setup manual (58 pages)
Table of Contents
Advertisement
Quick Links
This document provides instructions for replacing the Integrated Cinema Processor (ICP) battery. If
the ICP battery fails, projector time settings can become inaccurate and automated events might
not run as expected.
The ICP battery replacement takes approximately 30 minutes. Christie recommends replacing the
battery every five years.
Affected products
•
Christie CP2210
•
Christie CP2215
•
Christie CP2220
•
Christie CP2230
•
Christie CP4220
•
Christie CP4230
•
Christie Solaria One
•
Christie Solaria One
Safety precautions
ELECTRICAL SHOCK HAZARD! Always turn off, disconnect, and disengage all power sources to the
projector before servicing. Failure to comply results in death or serious injury.
Only Christie accredited service technicians are permitted to open any enclosure on the projector and
only if the AC power has been fully disconnected. Failure to comply could result in minor or moderate
injury.
To prevent damage by static electricity, wear an anti-static wrist strap and follow anti-static protocols
when replacing the ICP battery.
Prerequisites
•
Replacement ICP battery (type BR2330)
•
A USB flash drive with a minimum capacity of 8GB
•
Texas Instruments ICP and Enigma Control Program
To request a copy of the software, contact Christie Technical Support.
Replacing the ICP Battery Technical Bulletin
020-200313-01 Rev. 1 (02-2015)
Technical Bulletin
Replacing the ICP Battery
+
1
Advertisement
Table of Contents

Summary of Contents for Christie CP2210
- Page 1 Failure to comply results in death or serious injury. Only Christie accredited service technicians are permitted to open any enclosure on the projector and only if the AC power has been fully disconnected. Failure to comply could result in minor or moderate injury.
- Page 2 The ICP is installed in the card cage located on the operator (left) side of the projector facing the lens. This procedure describes the replacement of an ICP battery in a Christie CP2215 projector. For removal instructions that are specific to your projector model, see the projector Service Manual.
- Page 3 3. Unlock the high security lid with the high security key. 4. Lift the lid up and out and set it aside. 5. Reach into the projector and pull the lever to release the security ring. 6. Lower the security ring so it is out of the way. 7.
- Page 4 Remove and replace the ICP battery 1. Insert a flat screwdriver under the battery (A) and carefully lift it upward until it separates from the retaining clip. 2. Remove the battery and set it aside. Follow your local regulations for battery disposal. 3.
- Page 5 Reset the ICP real-time clock 1. Download and install the ICP and Enigma Control Program on a computer that you can connect to the projector. 2. Connect one end of an Ethernet cable to the Ethernet port on the computer with the ICP and Enigma Control Program.
- Page 6 Technical support North and South America: +1-800-221-8025 or tech-support@christiedigital.com Europe, Middle East, and Africa: +44 (0) 1189 778111 or techsupport-emea@christiedigital.com Asia Pacific: tech-asia@christiedigital.com Christie Managed Services: +1-800-550-3061 or NOC@christiedigital.com Replacing the ICP Battery Technical Bulletin 020-200313-01 Rev. 1 (02-2015)


Need help?
Do you have a question about the CP2210 and is the answer not in the manual?
Questions and answers