McCrometer Dura Mag Mc Mag 3000 Installation And Replacement
Battery installation and replacement
Hide thumbs
Also See for Dura Mag Mc Mag 3000:
- Installation, operation and maintenance manual (25 pages) ,
- Instructions (4 pages) ,
- Installation, operation and maintenance manual (32 pages)
Advertisement
Quick Links
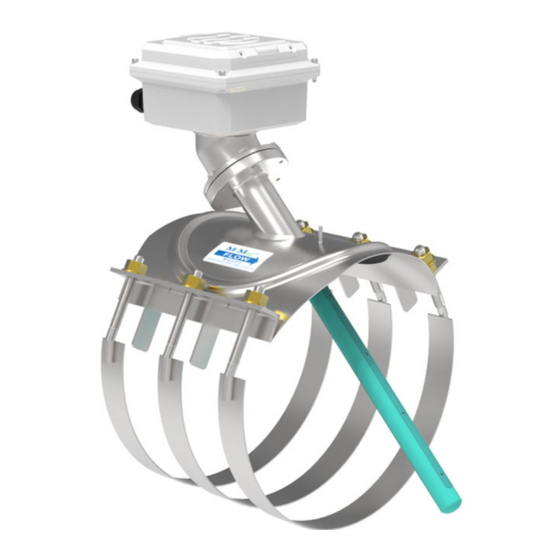
ag
3000
BEFORE YOU BEGIN:
Check supplies to ensure all parts are present.
Materials Provided
One triple D
battery pack
One double A
battery pack
Replacement
cover gasket
Dry pack
Replacement
screws
Tamper proof
wire seal
Tamper proof
stickers
Copyright © 2001-2019 McCrometer, Inc. All printed material should not be changed or altered without permission of McCrometer. Any published pricing,
technical data, and instructions are subject to change without notice. Contact your McCrometer representative for current pricing, technical data, and instructions.
3255 WEST STETSON AVENUE • HEMET, CALIFORNIA 92545 USA
TEL: 951-652-6811 • 800-220-2279 • FAX: 951-652-3078
www.mccrometer.com
Battery Installation and
TM
Replacement
Molykote
lubricant
Zip tie
I.
Removing the cover
1.
Remove the warranty stickers from the left and right
sides of the cover rim.
NOTE: This step not required for battery installation in
new meters.
2.
Cut off the tamper proof seal and remove the wire
from the security screws.
NOTE: This step not required for battery installation in
new meters.
Security screw
3.
Remove screws holding
the lid to the housing.
Lift the lid up and remove
the screws and lock
washers. Set them aside
and place the lid upside.
If you are replacing batteries
with fresh batteries,
4
continue to step
.
Page
1
D
M
URA
Right side
(sticker removed)
Cut wire
Security screw
If you are installing batteries
in a new meter that does
not have batteries already
installed, go to step
30122-18 Rev. 1.2 | 13AUG2019
™
AG
11
.
Advertisement

Related Manuals for McCrometer Dura Mag Mc Mag 3000


Summary of Contents for McCrometer Dura Mag Mc Mag 3000
- Page 1 Copyright © 2001-2019 McCrometer, Inc. All printed material should not be changed or altered without permission of McCrometer. Any published pricing, technical data, and instructions are subject to change without notice. Contact your McCrometer representative for current pricing, technical data, and instructions.
- Page 2 Battery Installation and ™ 3000 Replacement Shutting off the system IMPORTANT! You must follow the next steps in this specific order to insure the unit does not reset the internal time clock. If you have the Data Logger Software and communication cable, disregard these next steps. The clock may be set with software once the unit is re-assembled.
- Page 3 Battery Installation and ™ 3000 Replacement IV. Installing the batteries and restoring the power 11. If there is no strip of Velcro on the side of the chassis, remove the 12. Set the batteries in place, making sure clear adhesive protective strip from the small battery pack and press the wires extend toward the battery the entire battery pack in place as shown in the picture at right.
- Page 4 Battery Installation and ™ 3000 Replacement V. Replacing the gasket If you installed replacement batteries, we recommend that you replace the gasket. If you installed new batteries, you must set the gasket in place before replacing the cover and closing up the unit. 17.
Need help?
Do you have a question about the Dura Mag Mc Mag 3000 and is the answer not in the manual?
Questions and answers